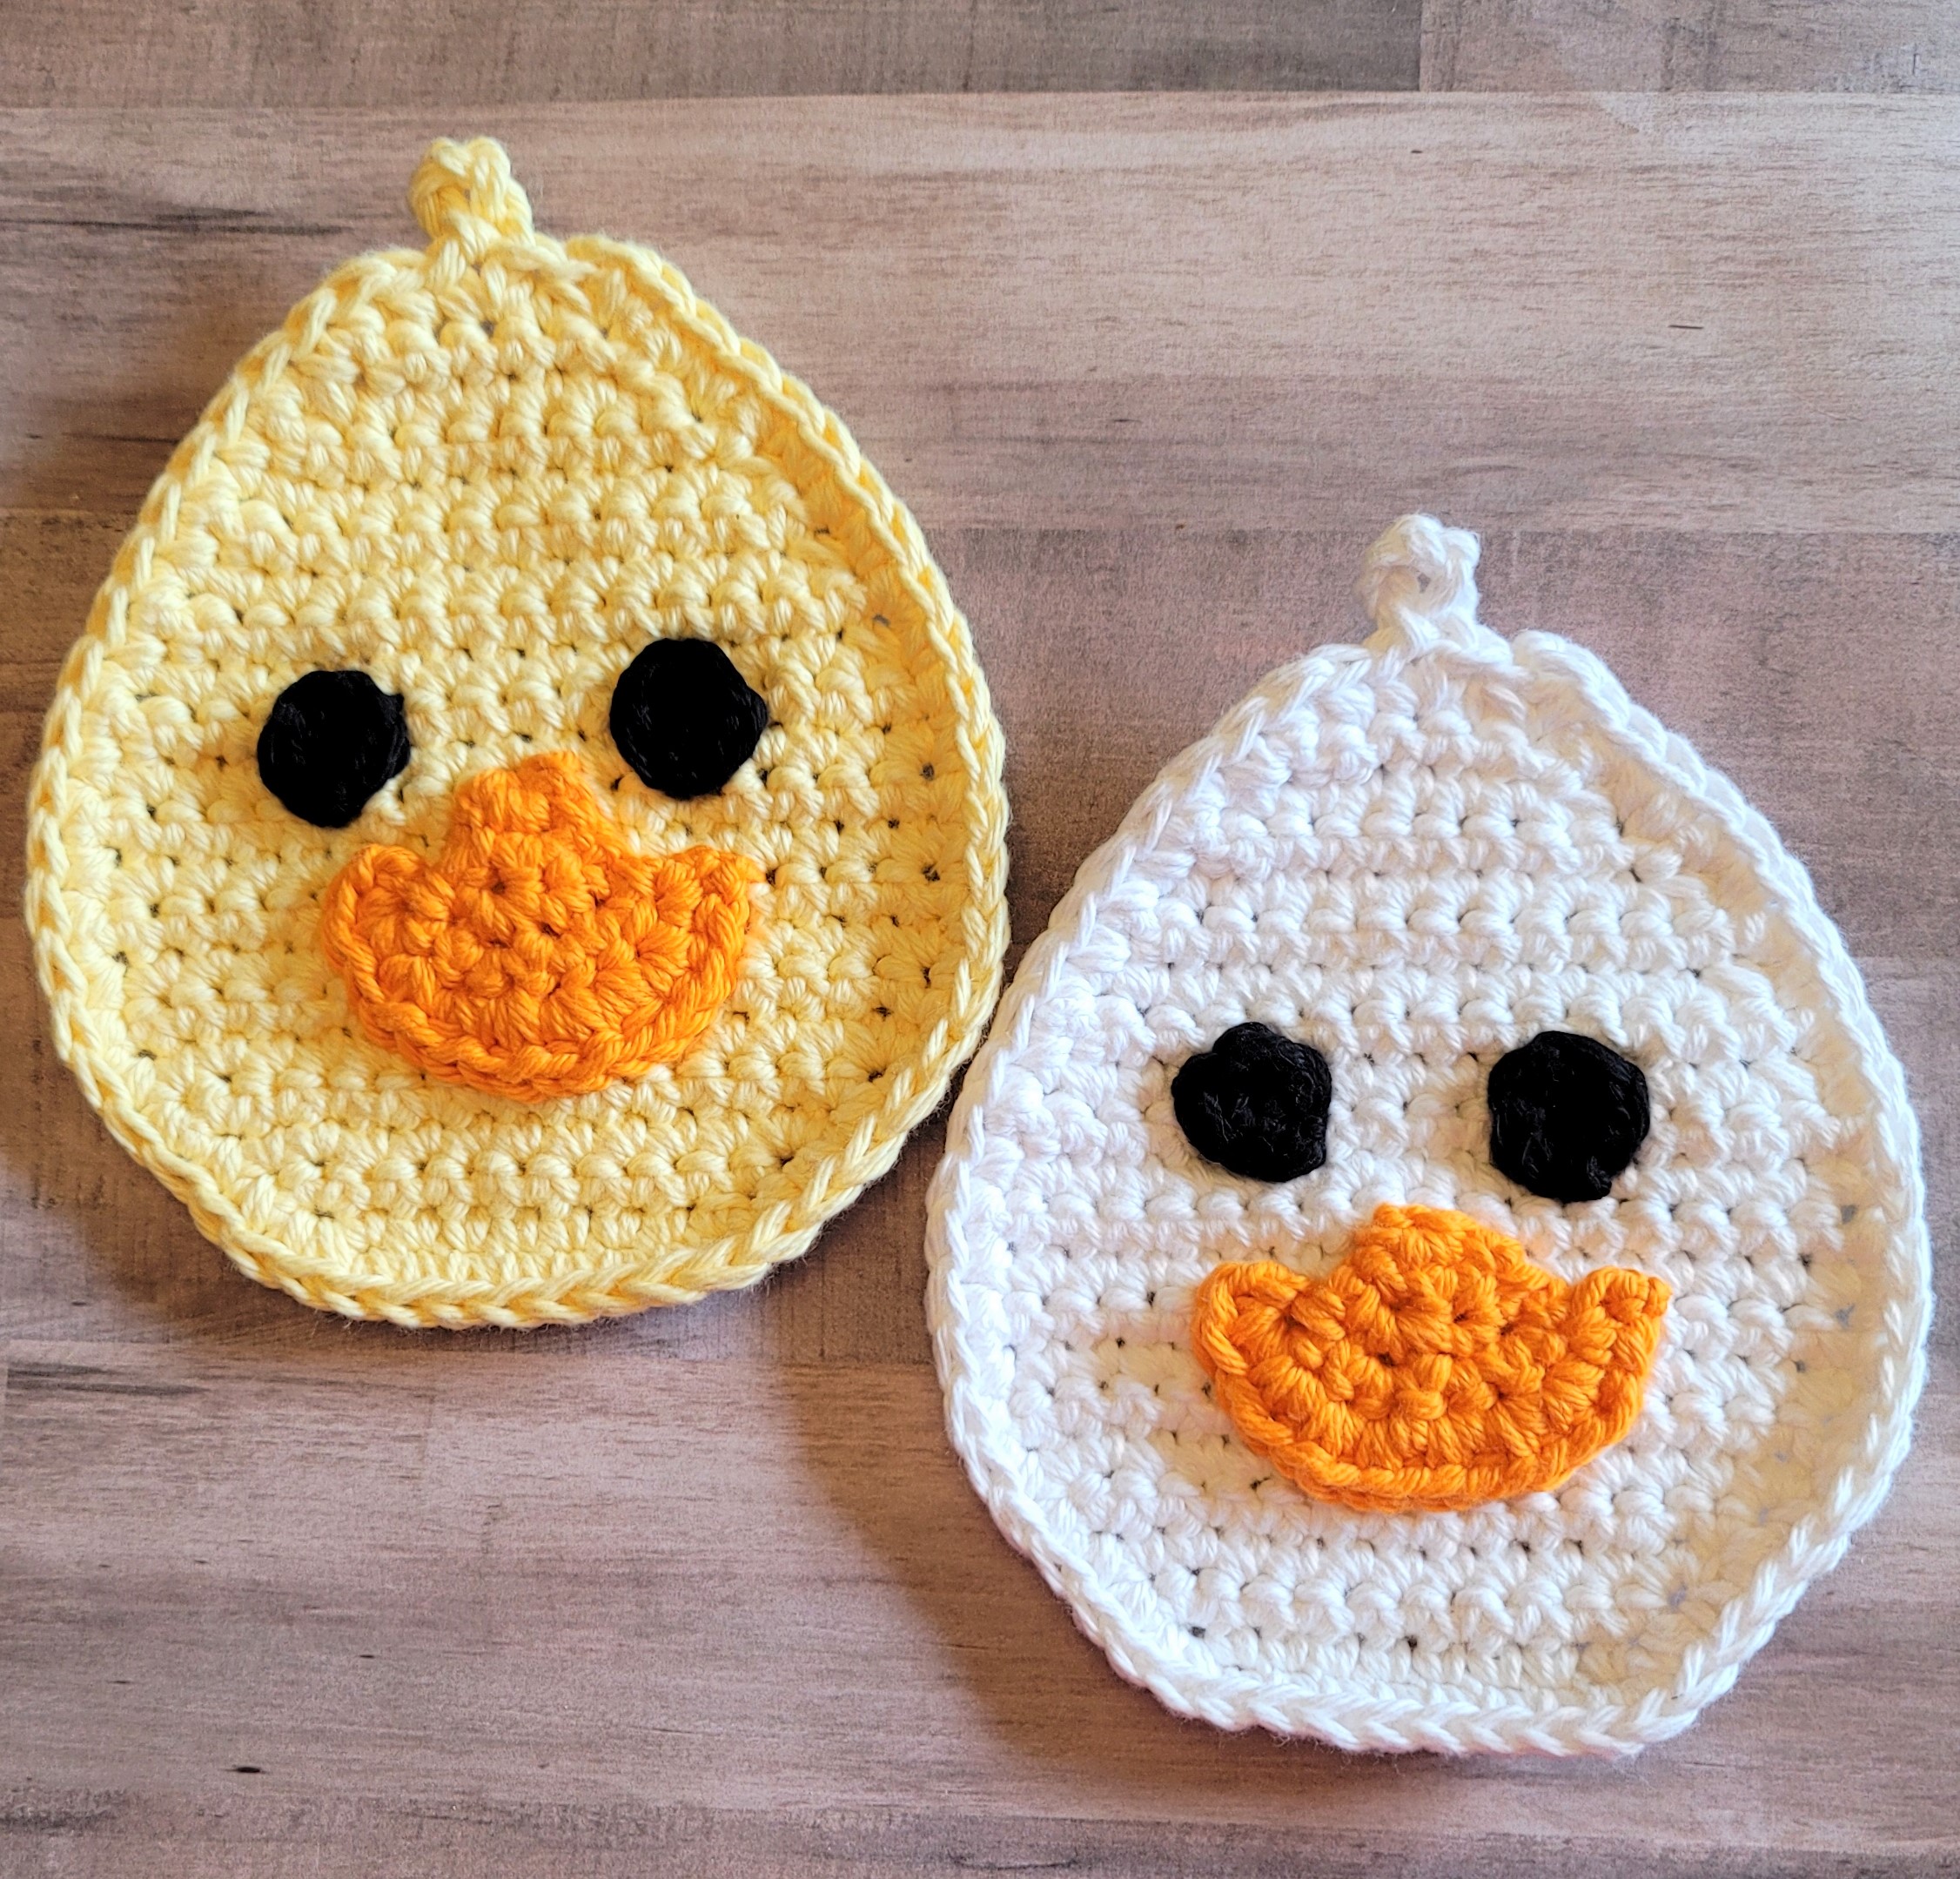
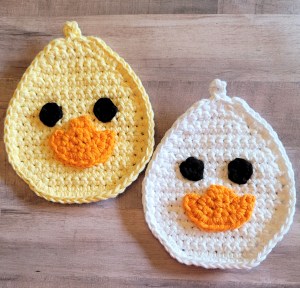
Hello everyone! This will be my last post before Easter, and it is chock-full of special offers. These adorable smiling ducks will brighten up your kitchen for the holiday, especially if you have a farm animal theme in your home.
Materials:
I Love This Cotton yarn –
1 oz. yellow or white
6 yards orange
4 yards black
Size I (5.5 mm) crochet hook
Yarn needle
Measurements:
Approximately 5.5” wide by 6” tall
Directions:
HEAD:
Row 1: With a double strand of yellow (or white), ch 10 (9 sc).
Row 2: Ch 1, turn, 2 sc in first st, sc in next 7 sts, 2 sc in last st (11 sc).
Row 3: Ch 1, turn, 2 sc in first st, sc in next 9 sts, 2 sc in last st (13 sc).
Row 4: Ch 1, turn, 2 sc in first st, sc in next 11 sts, 2 sc in last st (15 sc).
Row 3: Ch 1, turn, 2 sc in first st, sc in next 13 sts, 2 sc in last st (17 sc).
Rows 6-11: Ch 1, turn, sc in each st.
Rows 12-17: Ch 1, turn, dec over first 2 sts, sc in remaining sts (11 sc at end of Row 17).
Rows 18-20: Ch 1, turn, dec over first 2 sts, sc across, dec over last 2 sts (5 sc at end of Row 20).
Row 21: Ch 1, turn, sec over first 2 sts, sc in next st, ch 5, sl st in 5th ch, sc in same st as last sc, dec over last 2 sts of top. Working down the side of the potholder, sc in each row end. Working across bottom (unused loop of foundation ch), 2 sc in first loop, sc across foundation ch, 2 sc in last loop. Working up the other side of the potholder, sc in each row end.
Join with sl st in first sc.
BILL:
Row 1: With double strand of orange yarn, ch 2, 2 sc in 2nd ch.
Rows 2-3: Ch 1, turn, 2 sc in first st, sc across (4 sc at end of Row 3).
Row 4: Ch 1, turn, 2 sc in each st (8 sc).
Row 5: Ch 1, turn, 2 sc in each st (16 sc). Fasten off orange leaving 12” length for sewing. Sew bill to face with bottom at Row 6 of head.
EYES:
With double strand of black yarn, ch 2 (or magic circle), 5 sc in 2nd ch from hook. Join with sl st.
Fasten off black leaving 6” length for sewing.
Sew eyes to face at Rows 11-13.
Easter will be here soon, and everyone is busy with their holiday preparations. Your little girls love their new dresses and hats, but they also want their dolls to have new Easter outfits. With this quick and easy pattern, you can crochet an Easter bonnet for each of their fashion dolls using yarn from your scrap basket. They also make cute decorations if your family has an Easter tree.
Doll Easter Bonnet
Materials:
12 yards I Love This Cotton yarn
Crochet hook size G (4.0 mm)
Yarn needle
Flowers, ribbons, or other decorations, as desired
Finished hat measures 2.75” across at brim.
Directions:
Rnd 1: Ch 2 (or magic circle), 6 sc in 2nd ch from hook. Do not join. Work in continuous rnds unless otherwise specified.
Rnd 2: 2 sc in each st (12 sc).
Rnd 3: *Sc in next st, 2 sc in next st,* repeat around (18 sc).
Rnd 4: Working in BLO, sc in each st.
Rnds 5-6: Sc in each st (both loops).
Rnd 7: Working in FLO, *sc in next st, 2 sc in next st,* repeat around (27 sc).
Rnd 8: Working in both loops, sc in each st.
Rnd 9: *Sc in next 2 sts, 2 sc in next st,* repeat around (36 sc).
Rnd 10: Sc in each st. Join with sl st. Fasten off white. Block hat.
Glue on ribbon or flowers as desired for the hat band. For a hanging decoration, cut a piece of cord or ribbon about 10” long. Pull through a stitch at the top of the back of the hat and make a knot.
Last year I was overwhelmed at the response to my Owl Eyeglass Holder. Because some crocheters aren’t familiar with the crocodile stitch, this week I created a video tutorial. This is a simple project for learning the crocodile stitch, and the owl is just so darn cute! Originally it was designed as an eyeglass holder, but it also makes a cute little plush toy.
Immerse yourself into crochet throughout the year with a Patreon subscription. Tier 2 for March is an especially good value – 7 crochet patterns for only $5.00. Join at the $25.00 level (Tier 4) and receive all patterns for the month plus a complete crochet kit. Designs are changed each month, so you always get something new to inspire you.
Spring Style Blog Hop
The Spring Style Blog Hop is a fabulous event that is co-hosted this March by Ned and Mimi and Itchin’ for some Stitchin’, and sponsored by the super-generous (and awesome!) folks at WeCrochet.
They have assembled a group of designers to bring you 31 of the very best spring crochet patterns, each one perfect for this time of year.
Every day between Mar 1 and Mar 31, there will be a different featured designer, and you can get their pattern for free for that day only.
The majority of the patterns are BRAND NEW DESIGNS, so this is an amazing chance to get your hands on a never-seen-before pattern! Each pattern has been specially designed for a to add a touch of spring style to your home or closet.
Join the 2021 Crochet Summit to learn all about Archie the Donkey!
The 2021 Crochet Summit is quickly approaching! With over 40 classes from 40+ world-renowned teachers (including me!), this is the online crochet event of the year. Learn to make amigurumi, fun fashion, home decor, and more. Your friends and family will love your new skills as you show off your finished projects! Attend the Crochet Summit from April 5th – 9th FREE!
Can’t attend the live event? Check out our VIP All Access Pass for access all year long!
2021 is really shaping up to be an exciting year in crochet! Stay tuned for Mother’s Day designs in April and a special National Zoo & Aquarium blog hop in June.
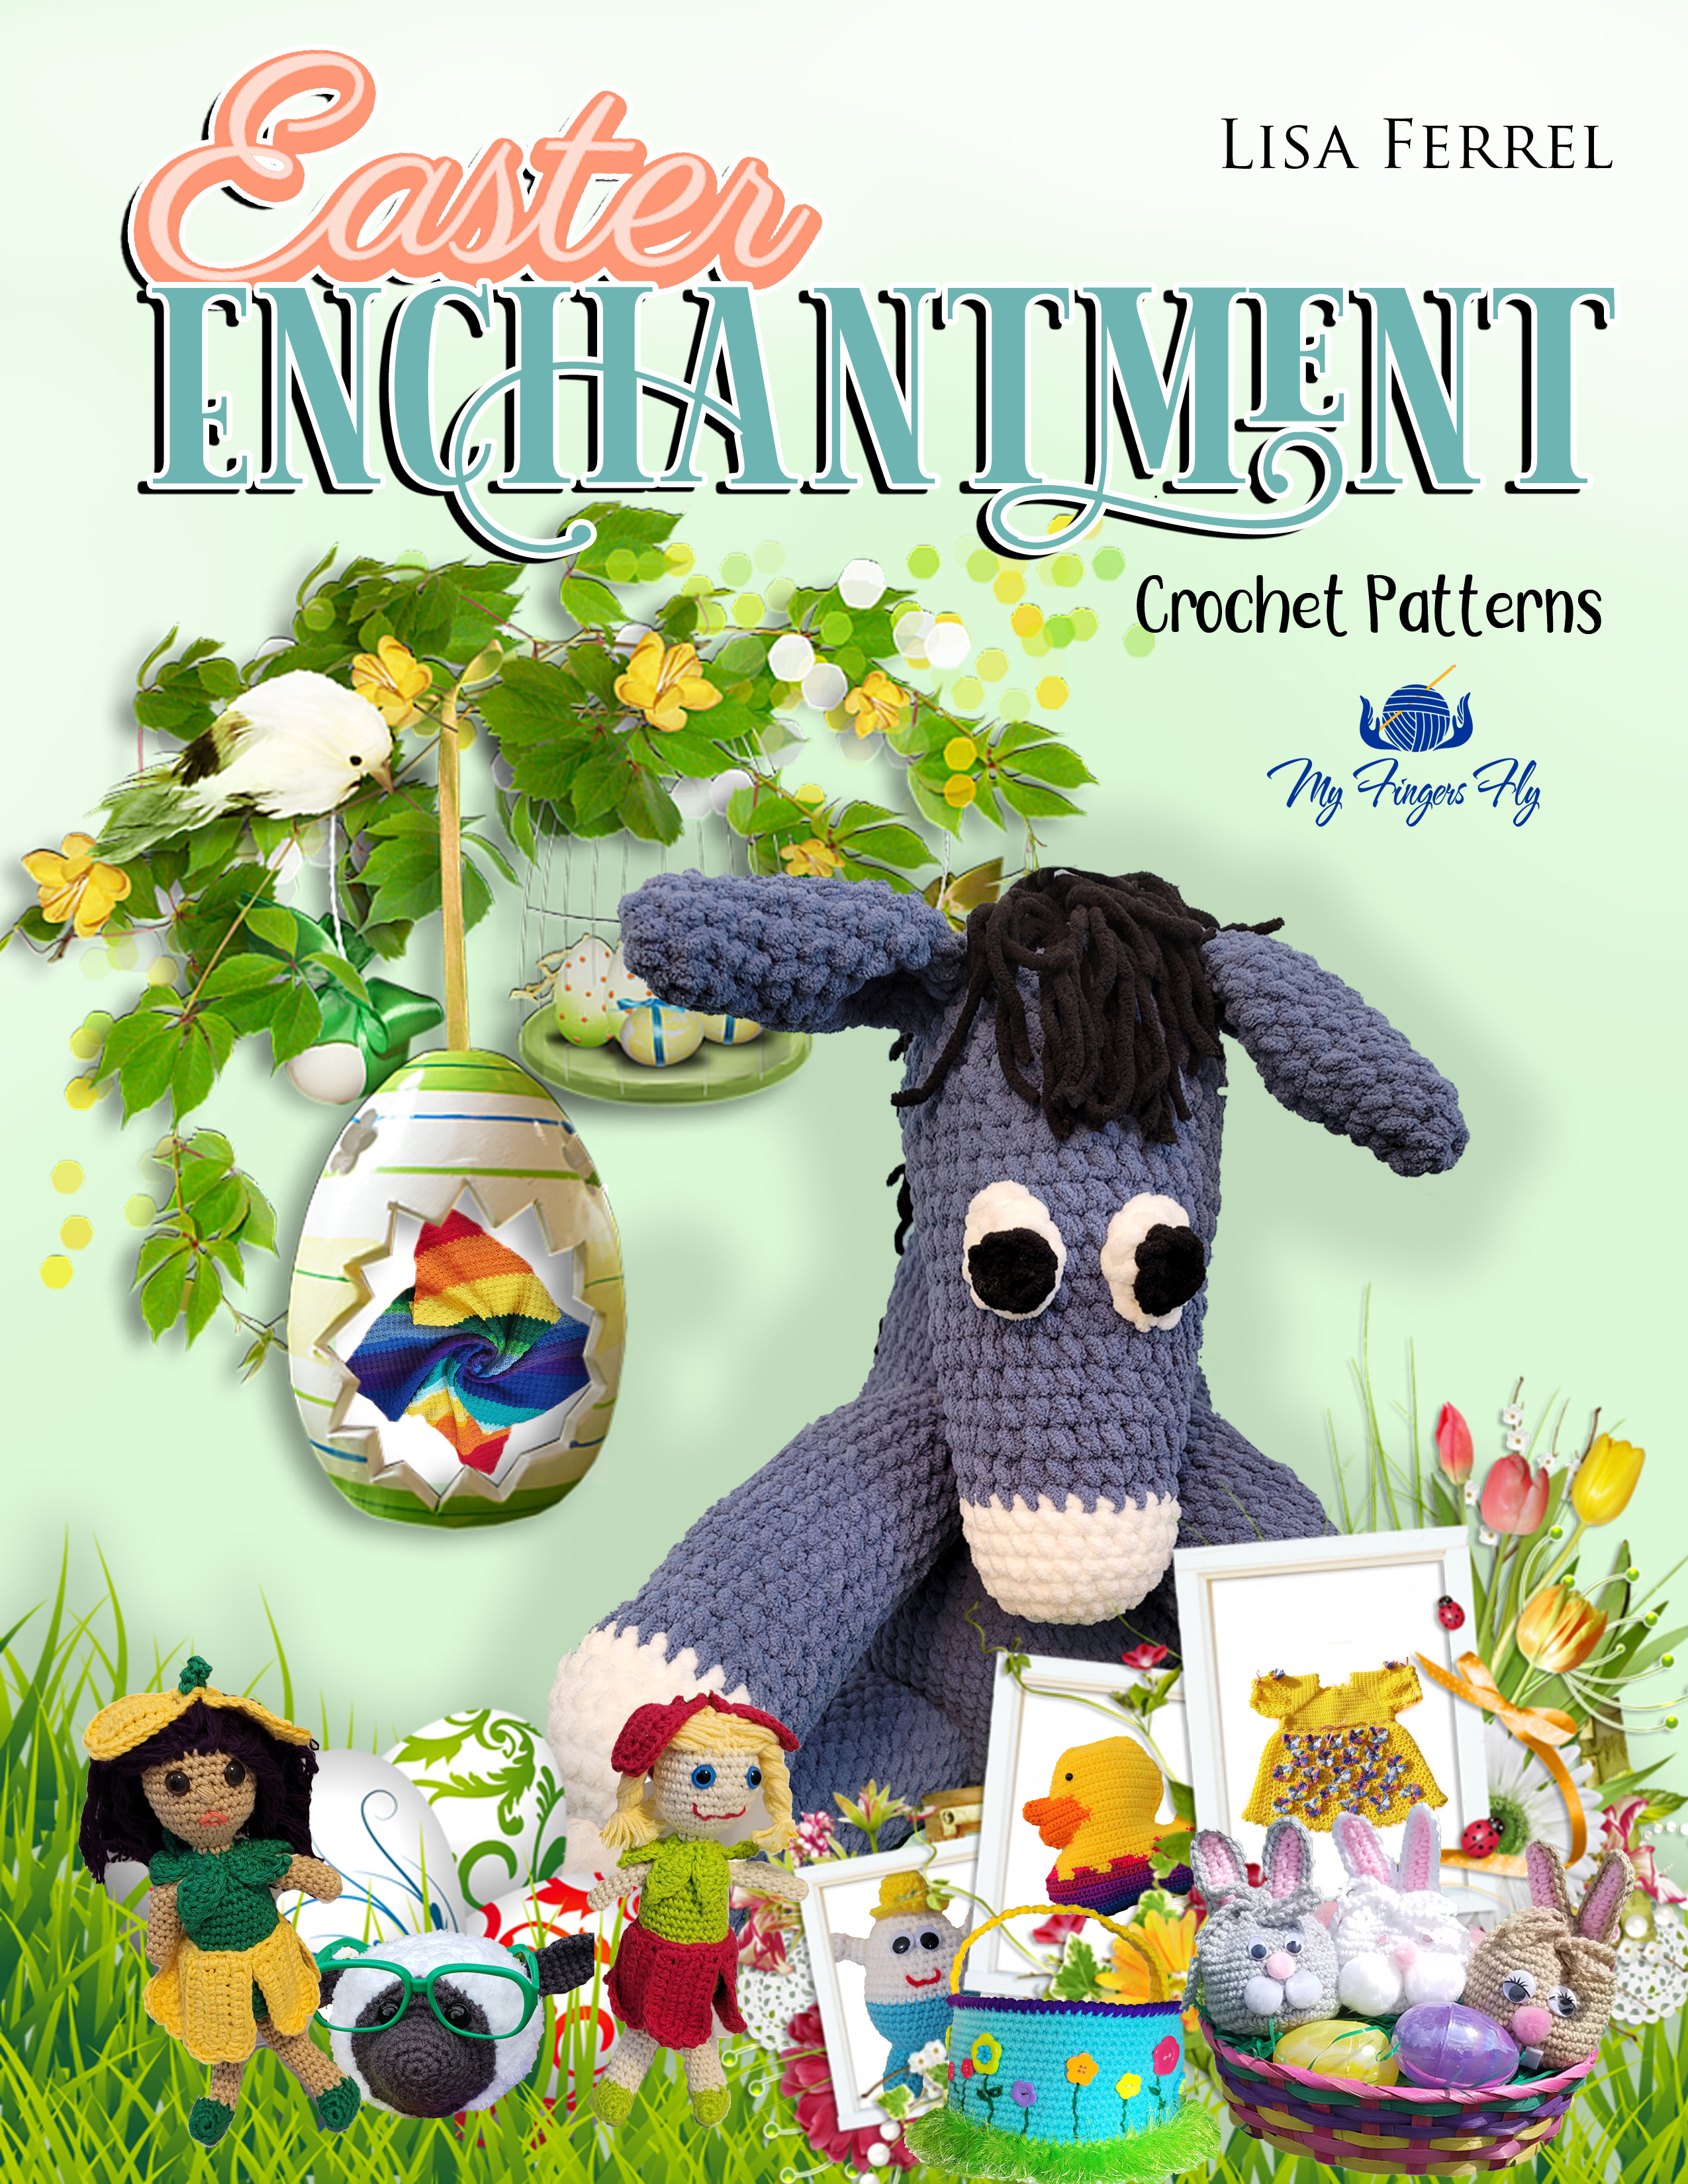
As far as My Fingers Fly, March has come in like a lion with so much exciting news! Easter Enchantment Crochet Patterns Ebook is now available and will be on sale for $10.00 through 3/14/2021. This collection of over 20 crochet patterns will delight the entire family this Easter – from a large donkey plush toy made with blanket yarn for the littles to a Texas bluebonnet shawl for Mom. Make a few bunny treat bags and fill them with candy, hook an Easter basket for the flower child in your family, or crochet Baby a colorful butterfly dress for Easter.
Paperback and Kindle versions also available on Amazon.
Flower Easter Basket Crochet Pattern
Included in the book is the Flower Easter Basket crochet pattern which is this week’s free pattern. Using a double strand of worsted, a little bit of eyelash yarn for the “grass” and a few colorful buttons to make a field of flowers, this simple pattern can be worked up in an evening.
Flower Easter Basket Crochet Pattern
Materials:
Worsted weight yarn:
2.5 oz. lime green
3.5 oz. baby blue
0.5 oz. yellow
0.5 oz. purple
4 yards leaf green
Eyelash yarn – 1 oz. lime green
Crochet hook size H (5.00 mm)
Multicolored flower buttons
Yarn needle
Needle & thread
9” cardboard circle
Stitch markers are highly recommended for this type of yarn.
Measures approximately 9” diameter by 5” deep
Gauge: 7 sts = 2”, 7 rows = 2”
Directions:
BASKET:
Rnd 1: With 2 strands of lime green yarn, ch 2 (or magic circle), 6 sc in 2nd ch from hook. Do not join. Work in continuous rnds throughout unless otherwise specified.
Rnd 2: 2 sc in each sc around (12 sc).
Rnd 3: *Sc in next sc, 2 sc in next sc,* repeat around (18 sc).
Rnd 4: *Sc in next 2 sc, 2 sc in next sc,* repeat around (24 sc).
Rnd 5: *Sc in next 3 sc, 2 sc in next sc,* repeat around (30 sc).
Rnd 6: *Sc in next 4 sc, 2 sc in next sc,* repeat around (36 sc).
Rnd 7: *Sc in next 5 sc, 2 sc in next sc,* repeat around (42 sc).
Rnd 8: *Sc in next 6 sc, 2 sc in next sc,* repeat around (48 sc).
Rnd 9: *Sc in next 7 sc, 2 sc in next sc,* repeat around (54 sc).
Rnd 10: *Sc in next 8 sc, 2 sc in next sc,* repeat around (60 sc).
Rnd 11: *Sc in next 9 sc, 2 sc in next sc,* repeat around (66 sc).
Rnd 12: *Sc in next 10 sc, 2 sc in next sc,* repeat around (72 sc).
Rnd 13: *Sc in next 11 sc, 2 sc in next sc,* repeat around (78 sc).
Rnd 14: *Sc in next 12 sc, 2 sc in next sc,* repeat around (84 sc).
Rnd 15: *Sc in next 13 sc, 2 sc in next sc,* repeat around (90 sc).
Rnd 16: Working in BLO, sc in each st. Join with sl st at end of rnd. Turn. Cut one strand of lime green.
Rnd 17: Add one strand of eyelash yarn and work the next 3 rows with 1 strand of worsted and 1 strand of eyelash. Working in both loops, sc in each st.
Rnds 18-19: Sc in each st. Join with sl st at end of Rnd 19. Fasten off both strands of yarn.
Rnd 20: Attach double strand of blue yarn. Turn, sc in each st. Do not join.
Rnds 21-34: Sc in each st. Join with sl st at end of Rnd 34. Fasten off both strands of blue yarn.
Rnd 35: Attach double strand of purple yarn. Work crab st in each st. Join with sl st. Fasten off purple yarn.
HANDLE:
Row 1: With double strand of yellow yarn, ch 5, sc in 2nd ch from hook and next 3 ch.
Rows 2-40: Ch 1, turn, sc in each st. Fasten off yellow at end of Rnd 40. Sew one end of handle to each side of basket. For extra strength, sew Rows 1 and 40 to Rnd 34 of basket with blue yarn, then sew Rows 2 and 39 of handle to Rnd 35 of basket with purple yarn.
FLOWERS:
Use single strand of leaf green yarn and straight st to embroider flower stems approximately 1.5”-2” apart around basket, varying in length from “grass” portion to 1”-3” high. At top of each stem, sew a flower button.
BOTTOM:
If you would like a firm bottom to the basket, measure the bottom diameter of the basket (it should be approximately 9”).
Mark a circle on cardboard with 9” diameter (or desired diameter), cut and place it into bottom of basket.
Fashion Doll Easter Bonnet Crochet Pattern – use worsted yarn and a size G hook to turn the Suffragette Hat into an Easter Bonnet for your fashion dolls.
Bruno went to the vet this week for his wellness check, and he’s already 9 pounds. With a cold front moving in this weekend, I updated the puppy sweater pattern to a larger size. Since Valentine’s Day is this weekend, I made it in red!
Pug Puppy Sweater Small
Materials:
Sport weight yarn –
150 yards MC
40 yards CC
Size F (3.75 mm) & G (4.0 mm) crochet hooks
Yarn needle
Finished Small sweater measures approximately 8.5” long by 18” circumference.
Gauge: 5 hdc = 1”, 3 rows = 1”
Directions (Small):
BODY:
Rnd 1: With MC yarn and G hook, ch 61, hdc in 2nd ch and each remaining ch (60 hdc). Join with sl st in first hdc.
Rnd 2: Ch 1, turn, *hdc in next 5 sts, 2 hdc in next st,* repeat around (70 hdc).
Rnd 3: Ch 1, turn, *hdc in next 6 sts, 2 hdc in next st,* repeat around (80 hdc).
Rnd 4: Ch 1, turn, hdc in each st. Join with sl st.
Rnd 5: (leg openings) Ch 1, turn, hdc in first 3 sts, ch 16, sk 16 sts, hdc in next 42 sts, ch 16, sk 16 sts, hdc in last 3 sts. Join with sl st.
Rnd 6: Ch 1, turn, hdc in first 3 sts, hdc in each ch, hdc in next 42 sts, hdc in each ch, hdc in last 3 sts (80 hdc). Join with sl st.
Rnds 8-12: Ch 1, turn, hdc in each st. Join with sl st.
Rnds 13-20: Ch 1, turn, hdc in each st around, dec over last 2 sts (72 hdc at end of Rnd 20).
Rnd 21: Ch 1, turn, sl st in first 4 sts, hdc dec over next 2 sts, hdc in next 60 sts, hdc dec over next 2 sts, leave remining 4 sts unworked (62 hdc).
Rnd 22: Ch 1, turn, Hdc dec over first 2 sts, hdc in next 58 sts, hdc dec over last 2 sts (60 hdc).
Rnd 23: Ch 1, turn, Hdc dec over first 2 sts, hdc in next 56 sts, hdc dec over last 2 sts (58 hdc).
Rnd 24: Ch 1, turn, Hdc dec over first 2 sts, hdc in next 54 sts, hdc dec over last 2 sts (56 hdc). Fasten off MC.
Rnd 25: With right side facing, attach CC yarn at center bottom of Rnd 24. Sc in 4 sts, sc in the
edges of Rnds 21-24, sc around Rnd 24, sc in edges of Rnds 21-24, sc in last 4 sts of Rnd 24. Join with sl st. Fasten off CC.
LEG OPENINGS:
With CC yarn, sc around openings in Rnd 6.
COLLAR:
Rnd 1: Using CC and F hook, hdc in unused lps of starting ch, join with sl st in first hdc (60 hdc).
Rnd 2: Ch 1, *hdc in 10 sts, dec,* repeat around (55 hdc). Join with sl st.
Rnds 3-5: Ch 1, *fpdc, bpdc,* repeat round. Join with sl st. Fasten off at end of Rnd 5.
Weave in all ends.
Along with outgrowing his sweater, he has also outgrown the cardboard box he claimed as his bed the day we brought him home. I got a bigger cardboard box and some fleece I had in my fabric bin and made him a new bed. Now he never wants to leave it!
Snowflake Kitchen Boa Crochet Pattern in Tunisian Stitch
I made several styles of kitchen boas for Christmas gifts, and this is one that can brighten up your kitchen throughout the winter. If you’re well versed in Tunisian stitch, this will be a simple project for you. If you’ve never done it before, this is the perfect easy project to learn Tunisian or afghan stitch. There’s also a YouTube tutorial to help you through it. https://youtu.be/_4QHPqtdys4
Materials:
I Love This Cotton worsted weight yarn
3.5 oz blue
1 oz. white
Crochet hook size G (4.0 mm)
Yarn needle
8” x 20” (20 cm x 51 cm) Kitchen Towel
Needle and Thread
Directions:
Row 1: With blue yarn, ch 20, Tunisian st in 2nd ch and each rem ch (19 sc). This should measure approximately 4” across.
Row 2: Work in Tunisian st until piece measures 37”. Bind off blue yarn. When sewn to both sides of the kitchen towel, the boa will measure approximately 68”. If shorter or longer boa is needed, adjust the length of the crocheted piece.
Work snowflake pattern in white yarn using cross-stitch (or duplicate st if you prefer). Skip 2 rows and work another snowflake above it. Repeat 2 snowflakes on opposite end.
Cross-Stitch Chart
Cut towel in half and serge or zigzag raw edges. Fold edges to middle and sew edge.
Fold edges again to middle and sew in place. This will give you a width of approximately 4”.
Hand sew or machine sew this edge of towel to back side of crocheted piece.
Get 50% off all plush toy patterns through 1/31/2021 at http://www.myfingersfly.etsy.com. Also some clearance yarn available along with a few handmade gifts. Great bargains if you’re shopping for Valentine’s Day gifts!