There’s something magical about hummingbirds. Tiny, colorful, and full of energy, they bring a cheerful touch anywhere they appear—and now they can brighten your kitchen too!
This Hummingbird Coaster Crochet Pattern is the perfect combination of beauty and function. Whether you’re decorating your home for spring and summer or looking for a thoughtful handmade gift, these charming crochet pieces are a fun project that works up beautifully in colorful cotton yarn.
Why Crocheters Love Hummingbird Projects
Bird-themed crochet patterns continue to be popular because they add personality and warmth to everyday spaces. Hummingbirds especially symbolize:
- joy
- energy
- happiness
- beauty
- love of nature
Their vibrant colors make them ideal for creative yarn combinations, allowing you to customize your project with bright tropical shades or soft pastel tones.
A Fun and Functional Crochet Project
One of the best things about this pattern is that it’s both decorative and practical. Use your finished hummingbirds as drink coasters. Make a couple of changes to the pattern to create a potholder or hot pad. They make great kitchen décor and housewarming gifts. I recently made the set for my Mom for Mother’s Day.
Great for Stash Busting
If you have leftover cotton yarn hiding in your stash, this is the perfect project to use it up! Small colorful projects like these are satisfying to make and allow you to experiment with fun color combinations without needing large amounts of yarn.
Try:
- bright jewel tones
- rainbow hummingbirds
- realistic greens and blues
- floral-inspired palettes
Beginner-Friendly and Relaxing
This pattern is enjoyable for confident beginners and experienced crocheters alike. The smaller size makes it a relaxing weekend project, while the finished pieces are quick enough to make several for gifts or seasonal décor.
Crochet projects inspired by nature often feel especially calming, and stitching colorful hummingbirds can be a wonderful creative escape after a busy day.
Handmade Gifts with Heart
Handmade kitchen décor always feels extra special because it combines beauty with everyday usefulness. A matching hummingbird coaster and potholder set makes a thoughtful gift for:
- bird lovers
- gardeners
- moms and grandmothers
- teachers
- nature enthusiasts
- housewarming celebrations
Pair them with:
☕ a favorite mug
🌸 tea towels
🕯 candles
🍵 specialty teas or coffee
…for an easy handmade gift bundle.
Add Some Color to Your Crochet Collection
Whether you’re decorating your own kitchen or making gifts for others, this hummingbird crochet pattern is a cheerful addition to your project list. Bright, whimsical, and practical, these little birds are sure to bring smiles with every stitch.
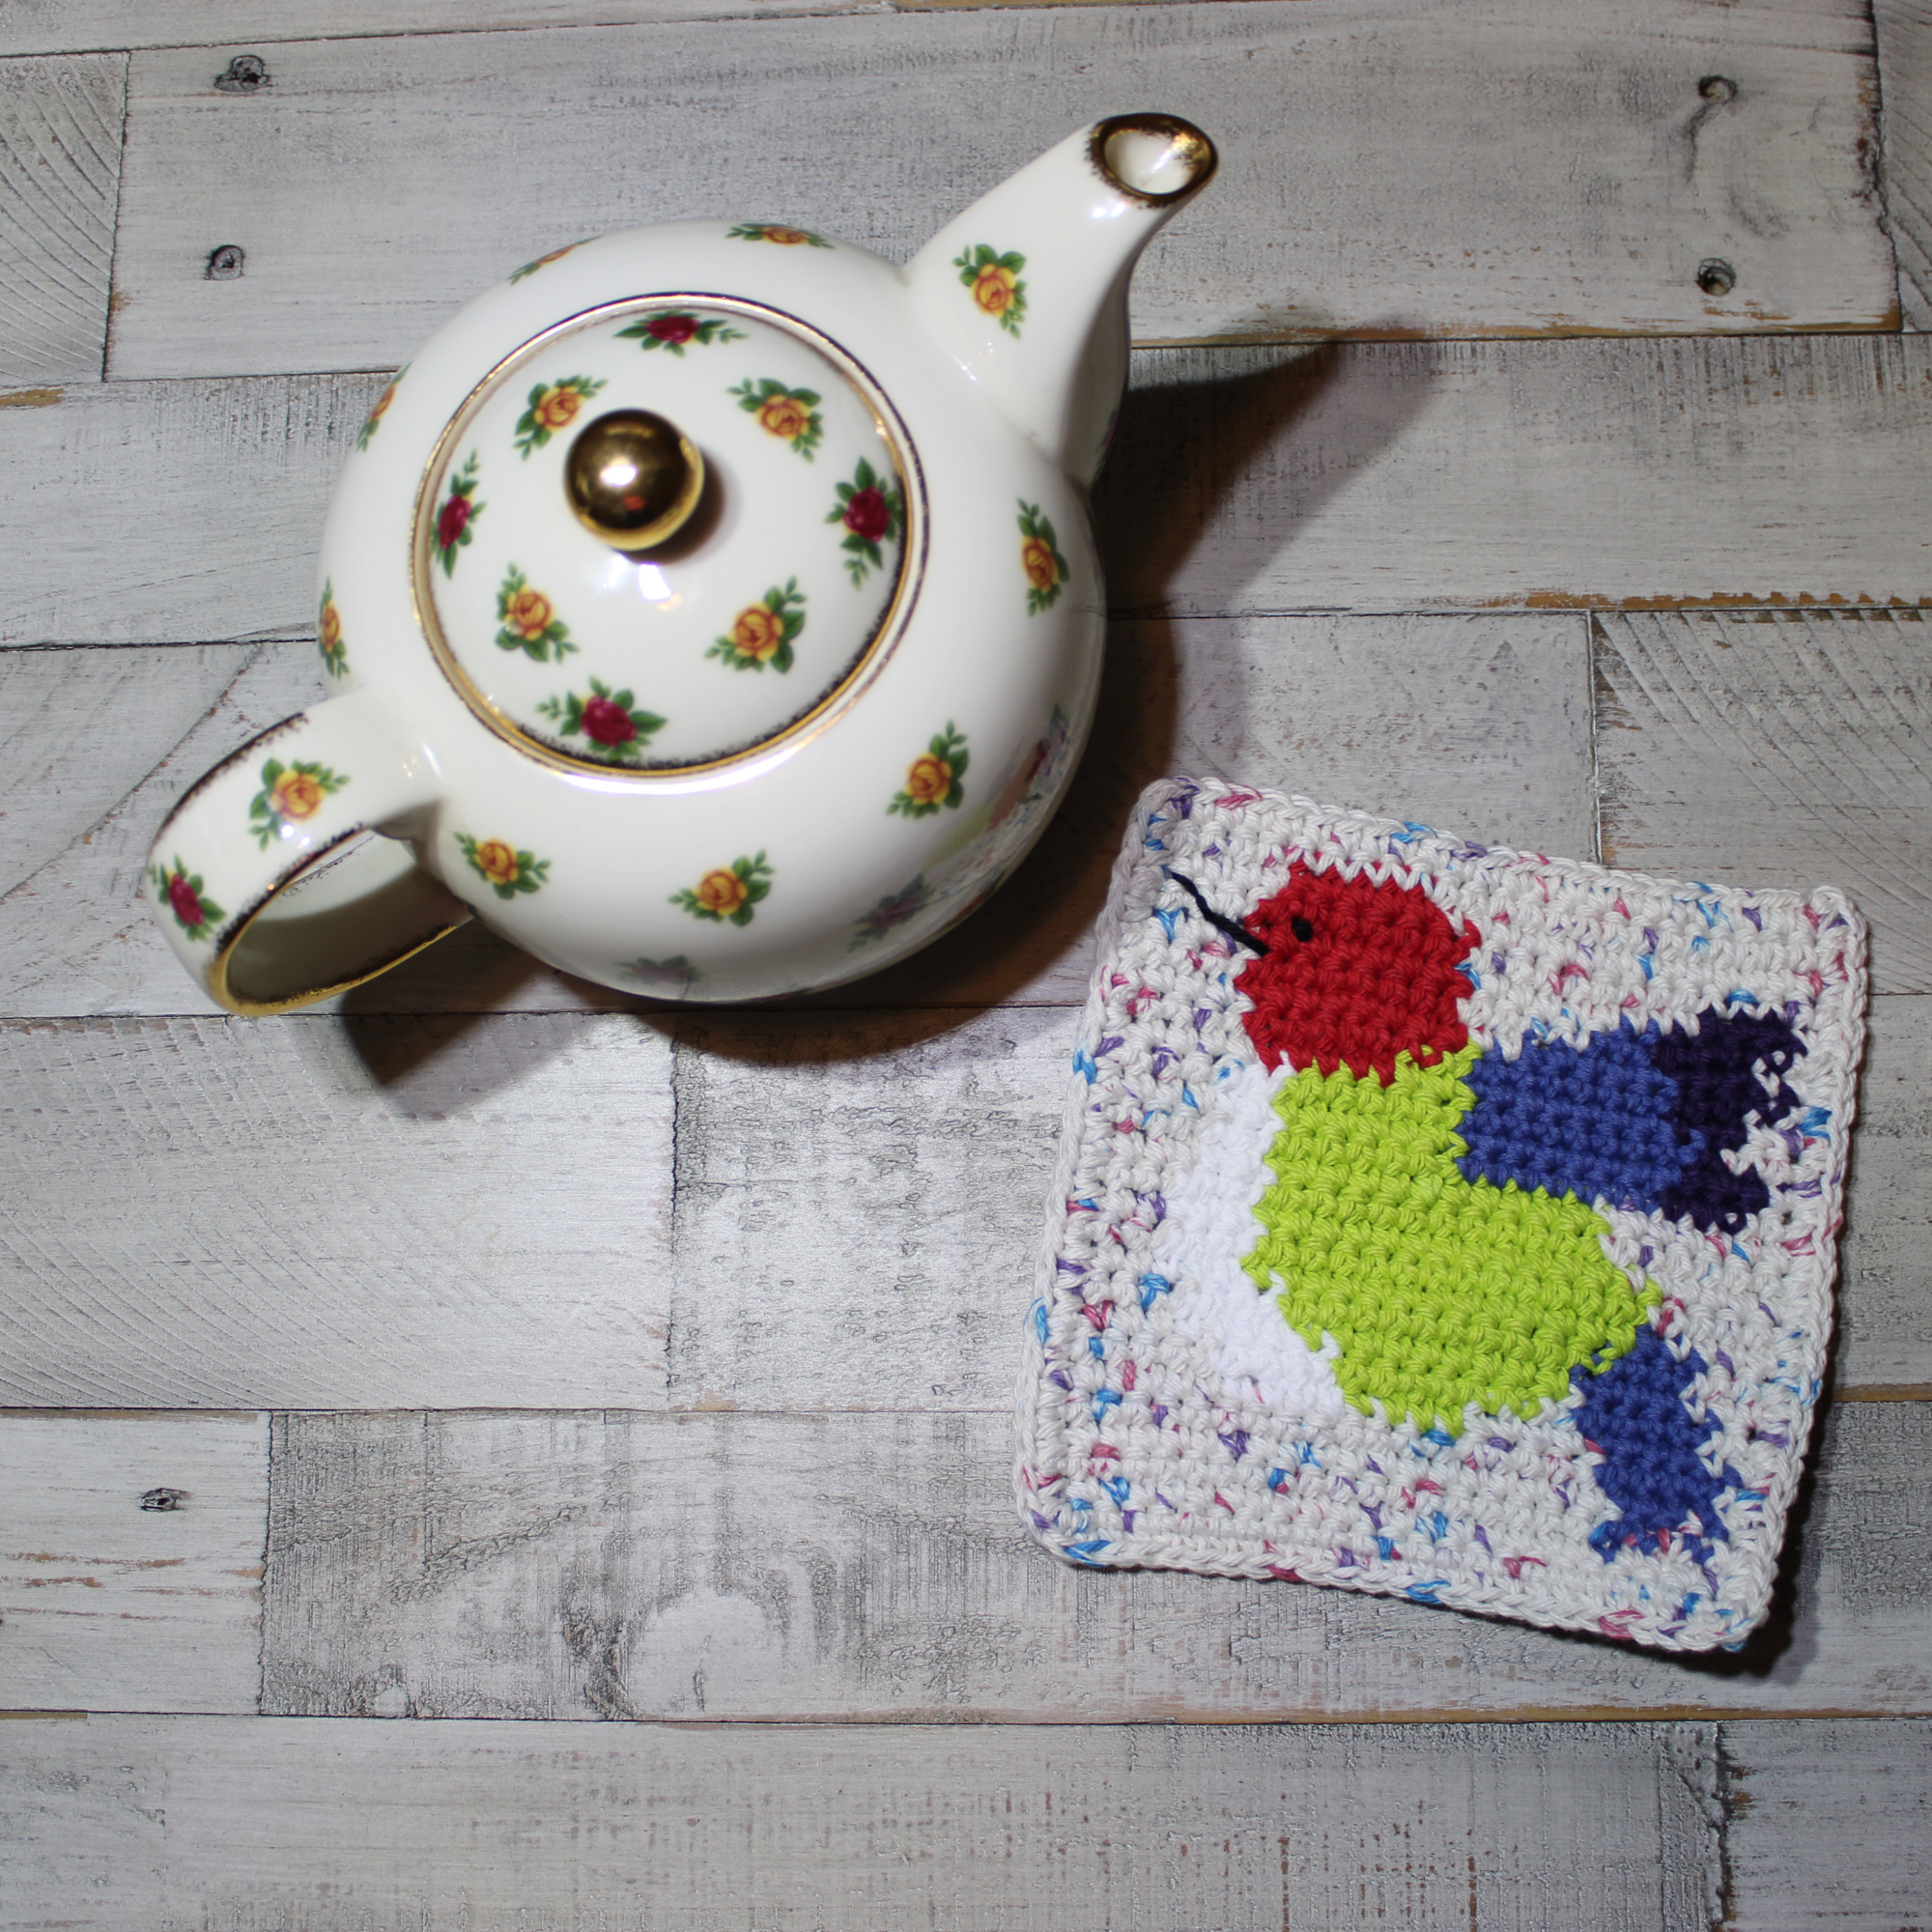
Hummingbird Coaster
Materials:
Cotton worsted weight yarn:
450 yards MC (background)
5 yards red
8 yards white
5 yards blue
10 yards green
3 yards purple
1 yard black
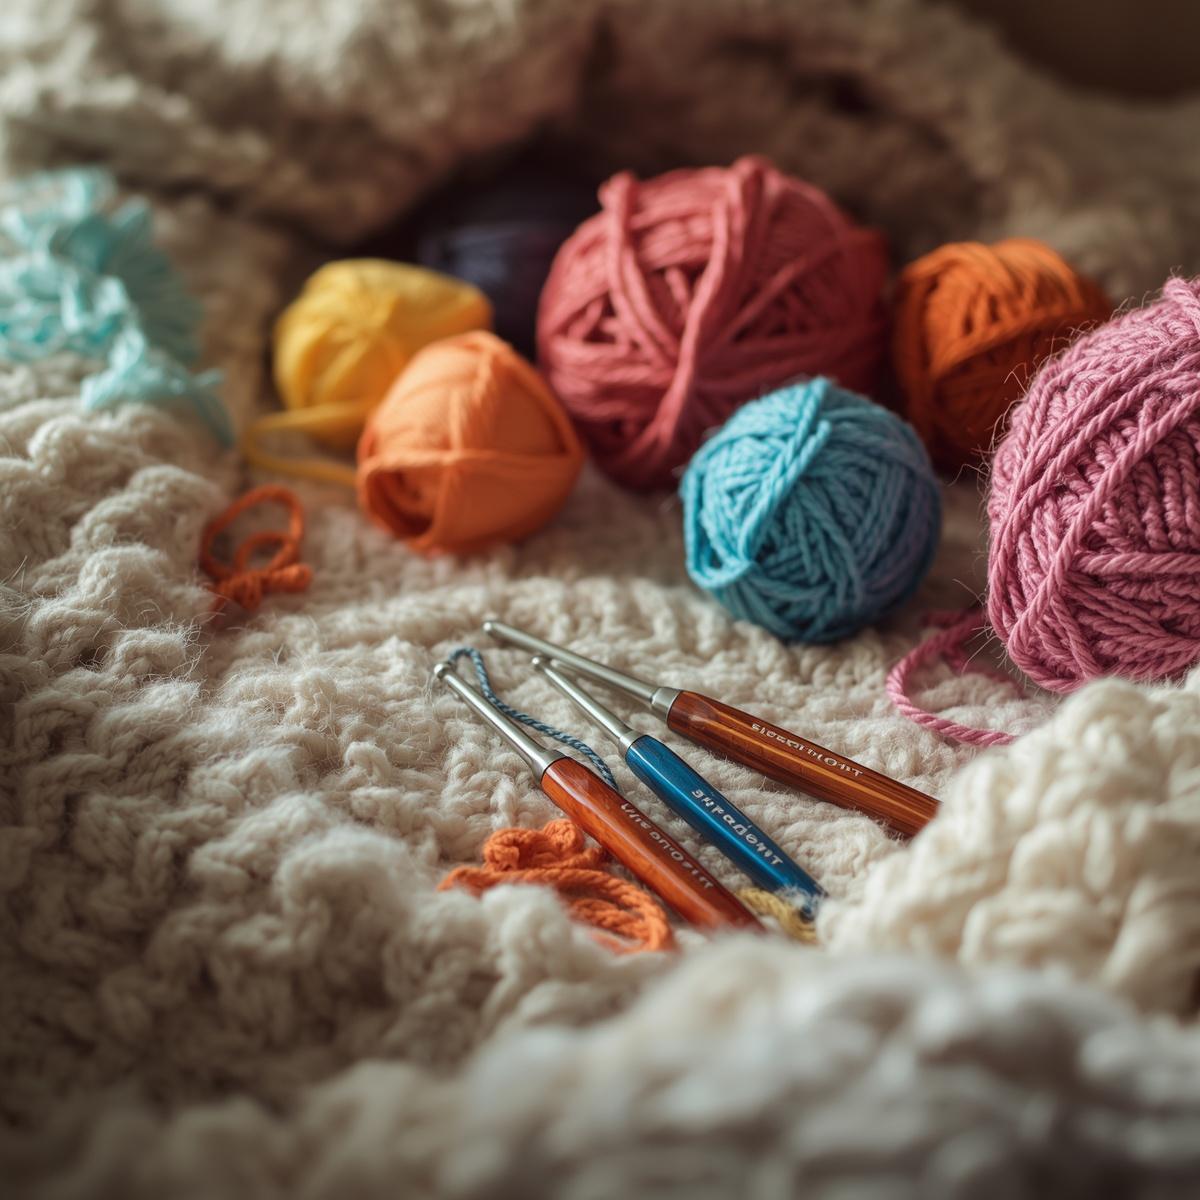
Size G (4.0 mm) crochet hook
Gauge: 22 sts = 4”, 22 rows = 4”
Coaster measures approximately 4” square.
Color change tutorial: https://youtu.be/Csk-T2chj0A?si=mYKa4As3A6zxcaoE
Coaster Directions:
Use a single strand of yarn and size G (4.0 mm) hook
Row 1: With MC yarn, ch 25, sc in 2nd ch from hook and in each remaining ch (24 sc).
Row ): Ch 1, turn, sc across: 4 MC, 1 blue, 19 MC.
Row 3: Ch 1, turn, sc across: 19 MC, 2 blue, 1 MC, 1 blue, 1 MC.
Row 4: Ch 1, turn, sc across: 1 MC, 4 blue, 19 MC.
Row 5: Ch 1, turn, sc across: 18 MC, 5 blue, 1 MC.
Row 6: Ch 1, turn, sc across: 2 MC, 4 blue, 4 MC, 4 green, 4 white, 6 MC. .
Row 7: Ch 1, turn, sc across: 5 MC, 4 white, 7 green, 1 MC, 5 blue, 2 MC.
Row 8: Ch 1, turn, sc across: 3 MC, 4 blue, 9 green, 4 white, 4 MC.
Row 9: Ch 1, turn, sc across: 4 MC, 3 white, 11 green, 2 blue, 4 MC.
Row 10: Ch 1, turn, sc across: 4 MC, 1 blue, 13 green, 3 white, 3 MC. Fasten off blue.
Row 11: Ch 1, turn, sc across: 3 MC, 3 white, 13 green, 5 MC.
Row 12: Ch 1, turn, sc across: 6 MC, 12 green, 3 white, 3 MC.
Row 13: Ch 1, turn, sc across: 3 MC, 3 white, 11 green, 7 MC.
Row 14: Ch 1, turn, sc across: 7 MC, 11 green, 2 white, 4 MC.
Row 15: Ch 1, turn, sc across: 4 MC, 2 white, 6 green, 7 blue, 3 purple, 2 MC.
Row 16: Ch 1, turn, sc across: 1 MC, 3 purple, 8 blue, 6 green, 2 white, 4 MC.
Row 17: Ch 1, turn, sc across: 4 MC, 2 white, 6 green, 8 blue, 1 purple, 3 MC. Fasten off white.
Row 18: Ch 1, turn, sc across: 2 MC, 3 purple, 7 blue, 2 green, 5 red, 5 MC.
Row 19: Ch 1, turn, sc across: 4 MC, 7 red, 1 green, 7 blue, 4 purple, 1 MC. Fasten off green.
Row 20: Ch 1, turn, sc across: 2 MC, 3 purple, 5 blue, 2 MC, 8 red, 4 MC.
Row 21: Ch 1, turn, sc across: 4 MC, 7 red, 5 MC, 2 blue, 5 purple, 1 MC.
Row 22: Ch 1, turn, sc across: 1 MC, 3 purple, 9 MC, 7 red, 4 MC.
Row 23: Ch 1, turn, sc across: 4 MC, 7 red, 13 MC.
Row 24: Ch 1, turn, sc across: 14 MC, 5 red, 5 MC. Fasten off red.
Row 25: Ch 1, turn, using MC only, sc in each st.
Edging:
Ch 1, turn,sc in 23 sts, 2 sc in last st. Sc down the side with 1 sc in ends of Rows 2-25, 2 sc in end of Row 1. Working across the bottom, work 1 sc in each unused lp of Row 1 with 2 sc in last lp. Sc up other side with 1 sc in each row end Rows 1-24 and 2 sc in end of Row 25. Join with sl st. Fasten off yarn. Weave in all ends.

PDF download includes directions for coaster and potholder with color-coded chart
Hummingbird Coaster and Potholder Crochet Pattern PDF


ICYMI (In Case You Missed It)


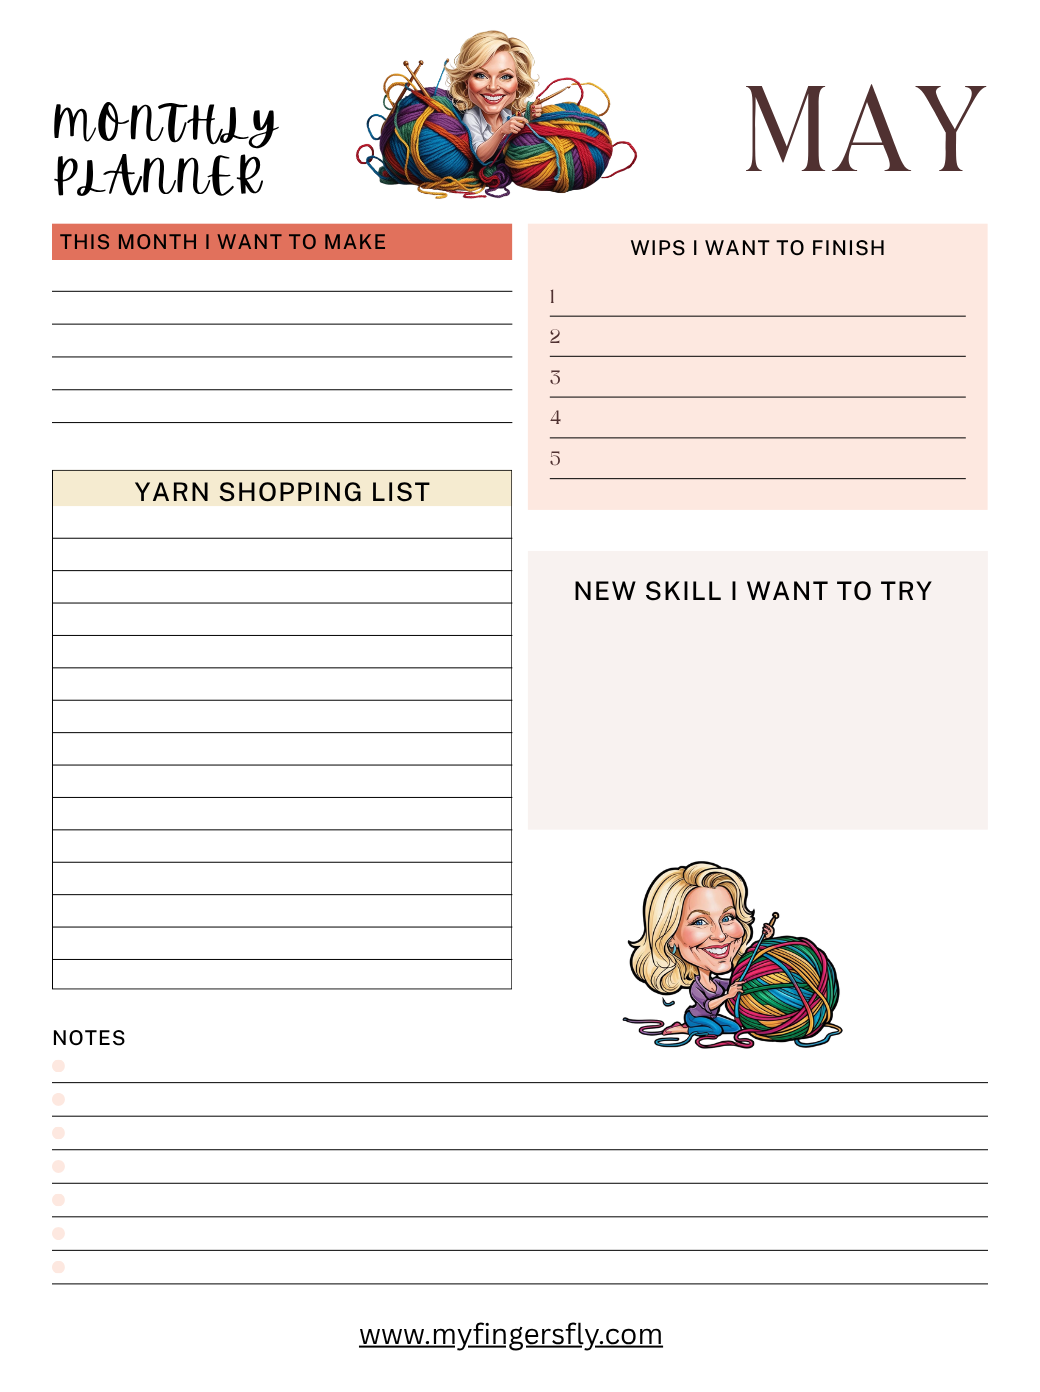
May Crochet Planner – free download
Affiliate Links
This post contains affiliate links. If you use these links to buy something, we may earn a commission. Thanks for helping support my crochet blog.
![]()
![]()