Posted on 11 Comments

Save the Eagles Day – Baby Eagle Amigurumi Crochet Pattern

baby eagle

Baby Eagle Plush Toy Crochet Pattern

In honor of Save the Eagles Day, this week’s free pattern is a baby eagle plush toy.

While sitting in my back yard last summer, an eagle landed in an oak tree. Since then, I have been obsessed with eagles and could not get this design out of my mind. Finally it happened! Now you can make your own baby eagle stuffed animal. Crochet a couple for a patriotic wreath, make some for the children in your family, or change the color of yarn to craft a different breed of baby bird. When working with fuzzy yarn or eyelash yarn, use the back side of the stitches as the right side of the work.

Skill level: Easy

Finished eagle measures approximately: 7″ tall.

Materials needed:

  • Yarn Bee Cloud 9 (or Bernat Pipsqueak) yarn ½ oz. gray or white
  • Yellow or tan sport yarn 2 yards
  • Crochet hook size G (4.00 mm)
  • Yarn needle
  • Polyfil
  • 2 black safety eyes 8 mm
  • Stitch markers are highly recommended for this type of yarn.

Directions:

HEAD AND BODY:

Rnd 1: With gray or white yarn and G hook, ch 2 (or magic circle), 6 sc in 2nd ch from hook. Do not join. Work in continuous rnds throughout.

Rnd 2: 2 sc in each sc around (12 sc).

Rnd 3: *Sc in next sc, 2 sc in next sc,* repeat around (18 sc).

Rnd 4: *Sc in next 2 sc, 2 sc in next sc,* repeat around (24 sc).

Rnds 5-8: Sc in each st. Insert safety eyes at Rnd 5. If making for a baby, use double strand of black to make French knots for the eyes.

Rnd 9: *Dec, sc in next 6 sts,* repeat twice (21 sc).

Rnd 10: Sc in each st.

Rnd 11: *Dec, sc in next 5 sts,* repeat twice (18 sc).

Rnds 12-15: Sc in each st. Stuff head and neck firmly.

Rnd 15: *Sc in next 5 sts, 2 sc in next st,* repeat twice (21 sc).

Rnd 16: *Sc in next 6 sts, 2 sc in next st,* repeat twice (24 sc).

Rnd 17: Sc in each st.

Rnd 18: *Sc in next 3 sts, 2 sc in next st,* repeat around (30 sc).

Rnd 19: Sc in each st.

Rnd 20: *Sc in next 4 sts, 2 sc in next st,* repeat around (36 sc).

Rnd 21: *Sc in next 5 sts, 2 sc in next st,* repeat around (42 sc).

Rnds 22-31: Sc in each st.

Rnd 32: *Dec, sc in next 5 sts,* repeat around (36 sc).

Rnd 33: *Dec, sc in next 4 sts,* repeat around (30 sc).

Rnd 34: *Dec, sc in next 3 sts,* repeat around (24 sc).

Rnd 35: *Dec, sc in next 2 sts,* repeat around (18 sc). Stuff firmly.

Rnd 36: *Dec, sc in next st,* repeat around (12 sc).

Rnd 37: Dec around (6 sc). Join with sl st. Fasten off leaving 6” length. Sew opening closed.

BEAK:

Rnd 1: With tan or yellow sport yarn, ch 2 (or magic circle), 3 sc in 2nd ch. Do not join. Work in continuous rounds throughout.

Rnd 2: 2 sc in first st, sc in next 2 sts (4 sc).

Rnd 3: 2 sc in first st, sc in next 3 sts (5 sc).

Rnd 4: 2 sc in first st, sc in next 4 sts (6 sc).

Rnd 5: *2 sc in next st, sc in next 2 sts,* repeat once (8 sc).

Rnd 6: Sc in each st. Join with sl st. Fasten off leaving 9” length. Lay beak flat and sew closed. Sew to face below eyes.

WINGS: (Make 2)

Row 1: With gray (or white) yarn, ch 8, hdc in 2nd ch and in next 6 chs. (7 hdc).

Row 2: Ch 1, turn, 2 hdc in first st, hdc in remaining sts (8 hdc).

Row 3: Ch 1, turn, hdc in each st with 2 hdc in last st (9 hdc). Fasten off leaving 12” length. Sew to sides at Rnd 21 with longer edge toward the front. Weave in all ends.

PDF download available at My Fingers Fly.

Bald Eagle Potholder Crochet Pattern

Final Day of Zoo Blog Hop – Birds

More Amigurumi Patterns

Zoo Blog Hop Day 23 – Sheep

Baby Gator Amigurumi – Summer Amigurumi Crochet Bundle

Jack the Sloth

Miles the Jazzy Elephant Amigurumi

Peachy Queen Amigurumi Goes to Atlanta

Addi Fat Cat Pattern

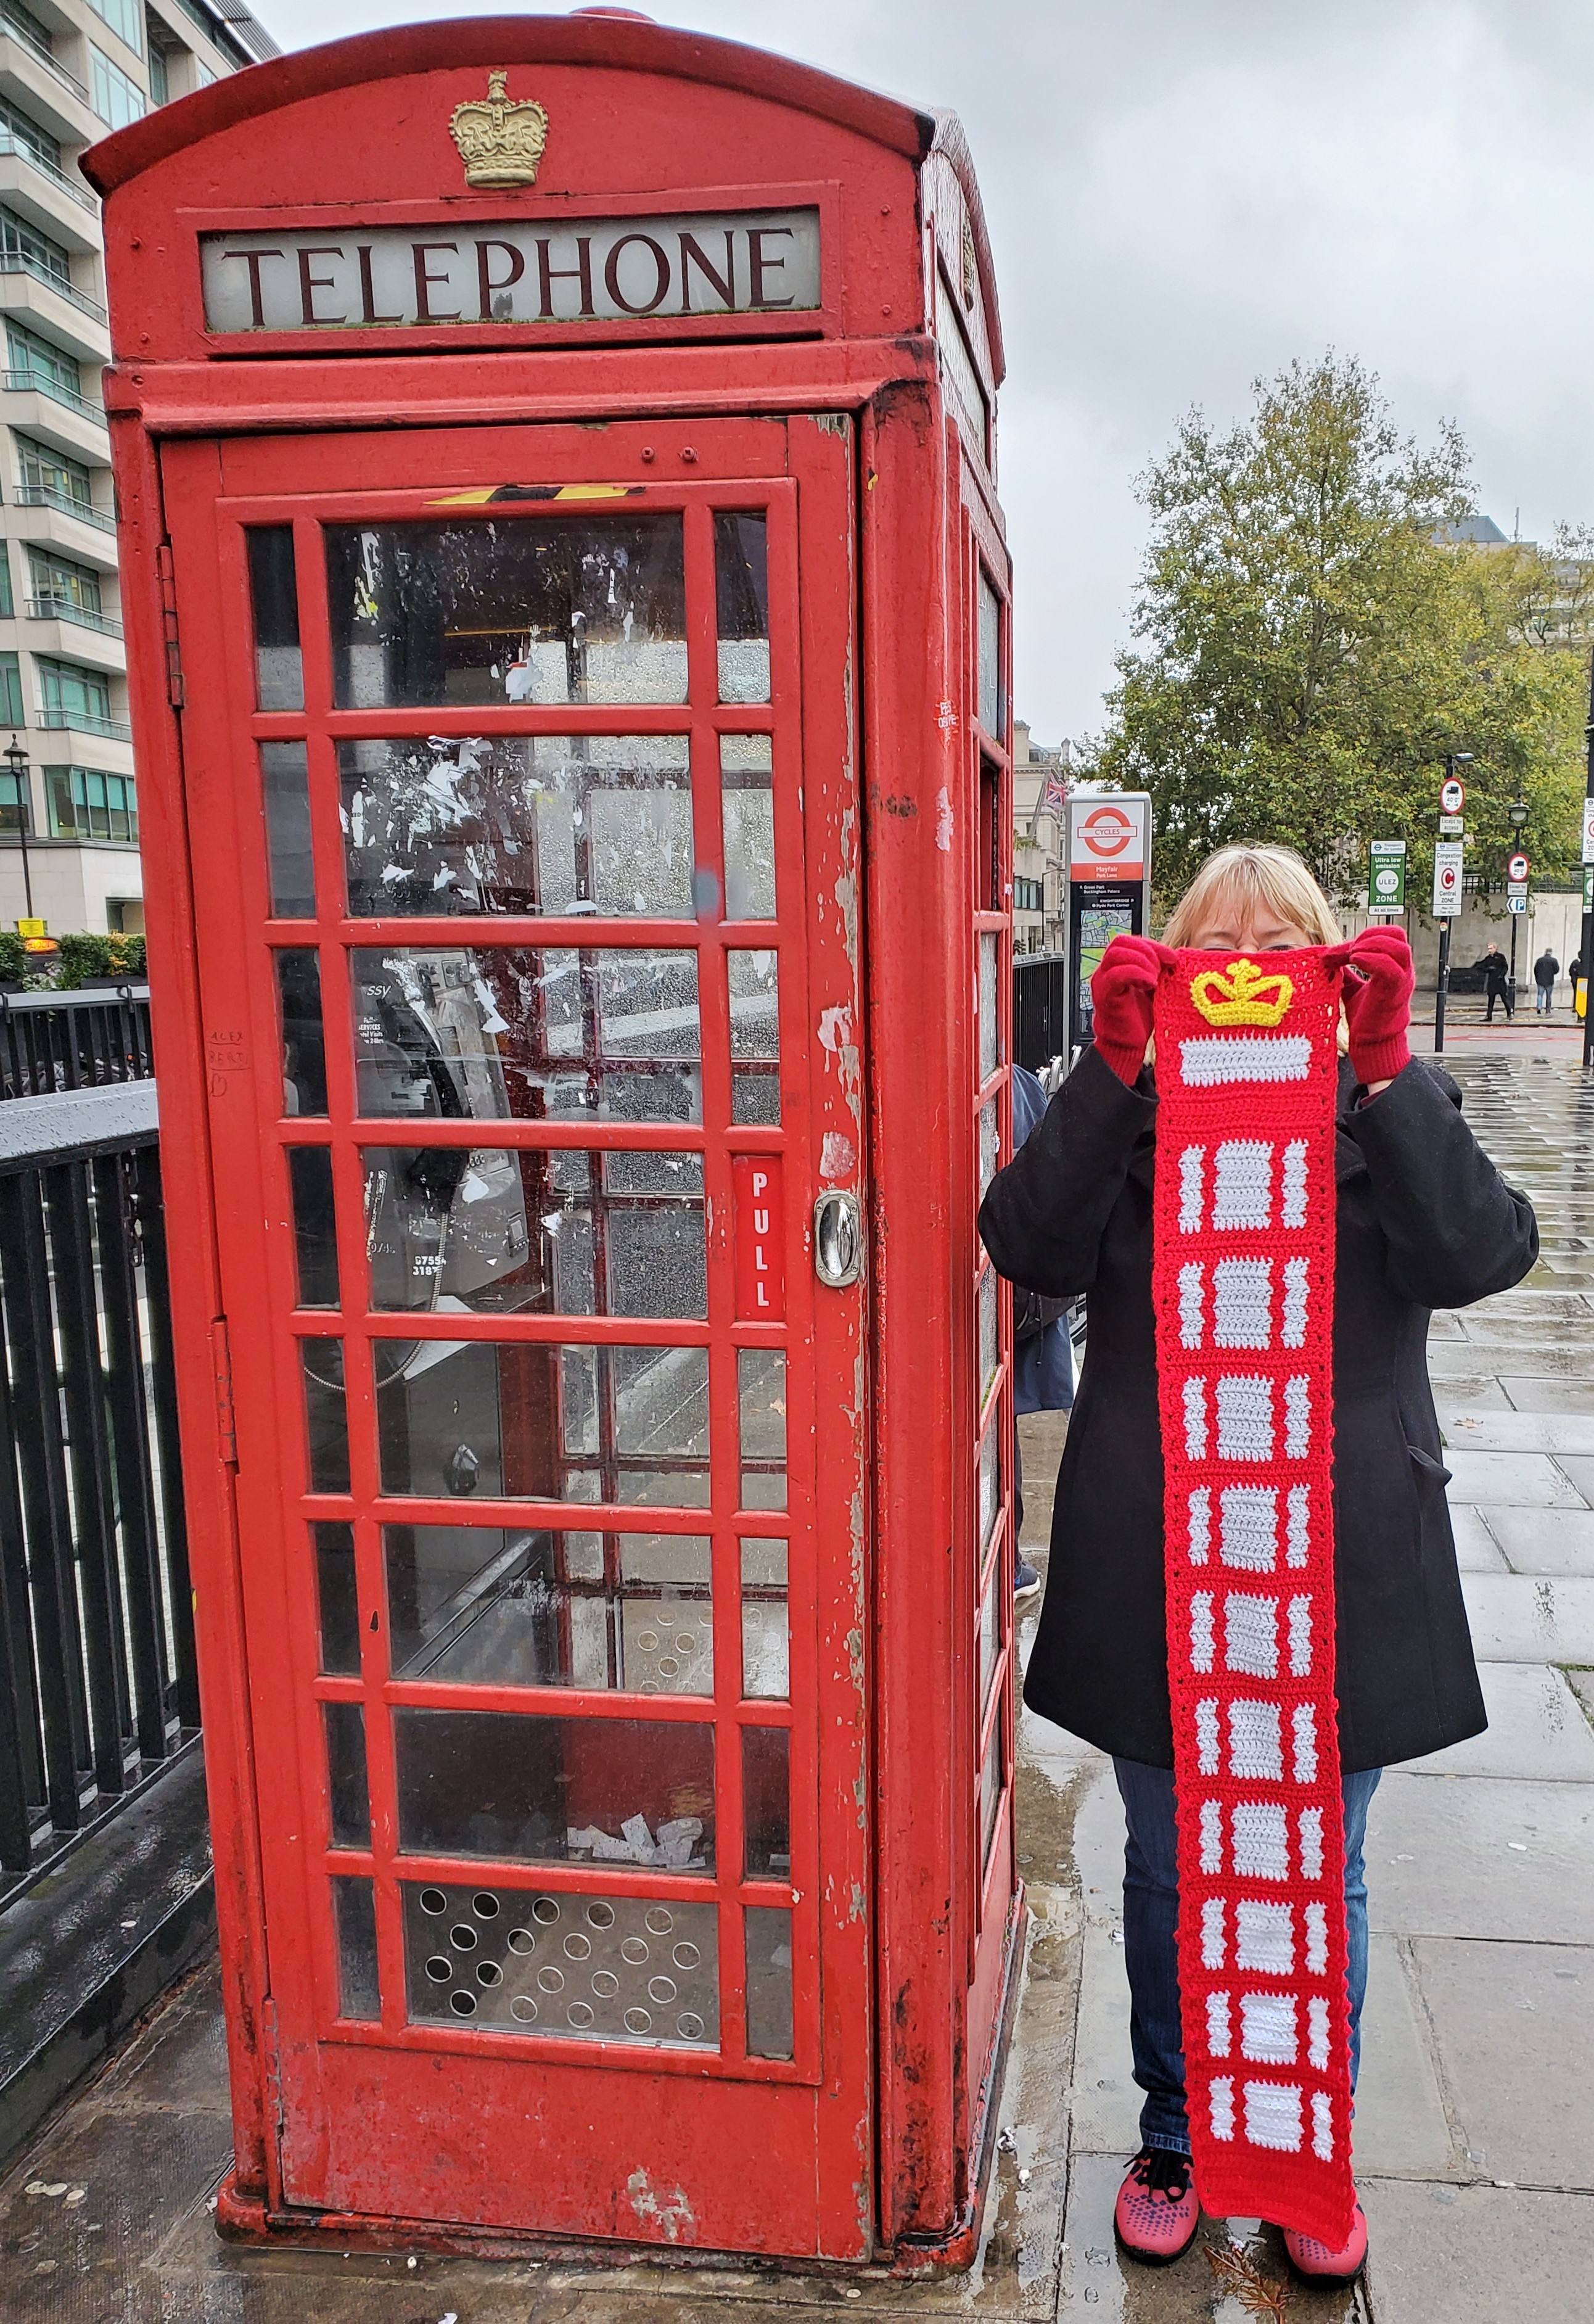
London Trip Part II – Toy Soldier Cuddler – Pumpkin Pie Earrings

Horny Toads – Texas Horned Lizard

Horny toads are again gaining in popularity. Thanks to Texas Hill Country, people are once again discovering my horny toad crochet patterns. Patterns for plush toy, hat, and coin purse are available at My Fingers Fly.

horny toad ebook small

Please share your horny toad makes on my Instagram. Follow me to keep up to date on new releases and coupon codes.


Posted on 19 Comments

Texas Flag Christmas Tree Ornament

texas flag ornament

Since I was a little girl watching the Sonny & Cher Show on TV, I have wanted to see her in concert. Dreams do come true – I got to see an amazing show last week in Houston. Her songs brought back so many memories, especially when she did her tribute to Sonny including video of them performing together. At 73 years old, she is an inspiration to women everywhere. She said she has never believed in saying no, and that philosophy has guided her very successful career. For those who think they’re too old or can’t do it, she says, “What is your granny doing at 73?”

Cher

Nile Rodgers & Chic

They took me back in time to the disco era with “Le Freak,” “We are Family,” and many others. Kimberly Davis’s vocal prowess is something you have to see in person!

Texas Flag/Yellow Rose Christmas Tree Ornament

This ornament is my last Christmas pattern for this year, and I hope you enjoy it as much as I do. Add a yellow rose in the middle, or leave it without – either way it’s a must for every Texas Christmas tree.

flag ornament on tree.jpg

Finished ornament measures approximately 4” wide x 2.5” tall

Materials: Sport weight yarn – small amounts of red, blue, white, yellow Size G (4.00 mm) crochet hook Yarn needle Felt for backing Metallic cord, approximately 16”

 Directions: FLAG: Row 1: With red yarn, ch 13, sc in 2nd ch from hook and in next 11 ch (12 sc).  Rows 2-6: Ch 1, turn, sc in each st.  Rows 7-12: With white yarn, ch 1, turn, sc in each st. Fasten off white.

Row 1: Turn on side and work 1 sc in each row end with blue yarn (12 sc).  Rows 2-6: Ch 1, turn, sc in each st. Do not fasten off.  For edging, ch 1, turn, sc in each st around with 2 sc in each corner, changing colors as needed.

Embroider star with white yarn or sew on star applique.

ROSE:  With yellow yarn, ch 20, 3 dc in 4th ch from hook, *sc in next ch, 3 dc in next ch,* repeat across. Rolling from the center, stitch in place as you roll. Sew to center of flag. Weave in all ends.

flag ornament.jpg
PDF download available at: Texas Flag Ornament Crochet Pattern 

More Christmas Ideas

Melted Snowman Ornament

Christmas in July Blog Hop

Moose Ornament

Crown Ornament

Fox Christmas Ornament

Steer Skull Ornament

Free “Handmade with Love” Gift Tags


Texas Horned Lizard (Horny Toads)

horny toad ebook small.png

This year’s hottest crochet pattern was the Horny Toad Plush Toy, which is available in paperback format along with the Horny Toad Hat and Horny Toad Coin Purse.

Beer Hat Crochet Pattern

beer hat staged.jpg

For your New Year’s party, here’s the perfect hat! Don’t tell anyone – I made one for the white elephant gift exchange. If you use an Addi knitting machine, there’s also a pattern for beer socks.

Beer Hat Crochet Pattern


It has been a wonderful year, and I’m looking forward to more good things to come in 2020. Hoping everyone has a wonderful holiday season and a successful new year.

Posted on Leave a comment

London Trip Part III – Crown Ornament Crochet Pattern

Crown Ornament Crochet Pattern

The last days of our London trip were just as amazing as the first two. Our tour guide for Windsor Castle was Alfie, and our driver for the 22-mile drive was Graham. Can’t get much more British than that! The weather was cold and rainy, but Alfie was a fountain of knowledge of British history. Windsor Castle is the Queen’s childhood home and where she spends her weekends. The first part of the tour was the church in the castle – St. George’s Chapel. Construction began on this section of the castle in the 14th century. It is called a Royal Peculiar, which is a fancy way of saying that it is under the direct jurisdiction of the monarch. The Queen’s parents and sister are interred in St. George’s Chapel, along with Henry VIII and his beloved Jane Seymour.

YouTube – Windsor Castle

The State Apartments are on the north side of the castle and contain a vast collection of artwork, antiques, artifacts, and royal china.

Outside of the castle is a shopping mall with souvenir shops and restaurants. I wanted to warm up, so we went into a pub called Bella Italia for a cappuccino. Wow! I’ve never seen a liquor with my name on it.

After warming up and doing a little shopping, it was time to walk down to Bel & The Dragon Pub for lunch with the rest of the group. Their website says “The historic restaurant and tea room has been serving food and drink since the 11th Century.”

Bel & The Dragon

It was a lovely luncheon with spiced cauliflower soup followed by roasted suckling pig and potatoes roasted in duck fat. After lunch and several cups of tea, we had a little time to wander the shops of the area. By this time, the rain had stopped and the view of the river was gorgeous.

Once we got back to London, the rain started again, so we decided not to attend the dinner cruise on the River Thames. Instead, we opted for Trader Vic’s in our hotel for drinks and an excellent steak dinner.

Texans v. Jaguars

Sunday started out with a pregame party at Sway with tailgate-style food and two of the best party hosts ever. Sway Bar

The hat is from a pattern in my Etsy shop – Football Earflap Hat.

Then it was back onto the bus for the 1-hour ride to Wembley Stadium. The attendance that day was 85,000 people – wow! I never realized Europeans like American football so much, but we were surrounded by British, French, German, and Croatian fans. Fortunately, our Texans won the game.

It was an unforgettable adventure!

Crown Christmas Tree Ornament

Materials:

Worsted weight yarn:

0.4 oz. red

0.2 oz. gold metallic

Crochet hook size G (4.00 mm)

Finished crown measures approximately 2-3/4” diameter by 1½” tall.

Directions:

RED:

Rnd 1: Ch 2 (or magic circle). Sc 7 in second ch from hook. Do not join.

Rnd 2: 2 sc in each sc (14 sc).

Rnd 3: *1 sc in next sc, 2 sc in next sc,* repeat around (21 sc).

Rnd 4: *1 sc in next 2 sc, 2 sc in next sc,* repeat around (28 sc).

Rnd 5: *1 sc in next 3 sc, 2 sc in next sc,* repeat around (35 sc).

Rnd 6: Working in back loop only, mark first st and sc in each st around. Do not join.

Rnds 7-10: Working in both loops, sc in each st in continuous rounds.

Rnd 11: *Dec, sc in next 3 sc,* repeat around (28 sc).

Rnd 12: *Dec, sc in next 2 sc,* repeat around (21 sc).

Rnd 13: *Dec, sc in next st,* repeat around (14 sc).

Rnd 14: Dec around (7 sc). Fasten off leaving 4” length. Thread this length through yarn needle and draw up all 7 sts. Pull tight to close.

GOLD:

Rnd 1: Go back to marker at Rnd 6 of red. Using remaining loop, attach gold metallic yarn, ch 1, sc in each st (36 sc). Join with sl st.

Rnd 2: Ch 1, *sc in next st, sk next st, (2 dc, ch-3 picot, 2 dc) in next st, sk next st,* repeat around. Join with sl st.

Ch 14, sl st on opposite side of crown with ch-14 going across top of crown. Join with sl st to gold crown. Fasten off leaving 6” length. Mark halfway point between the ends of the ch-14 and attach gold yarn. Ch 14, going across top of crown and sl st in opposite side of crown. Fasten off leaving 6” length. Use both one 6” length to tack down tops of ch-3 picots. Use the other 6” length to tack down both ch-14s. Weave in all ends.

Picot: Ch 3, sl st in 3rd ch from hook.

PDF download available at My Fingers Fly

Posted on 1 Comment

London – Phone Booth Scarf Pattern

London the second time around was so much better. Last August, we winged it. This year we went on as a group for the Houston Texans game and signed up for all the tours available. NFL On Location handled everything, and we got to see so much more of the city than we did last year. After arriving in London and checking in at the Hilton Park Lane hotel, we were treated to brunch by the Hard Rock Café just around the corner.

That afternoon was a tour of the city on a double-decker bus, culminating in a ride on the London Eye. It’s a 30-minute ride during which you can see all of London. Our tour included a champagne toast with our group.

https://youtu.be/dLNv1f3Kd4U

Since my first visit to London last year, I have been toying with the idea of a scarf made to look like the phone booths scattered around London. For this trip, I just had to make one and get a photo.

London Phone Booth Scarf

Materials:

Worsted weight yarn –

4 oz. red

2.5 oz. white

Few yards yellow

Crochet hook size H (5.00 mm)

Yarn needle

Gauge:

7 dc + 2”; 4 rows = 2”

Women’s scarf measures approximately 7.5” wide by 52” long (instructions are given to lengthen scarf if desired).

Directions:

Row 1: With red yarn, ch 25, sc in 2nd ch from hook, ch 2 (sc, ch-2 counts as first dc), dc in each ch across (24 dc).

Row 2: Turn, sc in first st, ch 2, dc in st across.

Rows 3-94: Repeat sts of Row 2, alternating colors as per chart.

Rows 95-97: Turn, sc in 1st st, ch 2, dc next 2 sts tog, sc across to last 2 sts, dc next 2 sts tog. (18 dc at end of Row 97). Do not fasten off. If a longer scarf is desired, repeat Rows 7-14 until desired length.

Edging:

At end of Row 97, ch 1, turn, sc in each st across top, sc down the side with 2 sc in the side of each dc. Work 3 sc in each corner, sc across bottom, 3 sc in corner, sc up other side with 2 sc in the side of each dc. Join with sl st in first sc. Fasten off. Weave in all ends.

Crown:

Rnd 1: With yellow (or gold) yarn, ch 10, sc in 2nd ch and next 7 ch, 3 sc in last ch. Working on opposite side of starting ch, sc in next 7 ch, 2 sc in last ch (20 sc). Join with sl st.

Rnd 2: Ch 10, sk 3 sts, sc in 4th st, ch 10, sk 3 sts, sl st in next st.

Rnd 3: Ch 1, turn, 12 sc around 1st ch-10. Sl st in sc, ch 7, sl st in 3rd ch from hook (picot), *ch 3, sl st in 3rd ch,* repeat once, sl st in remaining 3 ch, sl st in sc between 2 ch-10s, ch 1, work 12 sc around ch-10 loop, sl st in Rnd 1. Fasten off leaving length for sewing. Center crown at top of scarf and sew in place. Weave in ends.

crown applique

YouTube video for crown

PDF available at https://www.myfingersfly.com/products/london-phone-booth-scarf-crochet-pattern

Scarf Crochet Patterns
Posted on Leave a comment

Mission Bell Wall Hanging Crochet Pattern

Mission Bell Wall HangingThe Mission Inn exceeded all my expectations. The rooms are luxurious, the staff friendly and helpful, and my love of history was on overload with the artwork and the museum. https://youtu.be/PO9VFE1nLqc
Spanish Bell, Mission Inn
Spanish bell circa 1247 AD
Spanish Bell, Mission Inn
Frank Miller purchased the property in 1880 from his father. It was built by his father as a boarding house, but Frank expanded it to several more wings. Through his travels, he populated the wings with art work from around the world. He counted among his friends Teddy Roosevelt, Andrew Carnegie, and Louis Tiffany. Many of Tiffany’s stained glass windows can be seen throughout the buildings including seven windows in the St. Francis Chapel. It has never been consecrated as a church, but it is a popular wedding chapel for southern California brides. To see these gorgeous works of art and the 18th century cedar and gold leaf Mexican altar, be sure to sign up for the museum tour. Although time did not allow me to sample all the restaurants in the hotel, Las Campanas serves some of the best chicken tacos I have ever had. Sorry, I forgot to take the photo until after I had already eaten one of the tacos.
Las Campanas, Mission Inn
Frank Miller’s collection of bells once numbered over 800, but since his death, the hotel has changed hands several times. The collection still has over 500 bells, and they are displayed all over the property. That’s how I came up with my next pattern, a rustic wall hanging with several bells.
PDF download available at: https://www.myfingersfly.com/products/mission-bell-crochet-pattern
Wall hanging measures approximately 18 wide by 24” tall Materials: Lion Hometown USA Aspen Tweed – 1 ½ skeins Size L crochet hook Yarn needle 18” wooden dowel or tree branch (1 1/2” diameter) 10, 2 cm wooden beads – 3 for each bell and one for hanger Large Bell: Rnd 1: Ch 2 (or magic circle), 8 sc in 2nd ch from hook. Do not join. Rnd 2: 2 sc in each st (16 sc). Rnd 3: *Sc in next st, 2 sc in next st, repeat around (24 sc). Rnd 4: *Sc in each of next 2 sts, 2 sc in next st,* repeat around (32 sc). Rnds 5-13: Sc in each sc. Rnd 14: 2 sc in each st (64 sc). Join with sl st. Rnd 15: Ch 1, sk joining st, sc in back loop only of each st around (63 sc). Join with sl st. Rnd 16: Ch 1, *dec, sc in next 7 sts,* repeat around. Small Bell (Make 2): Rnd 1: Ch 2 (or magic circle), 6 sc in 2nd ch from hook. Do not join. Rnd 2: 2 sc in each st (12 sc). Rnd 3: *Sc in next st, 2 sc in next st, repeat around (18 sc). Rnds 4-8: Sc in each sc. Rnd 9: 2 sc in each st (32 sc). Join with sl st. Rnd 15: Ch 1, sk joining st, sc in back loop only of each st around (31 sc). Join with sl st. Rnd 16: Ch 1, *dec, sc in next 4 sts,* repeat around (29 sc). Assembly: For large bell, cut 50” length of yarn. Fold in half and loop around center point of dowel. Thread both strands yarn through center of large bell and then through center of wooden ball. Allow bell to fall to desired placement on yarn (approximately 8” down from dowel) and knot yarn under the wooden ball. Thread one wooden bead on each piece of yarn with each bead visible just below the rim of the bell. Knot yarn under each bead and trim yarn below knot. For small bells, cut 40” lengths of yarn and assemble in the same manner on the outer portion of the dowel. Bottoms of small bells should be even with top of large bell in the middle. Measure to ensure small bells are equal distance from center bell. For hanger, cut 2” lengths of yarn. Loop around the dowel with each side halfway between center bell and outer bell. Pull all 4 lengths of yarn through wooden bead and make a knot to hold in place. As always, feel free to post photos of your crochet at http://instagram.com/myfingersfly