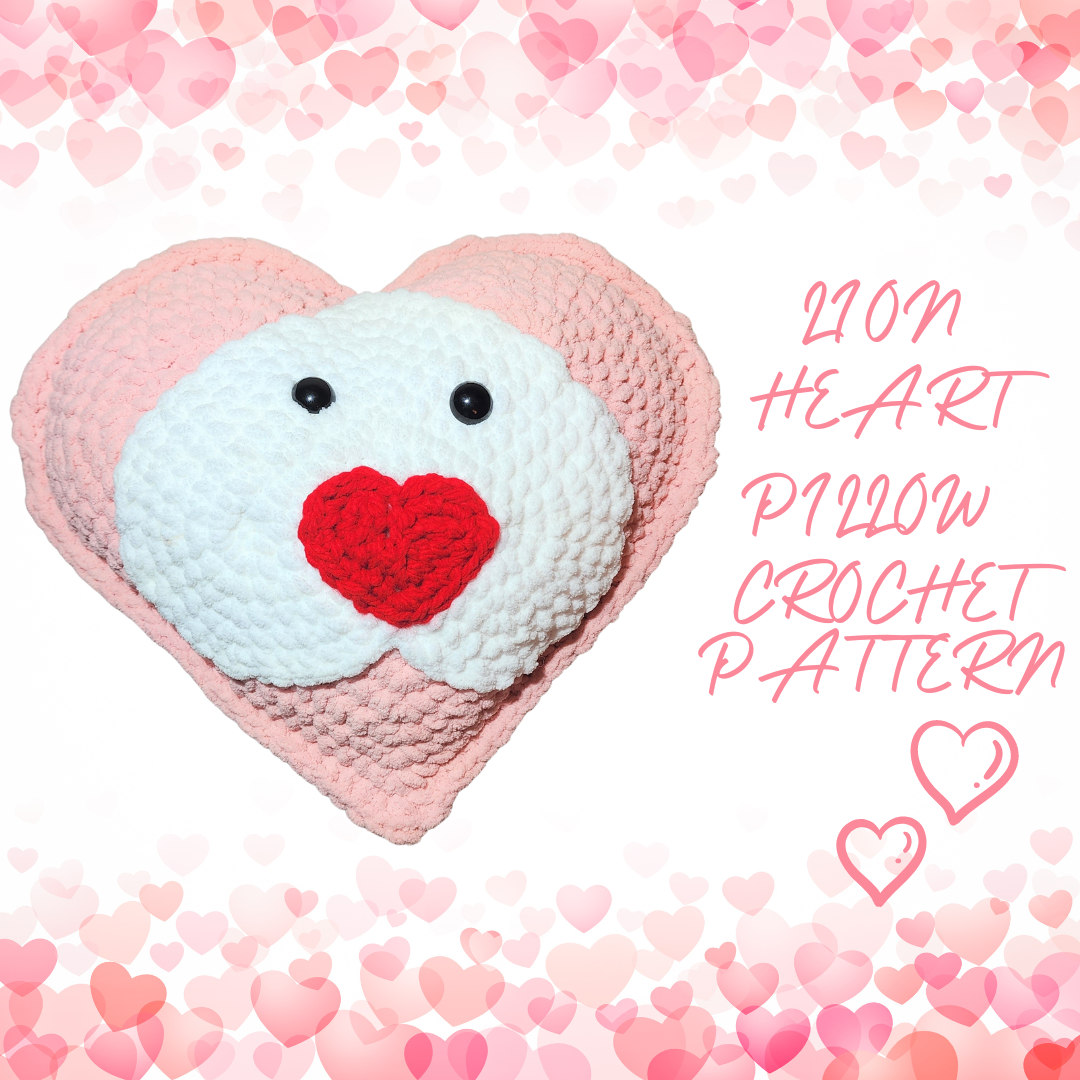
Now that the Christmas holidays are over, and the decorations have been put away for next year (we hope), it’s time to turn our attention to hearts and roses. Valentine’s Day is less than a month away, and I have so many ideas! It’s just so much fun to make cute pink and red animals, I can’t resist. The first Valentine’s Day design for the year is the Lion Heart Pillow, or as I like to call him, King Richard. Using Bernat blanket yarn makes the project go quickly, and he’s just so darned squishy!! Three different sizes of hearts are combined to make this sweet lion pillow for your special someone.

Pillow measures approximately 12” tall by 14” wide.
Gauge: 9 sc = 4”, 8 rows = 4”
Materials:
Bernat Blanket Yarn:
30 yards White
150 yards Pink
2 yards Red
Size M crochet hook
Yarn needle
Fiberfill
20-mm safety eyes
Directions:
MANE:
Rnd 1: With pink yarn, ch 22, 2 sc in 2nd ch from hook, sc in next 9 ch, 3 sc in next ch (2nd sc is center top), sc in next 9 ch, 3 sc in last ch. Working on opposite side of starting ch, sc in next 8 ch, sk 1 ch, sc in next ch (center bottom), sk 1 ch, sc in next 8 ch, sc in last ch (same lp as first ch with 2 sc). Join with sl st. (44 sc)
Rnd 2: Ch 1, 2 sc in first 2 sts, sc in next 8 sts, 3 sc in next st (2nd sc is center), sc in next 8 sts, 2 sc in each of next 3 sts, sc in next 7 sts, sk 1 st, sc in next st (center), sk 1 st, sc in next 7 sts, 2 sc in last st. Join with sl st. (50 sc)
Rnd 3: Ch 1, *sc in next st, 2 sc in next st,* repeat once, sc in next 9 sts, 3 sc in next st (2nd sc is center), sc in next 9 sts, repeat * to * 3 times, sc in next 6 sts, sk 1 st, sc in next st (center), sk 1 st, sc in next 6 sts, repeat * to * once. Join with sl st. (56 sc)
Rnd 4: Ch 1, *sc in next 2 sts, 2 sc in next st,* repeat once, sc in next 10 sts, 3 sc in next st (2nd sc is center), sc in next 10 sts, repeat * to * 3 times, sc in next 5 sts, sk 1 st, sc in next st (center), sk 1 st, sc in next 5 sts, repeat * to * once. Join with sl st. (62 sc)
Rnd 5: Ch 1, *sc in next 3 sts, 2 sc in next st,* repeat once, sc in next 11 sts, 3 sc in next st (2nd sc is center top), sc in next 11 sts, repeat * to * 3 times, sc in next 4 sts, sk 1 st, sc in next st (center), sk 1 st, sc in next 4 sts, repeat * to * once. Join with sl st. (68 sc)
Rnd 6: Ch 1, *sc in next 4 sts, 2 sc in next st,* repeat once, sc in next 12 sts, 3 sc in next st (2nd sc is center), sc in next 12 sts, repeat * to * 3 times, sc in next 3 sts, sk 1 st, sc in next st (center), sk 1 st, sc in next 3 sts, repeat * to * once. Join with sl st. (74 sc)
Rnd 7: Ch 1, *sc in next 5 sts, 2 sc in next st,* repeat once, sc in next 13 sts, 3 sc in next st (2nd sc is center), sc in next 13 sts, repeat * to * 3 times, sc in next 2 sts, sk 1 st, sc in next st (center), sk 1 st, sc in next 2 sts, repeat * to * once. Join with sl st. (80 sc)
Rnd 8: Ch 1, *sc in next 6 sts, 2 sc in next st,* repeat once, sc in next 14 sts, 3 sc in next st (2nd sc is center), sc in next 14 sts, repeat * to * 3 times, sc in next st, sk 1 st, sc in next st (center), sk 1 st, sc in next st, repeat * to * once. Join with sl st. (86 sc)
Rnd 9: Ch 1, *sc in next 7 sts, 2 sc in next st,* repeat once, sc in next 15 sts, 3 sc in next st (2nd sc is center), sc in next 15 sts, repeat * to * 3 times, sk 1 st, sc in next st (center), sk 1 st, repeat * to * once. Join with sl st. (94 sc)
Fasten off pink.
Blocking is preferred to allow pieces to lay flat.
FACE:
Rnd 1: With white yarn, ch 16, 2 sc in 2nd ch from hook, sc in next 6 ch, 3 sc in next ch (2nd sc is center), sc in next 6 ch, 3 sc in last ch. Working on opposite side of starting ch, sc in next 5 ch, sk 1 ch, sc in next ch (center), sk 1 ch, sc in next 5 ch, sc in last ch (same lp as first ch with 2 sc). Join with sl st. (32 sc)
Rnd 2: Ch 1, 2 sc in next 2 sts, sc in next 7 sts, 3 sc in next st (2nd sc is center), sc in next 7 sts, 2 sc in next 3 sts, sc in next 4 sts, sk 1 st, sc in next st (center), sk 1 st, sc in next 4 sts, sc in last st (same as first sc with 2 sc). Join with sl st. (38 sc)
Rnd 3: Ch 1, *sc in next st, 2 sc in next st,* twice, sc in next 8 sts, 3 sc in next st (2nd sc is center), sc in next 8 sts, repeat * to * 3 times, sc in next 3 sts, sk 1 st, sc in next st (center), sk 1 st, sc in next 3 sts, repeat * to * once. Join with sl st. (44 sc)
Rnd 4: Ch 1, *sc in next 2 sts, 2 sc in next st,* twice, sc in next 9 sts, 3 sc in next st (2nd sc is center), sc in next 9 sts, repeat * to * 3 times, sc in next 2 sts, sk 1 st, sc in next st (center), sk 1 st, sc in next 2 sts, repeat * to * once. Join with sl st. (50 sc)
Rnd 5: Ch 1, *sc in next 3 sts, 2 sc in next st,* twice, sc in next 10 sts, 3 sc in next st (2nd sc is center), sc in next 10 sts, repeat * to * 3 times, sc in next st, sk 1 st, sc in next st (center), sk 1 st, sc in next st, repeat * to * once. Join with sl st. (56 sc)
Rnd 6: Ch 1, *sc in next 4 sts, 2 sc in next st,* twice, sc in next 11 sts, 3 sc in next st (2nd sc is center), sc in next 11 sts, repeat * to * 3 times, sk 1 st, sc in next st (center), sk 1 st, repeat * to * once. Join with sl st. (62 sc)
Fasten off white.
NOSE:
Rnd 1: With red yarn, ch 8, 2 sc in 2nd ch from hook, sc in next 2 ch, 3 sc in next ch (2nd sc is center), sc in next 2 ch, 3 sc in last ch. Working on opposite side of starting ch, sc in next ch, sk 1 ch, sc in next ch (center), sk 1 ch, sc in next ch, sc in last ch (same lp as first ch with 2 sc). Join with sl st. (16 sc)
Rnd 2: Ch 1, 2 sc in next 2 sts, sc in next 3 sts, 3 sc in next st, sc in next 3 sts, 2 sc in next 3 sts, sk next st, sc in next st, sk next st, 2 sc in next st. (22 sc) Fasten off red.
Sew red heart (right side up) on the bottom half of the white heart (upside down). Sew white heart (upside down) centered on top of pink heart (right side up). Insert safety eyes at Rnd 3 of white heart, approximately 2” apart.
EDGING:
Place both large hearts wrong sides together and crochet through both pieces to join. Pin in place with one pin marking the center bottom.
Insert hook at st after bottom center marker (through both thicknesses). Sc in this st, sc in next 20 sts, *sc in next st, sc in next 5 sts,* 3 times, sc in next 5 sts, sk 1 st, sc in next st (center top), sk next st, sc in next 5 sts, (sc in next 5 sts, 2 sc in next st,* 3 times. Begin stuffing pillow.
Sc in each remaining st with 3 sc in marked st (center bottom), stuffing as you go. Join with sl st.
Fasten off yarn. Weave in all ends.
PDF Download (with photos for assembly): Lion Heart Pillow Crochet Pattern
Weekly Featured Pattern
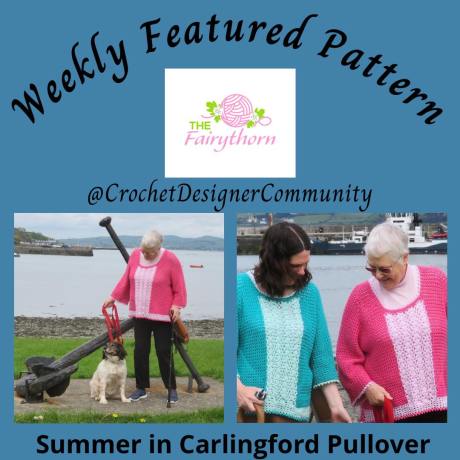
This week the featured pattern on the Crochet Designer Community is the Summer in Carlingford Pullover. Pop over to get the code for 50% off. Enjoy!
More Lion Patterns


ICYMI (In Case You Missed It)


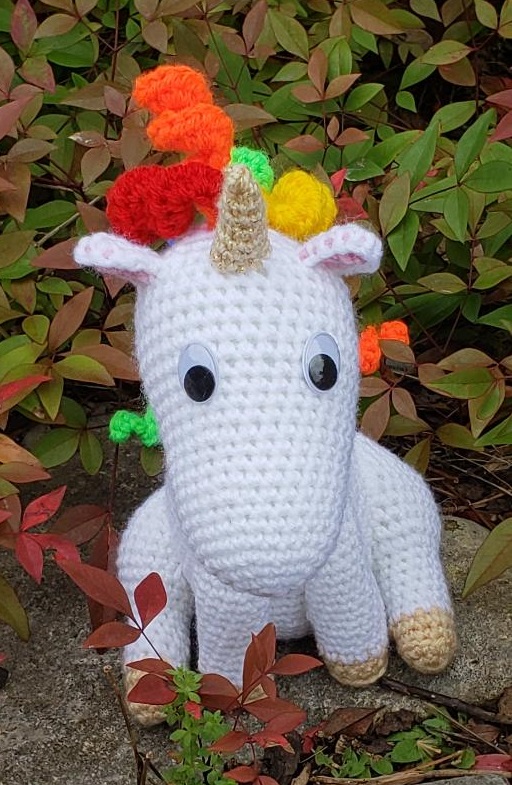
Unicorn Bobblehead Crochet Pattern

Affiliate Links
This page contains affiliate links. If you choose to purchase after clicking a link, I may receive a commission at no extra cost to you.