Down the Rabbit Hole: A Whimsical Journey Through Alice’s Adventures in Wonderland
There’s a reason Alice’s Adventures in Wonderland has remained a beloved classic for over 150 years—it’s a wild, imaginative ride that takes readers far beyond the ordinary.
Written by Lewis Carroll in 1865, the story begins when a curious young girl named Alice spots
a White Rabbit in a hurry and decides to follow him. Without warning, she tumbles down a rabbit hole and into a world that defies all logic: Wonderland.
In this topsy-turvy land, nothing makes sense, and that’s exactly what makes it so magical. Alice encounters an unforgettable cast of characters—
and the temperamental Queen of Hearts, who’s always shouting “Off with their heads!”
As she navigates this strange world, Alice drinks potions that make her shrink, eats cakes that make her grow, and tries to make sense of the constant nonsense around her.
She even ends up playing a bizarre game of croquet using flamingos as mallets and hedgehogs as balls.
But the real beauty of the story lies in its layers. Beneath the whimsy and wordplay, Carroll weaves in clever commentary on childhood, growing up, and the absurdity of rigid rules. In the end, just as Alice is about to be punished by the Queen, she boldly stands up for herself—and wakes up to realize it was all a dream.
Alice’s Adventures in Wonderland isn’t just a story—it’s an experience. A journey into the imagination where the impossible becomes reality and curiosity is the greatest superpower of all.
This post contains affiliate links. This means I may earn a commission should you chose to sign up for a program or make a purchase using my link. It’s okay – I love all of these companies anyways, and you will too!
Shop Lion Brand’s July 4th Holiday Savings and save 30% on Yarn/Kits + Double Points with code FIREWORKS30DP at checkout. Offer valid 07/04/25 until 07/06/25
🛸 Stitching the Stars: Celebrate World UFO Day with Out-of-This-World Crochet!
July 2nd is World UFO Day, and whether you believe in extraterrestrial life or just love a good sci-fi mystery, it’s the perfect excuse to add a little space-themed fun to your crochet projects!
World UFO Day commemorates the Roswell Incident and aims to raise awareness about Unidentified Flying Objects and the possibilities of life beyond Earth. But for us yarn lovers, it’s a great chance to mix outer space with creative stitches!
👽 Crochet Ideas to Celebrate World UFO Day
UFO Amigurumi: Craft a baby rattle with a little flying saucer on one end and a tiny alien pilot on the other end!
Alien Dolls: Go green (or purple or blue!) with adorable alien plushies—three eyes, antennae, and all!
Cosmic Granny Squares: Use black, navy, and metallic yarns to create star-inspired squares with an attached rocket.
Galaxy Cardigan: Create a beautiful sweater for your little one.
🧶 Make It a Crafty Encounter
Turn your crochet time into a galactic celebration:
Watch a classic alien movie while you crochet (“E.T.,” “Close Encounters,” or “Men in Black” anyone?)
Host a mini-UFO crochet-along in your online community or with crafty friends
Share your spacey makes on social media with hashtags like #WorldUFODay and #UFOcrochet
🌌 Final Thoughts
Even if little green men don’t land in your backyard today, you can still have a blast creating something out of this world. So grab your hook, pick some space-inspired yarns, and get ready for a close encounter of the crocheted kind!
Rnd 1: With yellow yarn, ch 2 (or magic ring), 6 sc in 2nd ch from hook (6 sc). Do not join. Work in continuous rnds throughout unless otherwise specified.
Rnd 2: 2 sc in each st (12 sc).
Rnd 3: *Sc in next st, 2 sc in next st,* repeat around (18 sc).
Rnd 4: *Sc in next 2 sts, 2 sc in next st,* repeat around (24 sc).
Rnd 5: *Sc in next 3 sts, 2 sc in next st,* repeat around (30 sc).
Rnd 6: Sc in each st.
Rnd 7: Sc in each st: *2 yellow sc, 1 red sc,* repeat around. Fasten off red.
Rnd 8: Sc in each st using only yellow.
Rnd 9: Working in BLO, sc in each st.
Rnd 10: *Inv dec, sc in next 3 sts,* repeat around (24 sc).
Rnd 11: *Inv dec, sc in next 1 sts,* repeat around (18 sc).
Rnd 12: *Inv dec, sc in next st,* repeat around (12 sc). Join with sl st. Fasten off yellow. Stuff space ship with rattle insert in middle of stuffing.
Handle:
Rnd 13: Sc in each st: *2 white sc, 1 black sc,* repeat around (12 sc). Do not join.
Repeat Rnd 13 for 4”. Join with sl st. Fasten off black and white. Stuff handle.
Alien:
Rnd 1: Attach lime green yarn, sc in each st (12 sc).
Rnd 2: *Sc in next st, 2 sc in next st,* repeat around (18 sc).
Rnd 3: *Sc in next 2 sts, 2 sc in next st,* repeat around (24 sc).
Rnd 4: *Sc in next 3 sts, 2 sc in next st,* repeat around (30 sc).
Rnd 5: Sc in each st.
Rnd 6: Sc in each st: 12 lime green sc, 1 black sc, 4 lime green sc, 1 black sc, 12 lime green sc.
Rnd 7: Sc in each st: 11 lime green sc, 2 black sc, 4 lime green sc, 2 black sc, 11 lime green sc.
Rnd 8: Sc in each st: 11 lime green sc, 2 black sc, 4 lime green sc, 2 black sc, 11 lime green sc. Fasten off black.
Rnd 9: Sc in each st using lime green only.
Rnd 10: *Inv dec, sc in next 3 sts,* repeat around (24 sc).
Rnd 11: *Inv dec, sc in next 1 sts,* repeat around (18 sc). Add rattle insert and stuff head.
Rnd 12: *Inv dec, sc in next st,* repeat around (12 sc). Join with sl st. Fasten off lime green. Finish stuffing. Close with ultimate finish.
Go back to unused lps of Rnd 8 and attach blue yarn. Ch 1, *hdc in next 2 sts, 2 hdc in next st,* repeat around (40 hdc). Join with sl st. Fasten off blue.
This post contains affiliate links. This means I may earn a commission should you chose to sign up for a program or make a purchase using my link. It’s okay – I love all of these companies anyways, and you will too!
I’m so proud to have my designs featured on Lion Brand Yarn Pattern Marketplace. Not only can you purchase great designs, but you can also purchase the yarn and supplies you need to make them.
We all know the feeling—Wednesday rolls around, and we’re just trying to make it over the hill. But what if your hump day came with a little more yarn, laughter, and handmade joy? Enter the Hump Day Camel Amigurumi Crochet Pattern—the perfect midweek pick-me-up for crafters with a sense of humor.
🧶 Meet Your New Midweek Mascot
This adorable crochet camel isn’t just cute—it’s got personality. With its blanketed hump, sweet stitched smile, and stand-up legs, this camel is ready to bring a bit of sunshine to even the gloomiest Wednesday.
Whether you’re making it as a gift, a desk buddy, or just a fun way to celebrate the halfway point of your week, this amigurumi camel will quickly become a favorite.
✨ Why You’ll Love This Pattern:
Fun and fast – A great project to break up your week
Beginner-friendly – Uses basic stitches with simple shaping
Customizable – Make it in classic camel colors or go wild with bright, cheerful yarns
Giftable – Perfect for coworkers, students, teachers, or anyone who dreads Wednesdays
Keep him on your desk to cheer you on until the weekend
Make one as a “Happy Hump Day!” surprise for a friend
Use leftover yarn to make a whole herd of colorful camels
🐫 “Guess What Day It Is?”
Crochet your own midweek mascot and ride over the hump with handmade happiness. Don’t forget to share your finished camel using #HumpDayCamel so we can all enjoy the giggles together!
Hdc popcorn: Make 4 hdc in same st, pull up lp in last hdc. Insert hook in top of first hdc, grab lp and pull through.
DIRECTIONS:
BODY:
Rnd 1: With tan yarn, ch 2 (or magic circle), 6 sc in 2nd ch from hook. Do not join. Work in continuous rnds throughout.
Rnd 2: 2 sc in each st (12 sc).
Rnd 3: *Sc in next st, 2 sc in next st,* repeat around (18 sc).
Rnd 4: *Sc in next 2 sts, 2 sc in next st,* repeat around (24 sc).
Rnd 5: Sc in each st.
Rnd 6: *Sc in next 3 sts, 2 sc in next st,* repeat around (30 sc).
Rnd 7: Sc in each st.
Rnd 8: *Sc in next 4 sts, 2 sc in next st,* repeat around (36 sc).
Rnd 9: Sc in each st.
Rnd 10: *Sc in next st, 2 sc in next st* 3 times, sc in next 12 sts, * to * 3 times, sc in next 12 sts (42 sc).
Rnd 11: *Sc in next 2 sts, 2 sc in next st* 3 times, sc in next 12 sts, * to * 3 times, sc in next 12 sts (48 sc).
Rnds 12-16: Sc in each st.
Rnd 17: Working in BLO, *inv dec over next 2 sts, sc in next 2 sts* 3 times, sc in next 12 sts, * to * 3 times, sc in next 12 sts (42 sc).
Rnd 18: Working in both lps, *inv dec over next 2 sts, sc in next st* 3 times, sc in next 12 sts, * to * 3 times, sc in next 12 sts (36 sc).
Rnd 19: *Inv dec over next 2 sts 3 times, sc in next 12 sts,* repeat once (30 sc). Join with sl st. Fasten off leaving 9” length for sewing. Stuff and sew both sides of Rnd 21 together.
LEGS: (Make 4)
Rnd 1: With brown yarn, ch 2 (or magic circle), 6 sc in 2nd ch from hook. Do not join. Work in continuous rnds throughout.
Rnd 2: 2 sc in each st (12 sc).
Rnd 3 (toes): Sc in next 5 sts, hdc pc in next st, sc in next st, hdc pc in next st, sc in next 4 sts. Join with sl st. Fasten off brown.
Rnd 4: Attach tan yarn, ch 1, sc in next 5 sc, sc in hdc pc, sc in sc, sc in hdc pc, sc in next 4 sc. Do not join.
Rnd 5: Sc in each st. Do not join.
Repeat Rnd 5 until leg measures 3” (approximately 12 rnds). Join with sl st at end of last row. Fasten off yarn leaving 9: length for sewing. Cut rollers to fit and insert in legs.
Sew 2 legs to front bottom and 2 legs to back bottom.
HEAD:
Rnd 1: With tan yarn, ch 2 (or magic circle), 6 sc in 2nd ch from hook. Do not join. Work in continuous rnds throughout.
Rnd 2: 2 sc in each st (12 sc).
Rnd 3: Sc in next 5 sts, hdc pc in next st, sc in next st, hdc pc in next st, sc in next 4 sts.
Rnd 4: Attach tan yarn, ch 1, sc in next 5 sc, sc in hdc pc, sc in sc, sc in hdc pc, sc in next 4 sc. Do not join.
Rnd 5: Sc in each st. Do not join.
Rnd 6: *Sc in next 3 sts, 2 sc in next st,* 3 times (15 sc).
Rnd 7: 2 sc in each of next 3 sts, sc in next 12 sts (18 sc).
Rnd 8: *Sc in next st, 2 sc in next st,* 3 times, *sc in next 3 sts, 2 sc in next st,* 3 times (24 sc).
Rnds 9-13: Sc in each st. Insert eyes at Rnd 8 approximately 7 sts apart.
Rnd 14: *Inv dec, sc in next 2 sts,* repeat around (18 sc).
Rnd 15: *Inv dec, sc in next st,* repeat around (12 sc).
Rnd 16: Inv dec 6 times (6 sc). Join with sl st. Close with ult fin.
NECK:
Rnd 1: With tan yarn, ch 2 (or magic circle), 6 sc in 2nd ch from hook. Do not join. Work in continuous rnds throughout.
Rnd 2: 2 sc in each st (12 sc).
Rnd 3: Working in BLO, sc in each st.
Rnd 4: Working in both lps, sc in each st.
Repeat Rnd 4 until neck measures 2.5” long. Jion with sl st at end of last rnd. Fasten off yarn leaving 9” length for sewing.
Cut roller to fit and insert into neck. Sew neck to bottom of head at Rnds 10-14. Sew neck to body at Rnds 9-12. Bend neck to desired curve.
MANE:
Cut several 3” pieces of brown yarn and pull through sts at top of head. Use a yarn needle to separate strands. Trim.
Eyelids:
Using tan yarn, make a few straight sts over tops of eyes.
Using black yarn, make straight sts across Rnds 1-2 for mouth.
EARS:
Attach tan yarn at Rnd 12 of head 2 sts away from mane. Ch 1, hdc, ch 1, sl st in same sp.
Repeat on other side of head.
BLANKET:
Row 1: With red yarn, ch 15, sc in 2nd ch from hook and in each remaining ch (14 sc).
Rows 2-24: Ch 1, turn, sc in each st. Fasten off red yarn at end of Row 24. Weave in ends.
Use yellow yarn to embroider HUMP DAY across Rows 3-12.
The Stargazer Headband is exquisitely textured by using the Star Stitch and HDC Stitches to complete the beauty of Stars in rows separated by a chain in between. The combination of these stitches creates a very thick, dense and plush fabric. A 2 row repeat, makes this pattern easy to modify to your desired size. It should be noted that this ST is a yarn eater, but worth the beautiful results!
The Kennedy Market Bag is a stylish and functional accessory with a beautiful texture and a design that’s as versatile as your lifestyle. Whether you’re heading to the farmers market, the beach, or just need a roomy carryall for your latest WIP, this bag has you covered.
The pattern includes clear instructions for customizing the size to suit your needs and offers two different handle options—so you can truly make it your own. With its eye-catching design and practical features, this bag is sure to turn heads and spark conversation wherever you take it.
Perfect for personal use or as a standout piece at your next market show, the Kennedy Market Bag combines beauty, functionality, and handmade charm in one must-have project.
Don’t forget about the contest we’re having over on Facebook.
To enter, visit the blog hop and crochet any of the amazing designs you find there – over 80 designs from 17 indie designers from which to choose. Post a photo of your make in My Fingers Fly Family group on Facebook. The photo with the most likes at the end of the month wins!!
Winner will get a choice of one free ebook from my Ravelry shop.
This post contains affiliate links. This means I may earn a commission should you chose to sign up for a program or make a purchase using my link. It’s okay – I love all of these companies anyways, and you will too!
I’m so proud to have my designs featured on Lion Brand Yarn Pattern Marketplace. Not only can you purchase great designs, but you can also purchase the yarn and supplies you need to make them.
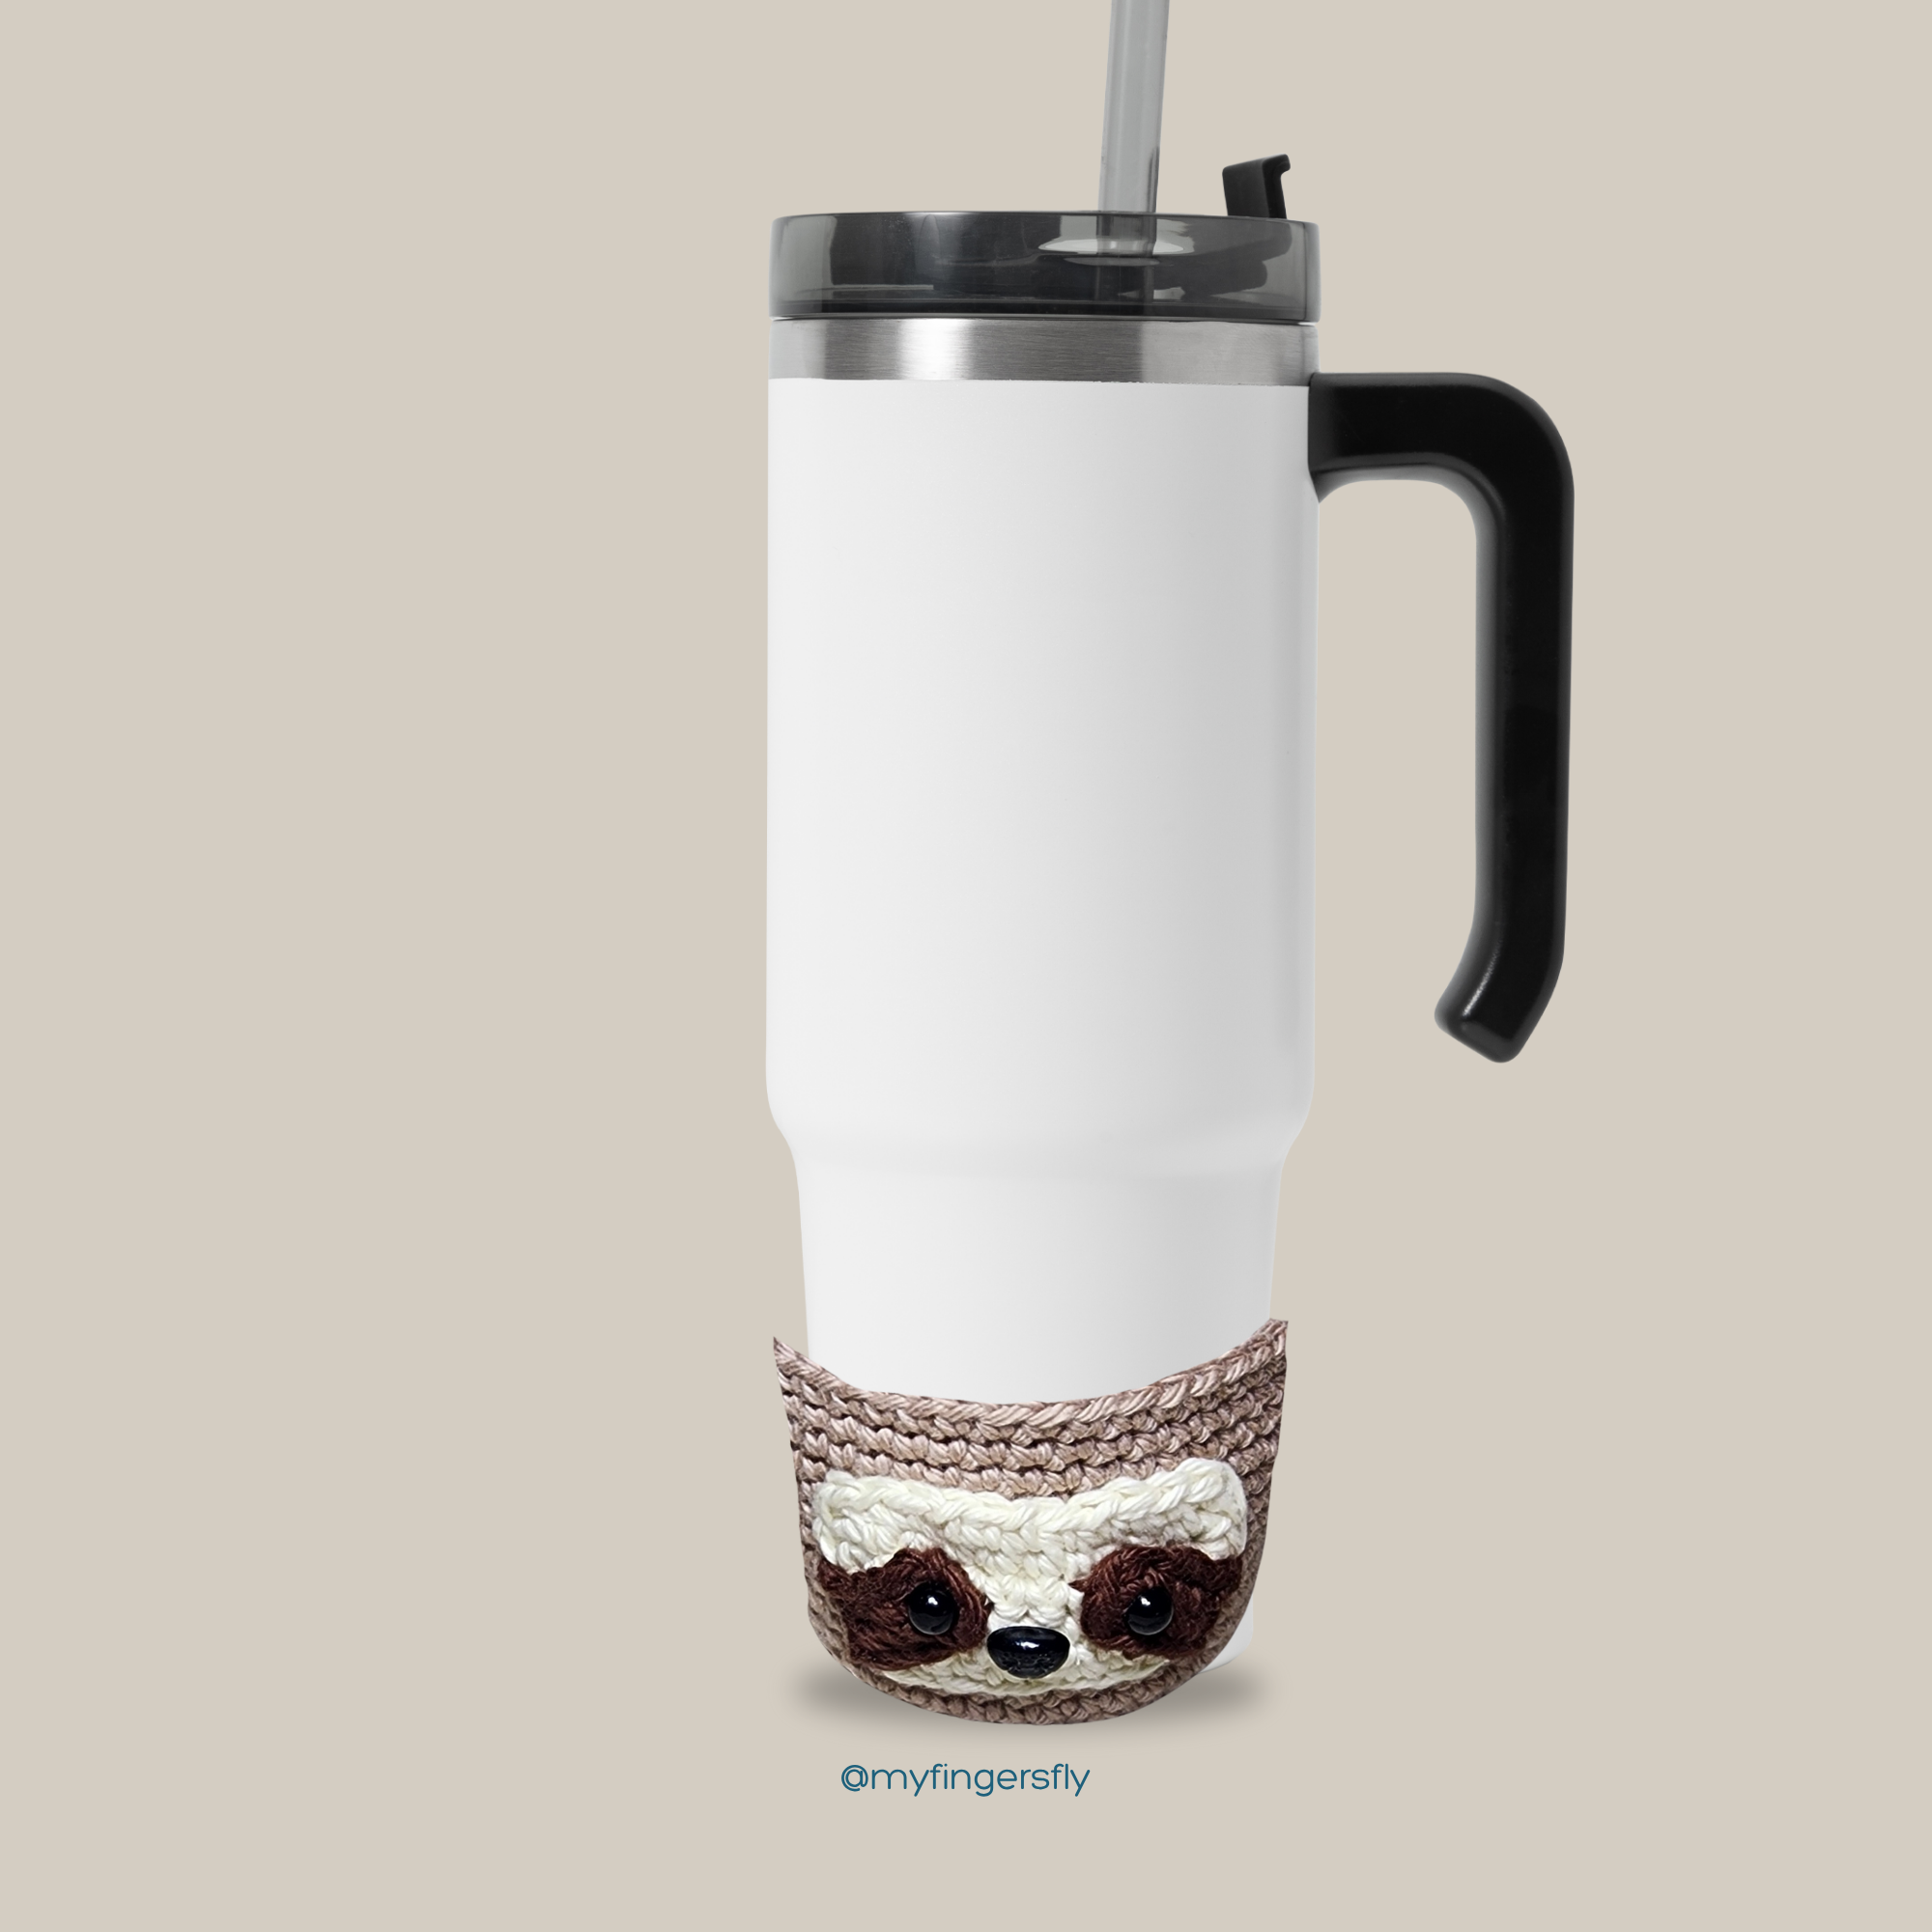
🦥 Crochet Slow and Sip Happy: Sloth Tumbler Boot Pattern
There’s nothing better than relaxing with your favorite drink—unless, of course, it’s paired with an adorable crochet sloth! Meet your new favorite handmade accessory: the Sloth Tumbler Boot, a cozy, cute way to dress up your cup.
Whether you’re heading out with your iced coffee or enjoying tea at your desk, this little sloth is ready to hang out and keep things cozy.
What Is a Tumbler Boot?
A tumbler boot is a snug sleeve that fits the bottom of your tumbler or water bottle, helping to prevent scratches, absorb condensation, and add a personal touch. This sloth version brings plenty of personality—with floppy arms, a sweet sleepy face, and a charming handmade feel.
✨ What You’ll Love About This Pattern:
Beginner-Friendly: This pattern uses basic stitches, so it’s perfect for confident beginners or anyone wanting a quick, satisfying project.
Fits Standard Tumblers: Designed for most 16–20 oz tumblers. Tumbler boot measures approximately 2.25” tall by 3” diameter across bottom. It slightly tapers up to fit tumbler and measures 3.5” diameter across top.
Makes a Great Gift: Sloth fans, teachers, teens, and crochet lovers will adore this thoughtful handmade touch.
🧵 Materials You’ll Need:
Cotton worsted weight yarn (in sloth-inspired colors)
Size G (4.0 mm) crochet hook
Safety eyes and safety nose or black yarn for embroidery
Yarn needle and scissors
💡 Ideas for Use:
Match your boot to the seasons—use bright colors for summer or earthy tones for fall.
Make a few for your next craft fair.
Personalize it with embroidery or initials.
Ready to Crochet Your Sloth Buddy? You can grab the PDF of the Sloth Tumbler Boot Crochet Pattern at this link: Sloth Tumbler Boot Crochet Pattern
Start stitching up some slow-sippin’ cuteness today. Don’t forget to tag me in your creations—I love seeing your handmade sloths in the wild! 🦥💕
Rnd 1: With tan yarn, ch 2 (or magic ring), sc 6 in second ch from hook. Do not join. Work in continuous rnds throughout unless otherwise specified.
Rnd 2: 2 sc in each sc (12 sc).
Rnd 3: *1 sc in next sc, 2 sc in next sc,* repeat around (18 sc).
Rnd 4: *1 sc in next 2 sc, 2 sc in next sc,* repeat around (24 sc).
Rnd 5: *1 sc in next 3 sc, 2 sc in next sc,* repeat around (30 sc).
Rnd 6: *1 sc in next 4 sc, 2 sc in next sc,* repeat around (36 sc). Join with sl st.
Rnd 7: Working in BLO, sc in each st.
Rnd 8: Working in both loops, sc in each sc around.
Rnd 9: *Sc in next 11 sts, 2 sc in next st,* repeat twice (39 sc).
Rnds 10-12: Sc in each st.
Rnd 13: *Sc in next 12 sts, 2 sc in next st,* repeat twice (42 sc).
Rnds 14-16: Sc in each st.
Rnd 17: *Sc in next 13 sts, 2 sc in next st,* repeat twice (45 sc).
Rnds 18-20: Sc in each st. Join with sl st at end of Rnd 20. Fasten off tan yarn.
Face:
Row 1: With ivory yarn, ch 12, sc in 2nd ch from hook and in each remaining ch (11 sc).
Row 2: Ch 1, turn, sc in each st.
Rows 3-4: Ch 1, turn, dec over first 2 sts, sc across to last 2 sts, dec (7 sc at end of Row 4).
Ch 1, turn, sc around entire piece with 2 sc in each corner. Join with sl st. Fasten off ivory yarn leaving 12” length for sewing.
Eye patches: (Make 2)
Rnd 1: With brown yarn, ch 5, sc in second ch from hook, sc in next 2 ch, 4 sc in last ch. Working on opposite side of foundation ch, sc in next 3 ch. Fasten off brown. Insert safety eyes into last ch of Rnd 1 at base of 4 sc. After securing backs on eyes, the stem will need to be trimmed or burned to allow eye to sit flush to face.
Sew eye patches to face with edges matching edge of face and curved portion toward center of face.
Insert safety nose between eyes and burn (or trim) backs in the same manner as eyes.
Don’t forget about the contest we’re having over on Facebook.
To enter, visit the blog hop and crochet any of the amazing designs you find there – over 80 designs from 17 indie designers from which to choose. Post a photo of your make in My Fingers Fly Family group on Facebook. The photo with the most likes at the end of the month wins!!
Winner will get a choice of one free ebook from my Ravelry shop.
This post contains affiliate links. This means I may earn a commission should you chose to sign up for a program or make a purchase using my link. It’s okay – I love all of these companies anyways, and you will too!
I’m so proud to have my designs featured on Lion Brand Yarn Pattern Marketplace. Not only can you purchase great designs, but you can also purchase the yarn and supplies you need to make them.
When you think of planets with a little extra flair, Saturn is probably the first that comes to mind — and for good reason. With its iconic rings and mysterious moons, Saturn stands out as one of the most fascinating planets in our solar system. This week’s weekly featured pattern celebrates the sixth planet from the sun with this adorable Saturn Doll. Please head over to the link below to receive the pattern link and coupon code. This sale will run until June 15, 2025
🐨 Koala Day in the Zoo Crochet Blog Hop – Let’s Get Wild with Yarn!
Welcome to Koala Day in the Zoo Blog Hop — where each day we’re celebrating a different animal you’d find at the zoo… in the softest, squishiest way possible: with yarn! 🧶🦓🦁🐨
Today’s spotlight animal is one of the cuddliest, calmest creatures of them all — the koala!
Cute and cuddly, these Koala Patterns are sure to please your family. Choose from 3 adorable plush toys or an eyeglass holder (or make them all). There’s also a dot-to-dot worksheet for some summer fun!
Don’t forget about the contest we’re having over on Facebook.
To enter, visit the blog hop and crochet any of the amazing designs you find there – over 80 designs from 17 indie designers from which to choose. Post a photo of your make in My Fingers Fly Family group on Facebook. The photo with the most likes at the end of the month wins!!
Winner will get a choice of one free ebook from my Ravelry shop.
This post contains affiliate links. This means I may earn a commission should you chose to sign up for a program or make a purchase using my link. It’s okay – I love all of these companies anyways, and you will too!
I’m so proud to have my designs featured on Lion Brand Yarn Pattern Marketplace. Not only can you purchase great designs, but you can also purchase the yarn and supplies you need to make them.
Contains information related to marketing campaigns of the user. These are shared with Google AdWords / Google Ads when the Google Ads and Google Analytics accounts are linked together.
90 days
__utma
ID used to identify users and sessions
2 years after last activity
__utmt
Used to monitor number of Google Analytics server requests
10 minutes
__utmb
Used to distinguish new sessions and visits. This cookie is set when the GA.js javascript library is loaded and there is no existing __utmb cookie. The cookie is updated every time data is sent to the Google Analytics server.
30 minutes after last activity
__utmc
Used only with old Urchin versions of Google Analytics and not with GA.js. Was used to distinguish between new sessions and visits at the end of a session.
End of session (browser)
__utmz
Contains information about the traffic source or campaign that directed user to the website. The cookie is set when the GA.js javascript is loaded and updated when data is sent to the Google Anaytics server
6 months after last activity
__utmv
Contains custom information set by the web developer via the _setCustomVar method in Google Analytics. This cookie is updated every time new data is sent to the Google Analytics server.
2 years after last activity
__utmx
Used to determine whether a user is included in an A / B or Multivariate test.
18 months
_ga
ID used to identify users
2 years
_gali
Used by Google Analytics to determine which links on a page are being clicked
30 seconds
_ga_
ID used to identify users
2 years
_gid
ID used to identify users for 24 hours after last activity
24 hours
_gat
Used to monitor number of Google Analytics server requests when using Google Tag Manager
1 minute
Marketing cookies are used to follow visitors to websites. The intention is to show ads that are relevant and engaging to the individual user.
Pinterest Tag is a web analytics service that tracks and reports website traffic.
Unique value with which users can be identified by X. Collected information is used to be personalize X services, including X trends, stories, ads and suggestions.
2 years
external_referer
Our Website uses X buttons to allow our visitors to follow our promotional X feeds, and sometimes embed feeds on our Website.
2 years
guest_id
This cookie is set by X to identify and track the website visitor. Registers if a users is signed in the X platform and collects information about ad preferences.

 Written by Lewis Carroll in 1865, the story begins when a curious young girl named Alice spots
 the grinning Cheshire Cat,
 the riddle-loving Mad Hatter,
 the tea-obsessed March Hare,
 and the temperamental Queen of Hearts, who’s always shouting “Off with their heads!”


 UFO Amigurumi: Craft a baby rattle with a little flying saucer on one end and a tiny alien pilot on the other end!


 MANE:
MANE: