
San Antonio Livestock Show & Rodeo
Rodeo is an annual ritual for my family; this year we attended the Xtreme Bulls competition with the concert afterward by Whiskey Myers. I have to admit, I bought the tickets based on the bulls and had never heard of Whiskey Myers. They are a southern rock group from Palestine, Texas, and their concert was amazing! If you like good southern rock and awesome guitarists, definitely check them out. Their sound was obviously influenced by Lynyrd Skynyrd and ZZ Top, but I could also hear hints of CCR and the Beatles, along with a bit of country music. Tony Kent playing cowbell – WOW!
Xtreme Bulls with Whiskey Myers

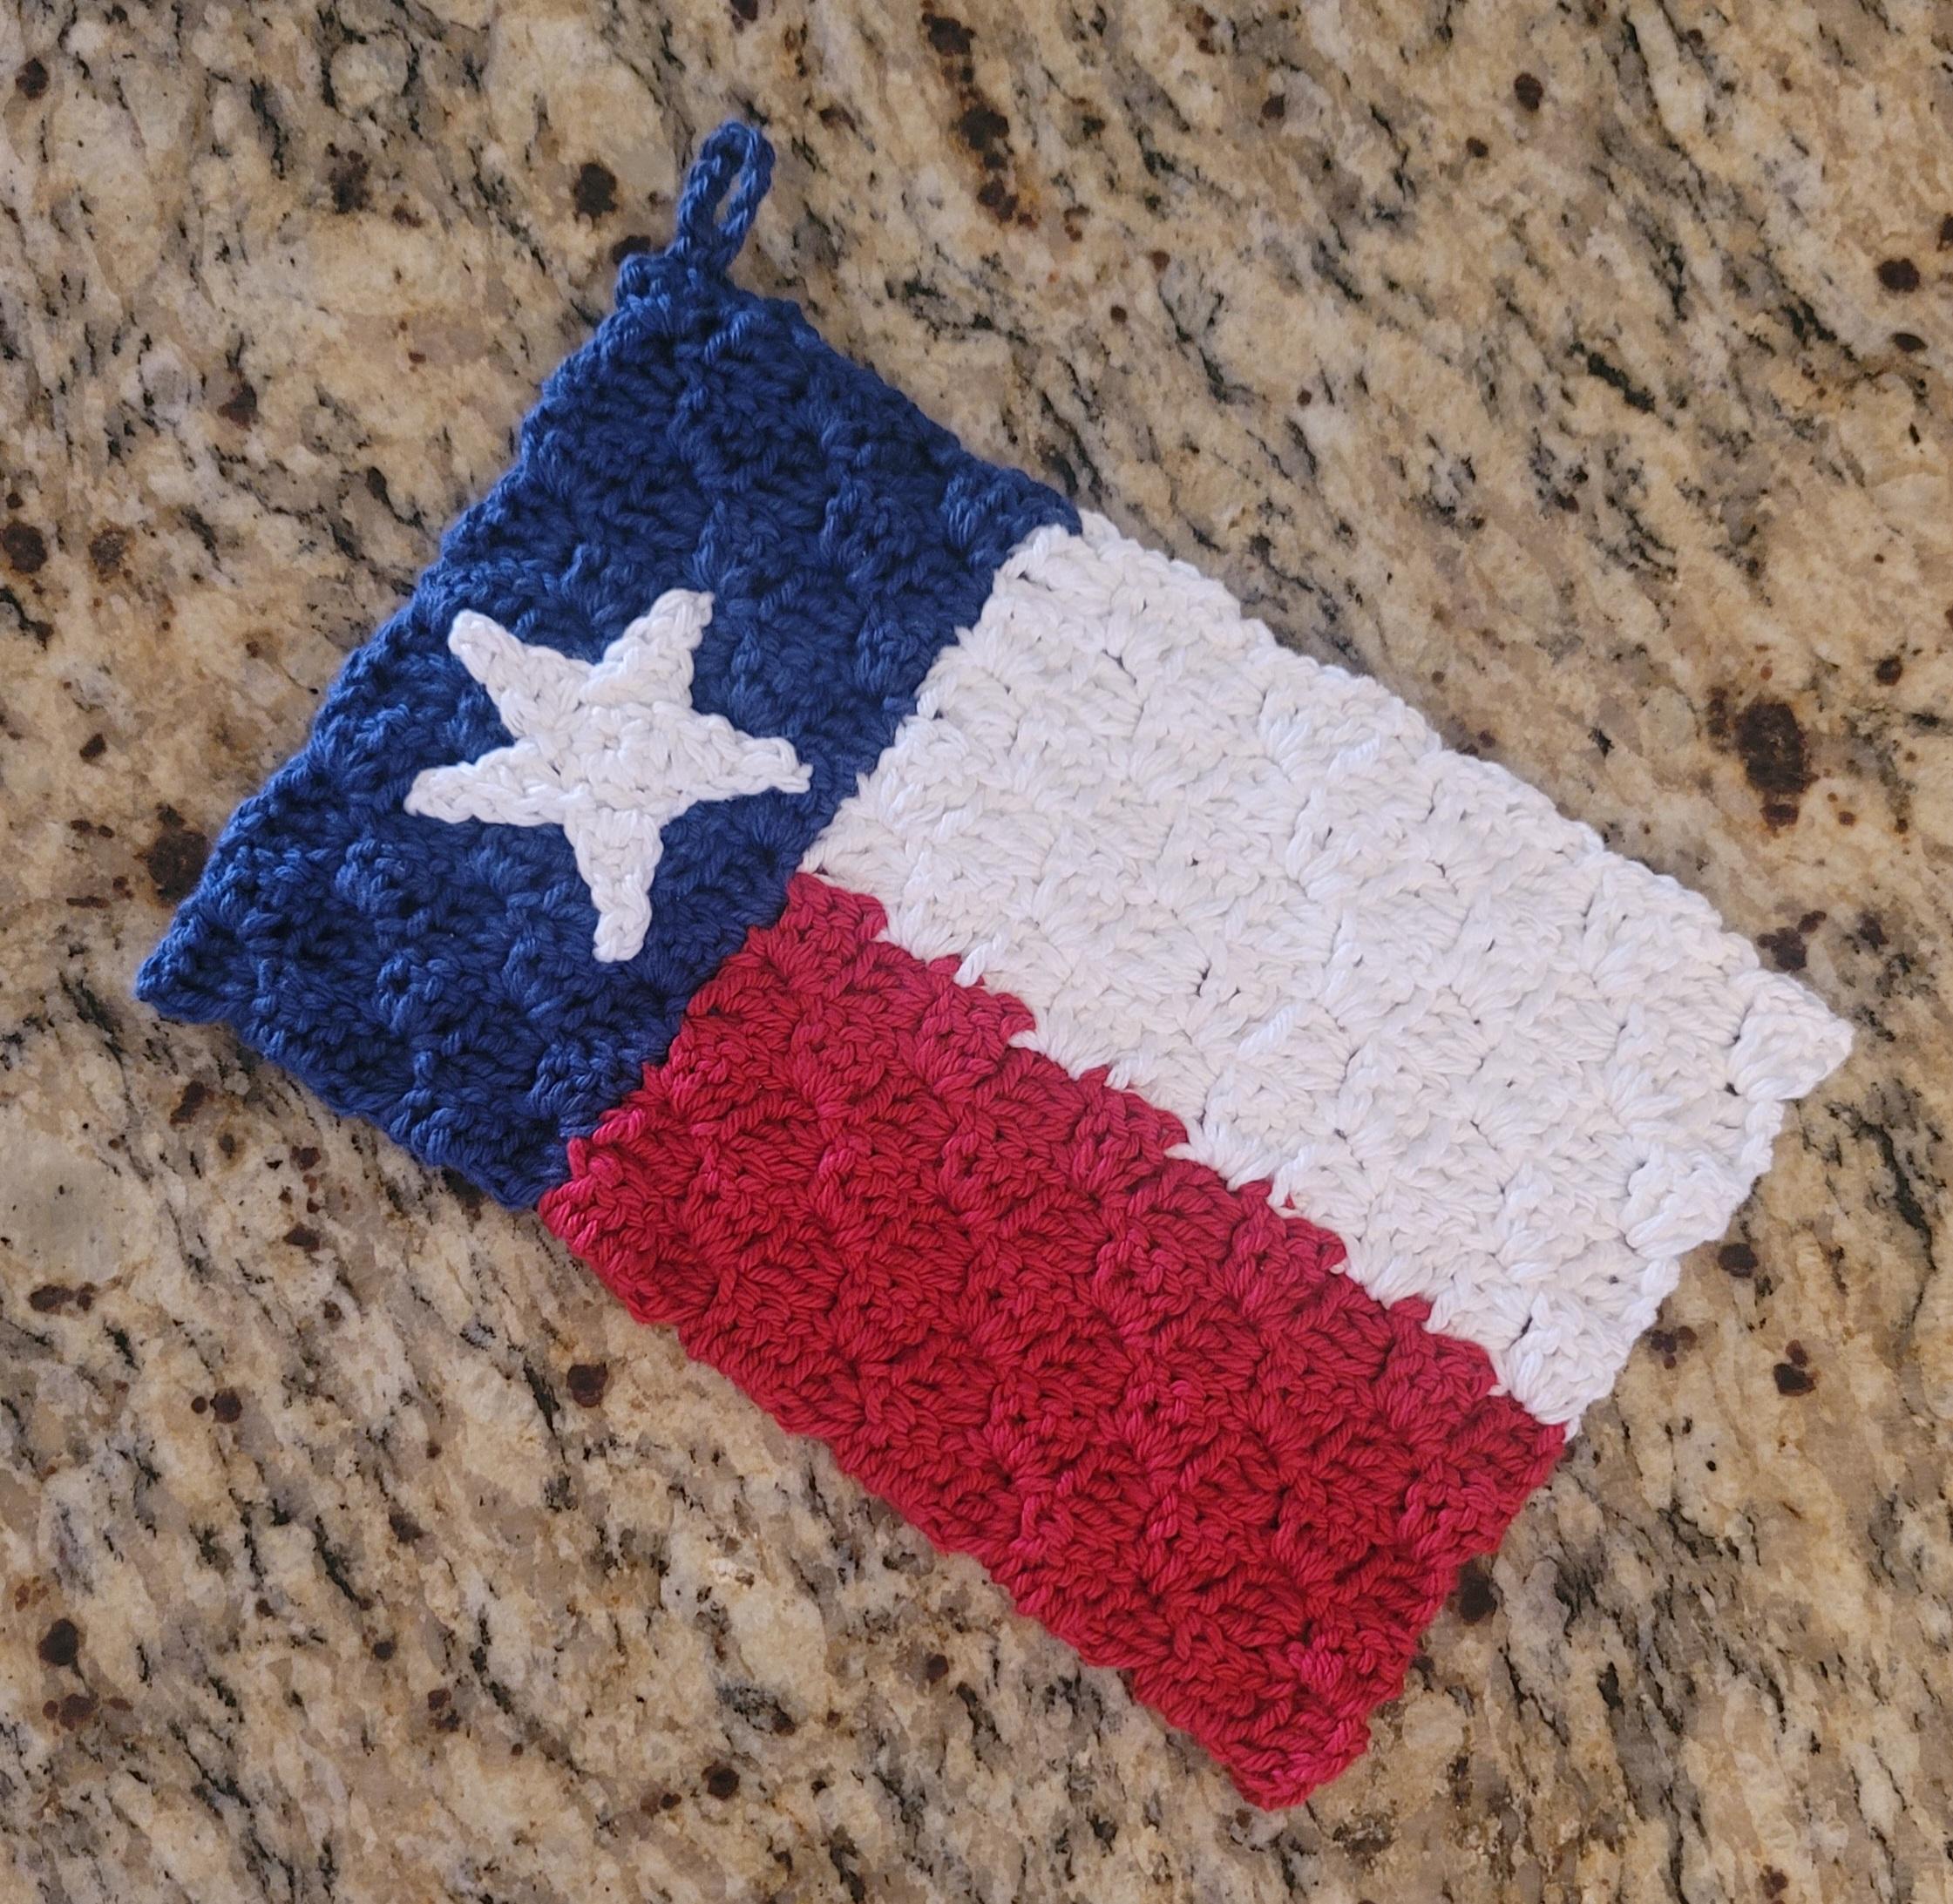
Crochet – Texas Style Book

I am super proud of my latest book containing crochet patterns with a Texas theme. Over 30 patterns cover a wide range of Texas, including travel, industry, symbols, wildlife, and Christmas in Texas. To see a slideshow of pattern photos, visit Crochet – Texas Style Patterns.
The book is available as a PDF download at My Fingers Fly. With over 30 patterns included at only $15.99, that’s less than 50 cents a pattern. Increase your savings this week with my Leap Year Sale through March 2 – Buy 1, Get 3 Free patterns. All these patterns are also available separately from 99 cents to $5.50 each.
Crochet – Texas Style is also available on Amazon as Kindle download or paperback book. Amazon
Polar Bear Pillow Crochet Pattern
February 27 is Polar Bear Day, so I have designed a quick and easy pattern for polar bear fans. PDF Download

Materials:
- Bernat Beyond super bulky yarn – 10 oz. white, 10 yards black
- Size J (6.00 mm) crochet hook
- Yarn needle
- Fiberfil (7 oz.)
Gauge: 3 sts = 1”, 3 rows = 1”
Finished bear measures approximately 12” diameter.
DIRECTIONS:
BACK:
Rnd 1: With white yarn, ch 2 (or magic circle), 6 sc in 2nd ch from hook. Do not join. Work in continuous rnds throughout.
Rnd 2: 2 sc in each st (12 sc).
Rnd 3: *Sc in next st, 2 sc in next st,* repeat around (18 sc).
Rnd 4: *Sc in next 2 sts, 2 sc in next st,* repeat around (24 sc).
Rnd 5: *Sc in next 3 sts, 2 sc in next st,* repeat around (30 sc).
Rnd 6: *Sc in next 4 sts, 2 sc in next st,* repeat around (36 sc).
Rnd 7: *Sc in next 5 sts, 2 sc in next st,* repeat around (42 sc).
Rnd 8: *Sc in next 6 sts, 2 sc in next st,* repeat around (48 sc).
Rnd 9: *Sc in next 7 sts, 2 sc in next st,* repeat around (54 sc).
Rnd 10: *Sc in next 8 sts, 2 sc in next st,* repeat around (60 sc).
Rnd 11: *Sc in next 9 sts, 2 sc in next st,* repeat around (66 sc).
Rnd 12: *Sc in next 10 sts, 2 sc in next st,* repeat around (72 sc).
Rnd 13: *Sc in next 11 sts, 2 sc in next st,* repeat around (78 sc).
Rnd 14: *Sc in next 12 sts, 2 sc in next st,* repeat around (84 sc).
Rnd 15: *Sc in next 13 sts, 2 sc in next st,* repeat around (90 sc).
Rnd 16: *Sc in next 14 sts, 2 sc in next st,* repeat around (96 sc).
Rnd 17: *Sc in next 15 sts, 2 sc in next st,* repeat around (102 sc).
Rnd 18: *Sc in next 16 sts, 2 sc in next st,* repeat around (108 sc).
Rnd 19: *Sc in next 17 sts, 2 sc in next st,* repeat around (114 sc).
Rnd 20: *Sc in next 18 sts, 2 sc in next st,* repeat around (120 sc). Join with sl st. Fasten off.
FRONT:
Row 1: With black yarn, ch 2, 1 sc in 2nd ch from hook.
Row 2: Ch 1, turn, 2 sc in sc (2 sc).
Row 3: Ch 1, turn, 2 sc in first st, sc in next st (3 sc).
Rnd 4: Ch 1, turn, 2 sc in first st, sc in next st, 2 sc in last st. Turn to work 3 sc down side, 2 sc in unused loop of starting ch, 3 sc up the other side. Join with sl st (13 sc). Fasten off black yarn.
Rnd 5: Switch to white yarn. Ch 1, working in BLO, sc in next 5 sts, (2 sc, sc, 2 sc) down side, sc in next st, 2 sc in next st, (2 sc, sc, 2 sc) up other side. Join with sl st (18 sc).
Rnd 6: Ch 1, working in both loops, *sc in next 5 sts, 2 sc in next st,* repeat around (21 sc). Do not join. From this point on, work in continuous rnds.
Rnd 7: *Sc in next 6 sts, 2 sc in next st,* repeat around (24 sc).
Rnd 8: *Sc in next 7 sts, 2 sc in next st,* repeat around (27 sc).
Rnd 9: *Sc in next 8 sts, 2 sc in next st,* repeat around (30 sc).
Rnd 10: *Sc in next 9 sts, 2 sc in next st,* repeat around (33 sc).
Rnd 11: *Sc in next 10 sts, 2 sc in next st,* repeat around (36 sc).
Rnd 12: *Sc in next 5 sts, 2 sc in next st,* repeat around (42 sc).
Rnd 13: *Sc in next 6 sts, 2 sc in next st,* repeat around (48 sc).
Rnd 14: *Sc in next 7 sts, 2 sc in next st,* repeat around (54 sc).
Rnd 15: *Sc in next 8 sts, 2 sc in next st,* repeat around (60 sc).
Rnd 16: *Sc in next 9 sts, 2 sc in next st,* repeat around (66 sc).
Rnd 17: *Sc in next 10 sts, 2 sc in next st,* repeat around (72 sc).
Rnd 18: *Sc in next 11 sts, 2 sc in next st,* repeat around (78 sc).
Rnd 19: *Sc in next 12 sts, 2 sc in next st,* repeat around (84 sc).
Rnd 20: *Sc in next 13 sts, 2 sc in next st,* repeat around (90 sc).
Rnd 21: *Sc in next 14 sts, 2 sc in next st,* repeat around (96 sc).
Rnd 22: *Sc in next 15 sts, 2 sc in next st,* repeat around (102 sc).
Rnd 23: *Sc in next 16 sts, 2 sc in next st,* repeat around (108 sc).
Rnd 24: *Sc in next 17 sts, 2 sc in next st,* repeat around (114 sc).
Rnd 25: *Sc in next 18 sts, 2 sc in next st,* repeat around (120 sc). Join with sl st. Do not fasten off.
EYES: (Make 2)
With black yarn, ch 2 (or magic circle), 6 sc in 2nd ch from hook. Join with sl st. Fasten off leaving 6” length for sewing. Sew eyes to face above the snout.
EDGING:
Pick up yarn where you left off on front. Holding front and back together with wrong sides facing, sc through both thicknesses with white yarn, stuffing as you go. Join with sl st. Fasten off.
EARS: (Make 2)
Rnd 1: Ch 2 (or magic circle), 6 sc in 2nd ch from hook. Do not join. Work in continuous rnds throughout.
Rnd 2: 2 sc in each st (12 sc).
Rnds 3-4: Sc in each st. Join with sl st. Fasten off leaving 12” length for sewing. Sew ears to top of head using photo for placement.
More Pillow Patterns
Axolotl Pillow
Taco Pillow Pattern
Roller Skate Pillow Crochet Pattern
Van Gogh’s Sunflowers in Crochet
More Bear Patterns
Zoo Blog Hop Day 5 – National Black Bear Day
Follow me on Instagram or Facebook for new pattern releases and special offers. Please come back next week when I will be a featured designer for National Crochet Month.
 On February 28, 1836, a group of Texians came together at Washington-on-the-Brazos to declare independence from Mexico and declare Texas as a Republic. The Texas Declaration of Independence was signed on March 2, 1836. Sixty men signed the document, 57 of whom had moved from the United States to Texas after the Mexican government had promised them a republican government. War had begun several months before and ended with the capture of Santa Anna at the Battle of San Jacinto on April 21, 1936. The signing of the declaration took place while the Battle of the Alamo was raging in San Antonio.


