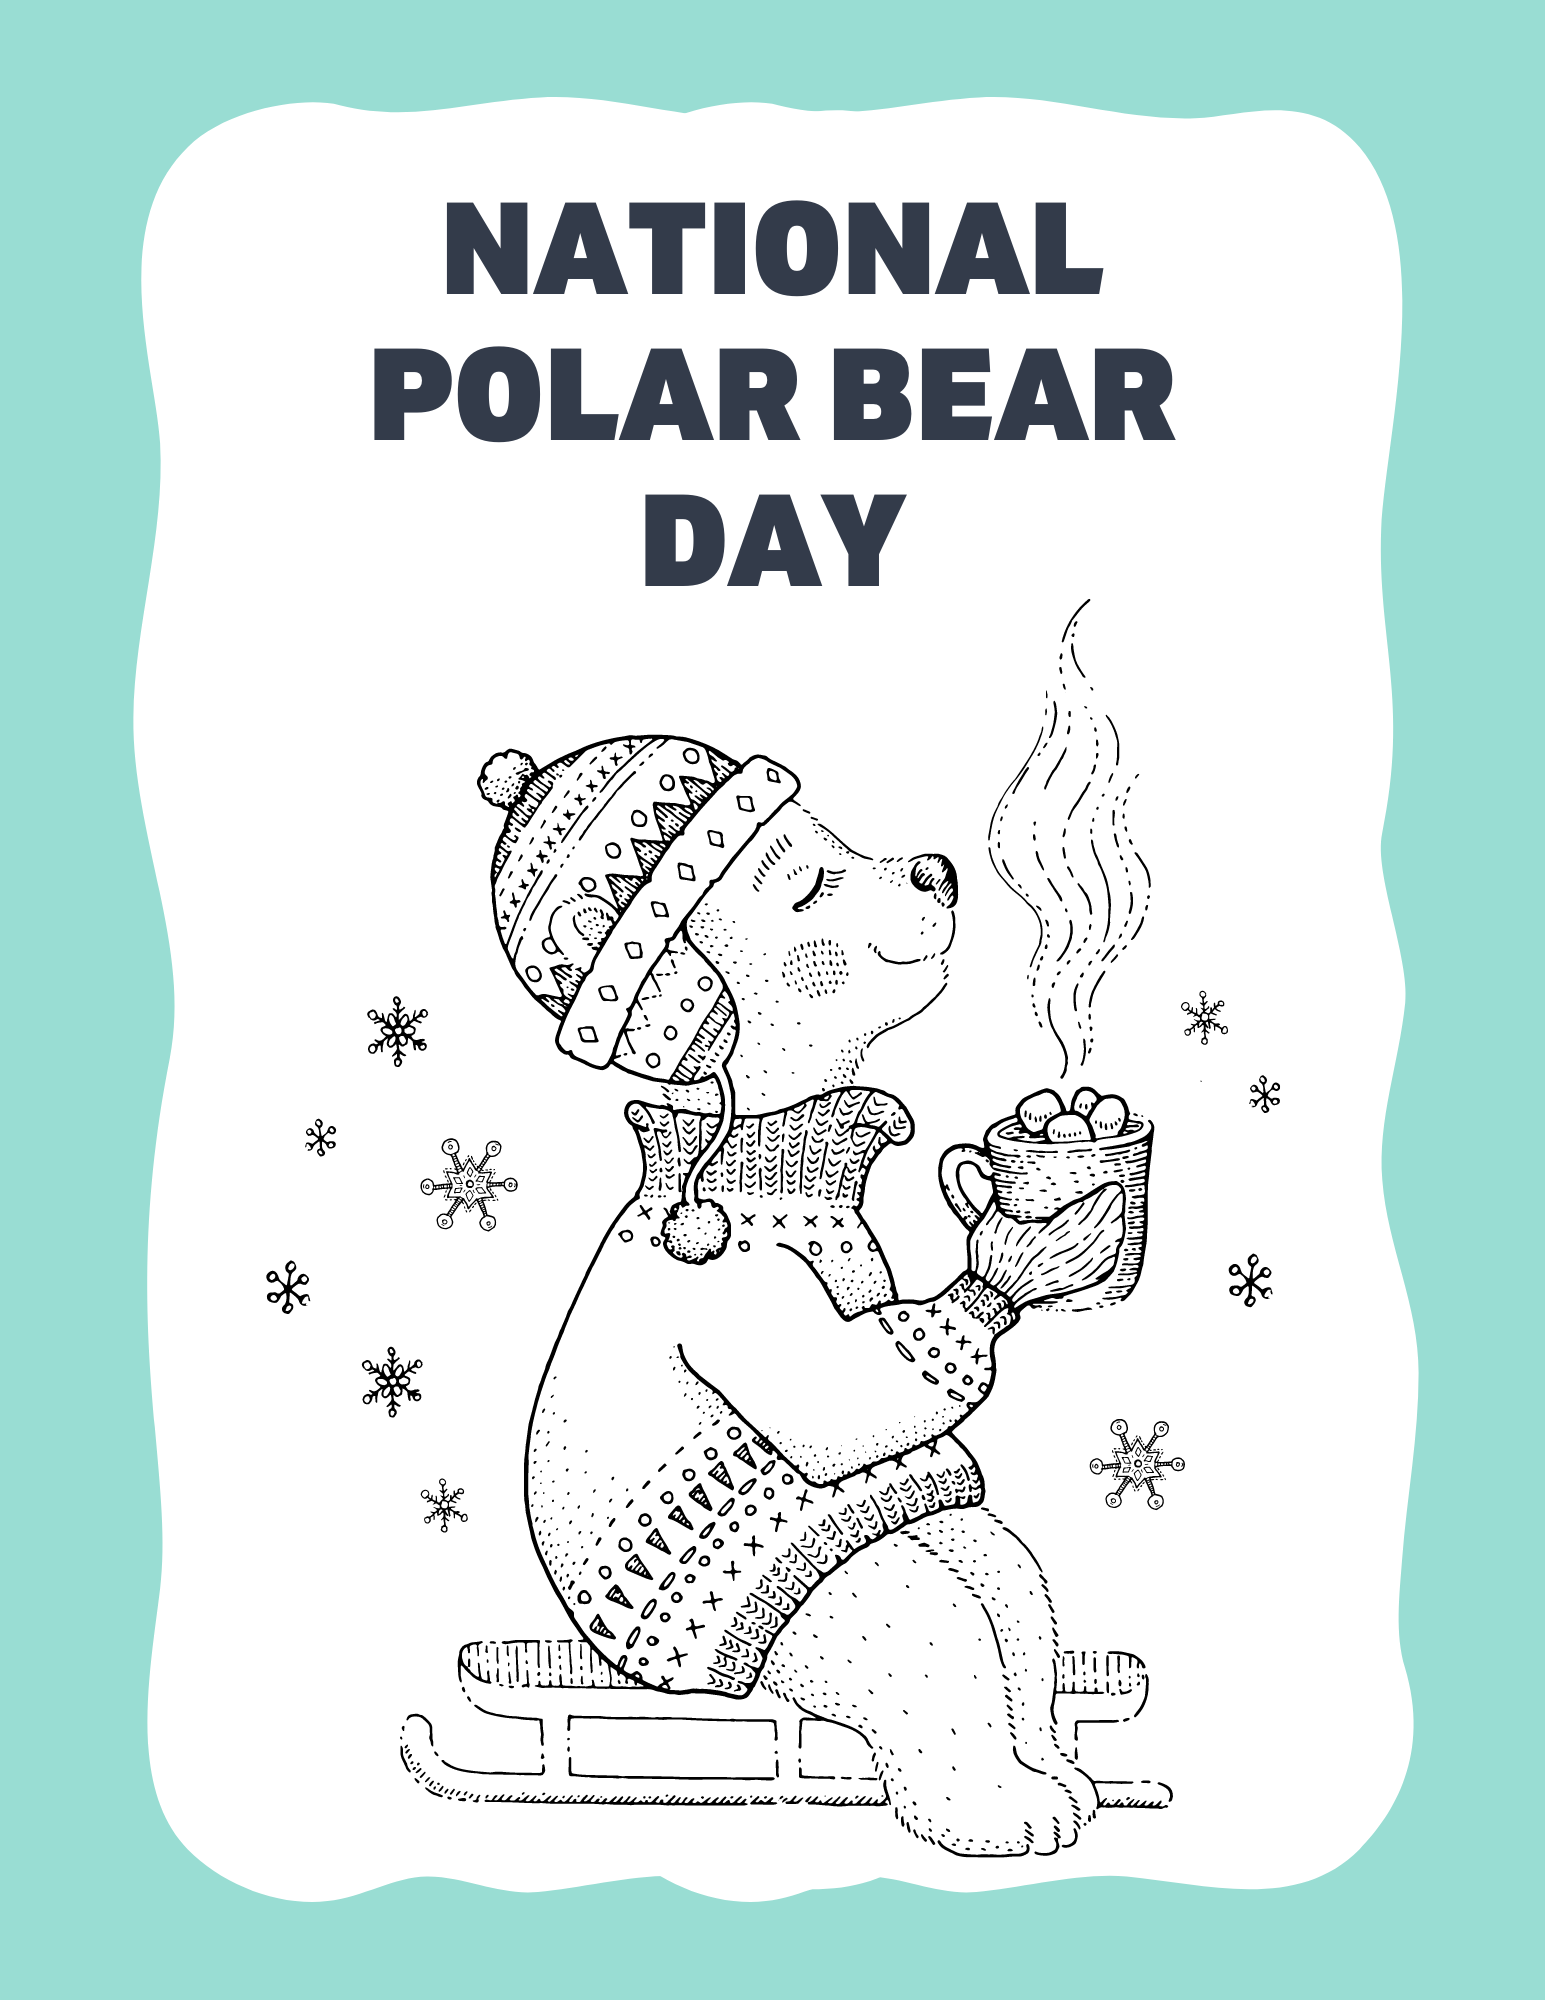
Polar bears have long been a favorite theme for crafters, especially when it comes to amigurumi. Just Google “polar bear crochet” and see all the lovely patterns that come up in the search results. My search shows 1,240,000 results. Here are a few free Polar Bear patterns for your crocheting pleasure!
Last month my husband had a business trip to Colorado Springs, and he asked me if I would like to go with him. I quickly googled “local yarn shop Colorado Springs” and found Ewe & Me Yarn Boutique, so of course I decided to go with him.
On our first day, it was cold with a light snow falling. I’m a Texas girl, and I don’t enjoy the cold weather! The next day was still cold but a beautiful sunny day, so I got out to explore.
The desk clerk suggested that I visit Garden of the Gods. I had visited it on a family trip as a teenager, but my memories were vague.
The three main features of the park are Steamboat Rock, the Three Graces, and Balanced Rock. They were formed by sedimentary beds of red, pink and white sandstone and limestone that were deposited horizontally but have now been tilted vertically by the mountain building forces caused by the uplift of the Rocky Mountains and Pikes Peak. The following Pleistocene Ice Age resulted in erosion and glaciation of the rock, creating the present rock formations. Mother Nature is truly amazing!!
Next stop – Ewe & Me, A Yarn Boutique on Garden of the Gods Road. It’s a fiber artist paradise! So many beautiful colors and textures! This shop has everything a crocheter or knitter could ever want. I explained that I was looking for a locally made yarn, and I was ushered to a wall of beautiful hand-dyed Aran yarn by Haus of Ewe. What luck! There’s a reddish-brown colorway called Balanced Rock. I had to have it! My only regret is that I only brought one suitcase, so I had to leave behind so many of the beautiful colorways.
After we got back home, I started playing with the yarn to find out what shape it wanted to take. I’m very pleased with the results. I hope you will be too. Check out the All About Fall Blog Hop for the Balanced Rock Beanie pattern free for 24 hours.
Popcorn st: Work 5 dc in the same st. Pull up lp in 5th dc slightly and remove hook. Insert hook into top of first dc and pull up lp from 5th dc. Pull through to tighten.
Ultimate Finish: Fasten off yarn leaving 6” length. Thread length through yarn needle and pick up outer lp of each st around. Pull tight to close.
Row 1: With H hook, leave 9” length of yarn and ch 11, sc in 2nd ch, sc in next 9 ch (10 dc).
Row 2: Ch 1, turn, working in BLO, sc in each st.
Repeat Row 2 until you have 72 rows. (This will give you 12 repeats of the balanced rock pattern.) Ribbing will measure approximately 18”.
Fold ribbing end to end and sew tog with 9” length left at beginning.
Turn ribbing to work along edges with I hook.
Rnd 1: Ch 1, sc in first st and each st around (72 sc).
Rnds 2-3: Ch 1, stacked sc in first st (counts as first dc), dc in each st around. Join with sl st in top of stacked sc.
Rnd 4: Ch 1, sc in first st, *sk 2 sts, 5 dc (shell) in next st, sk 2 sts, sc in next st,* repeat around. Join with sl st in top of first sc.
Rnd 5: Ch 3 (counts as dc), 4 dc in first st, *sk 2 sts, sc in BLO of center dc of shell, sk 2 sts, shell in sc between shells,* repeat around. Join with sl st in BLO of top of ch-3.
Rnd 6: Working in BLO, ch 1, stacked sc in ch-3 of first shell, dc in next 4 sts of shell, *dc in sc, dc in 5 dc of shell,* repeat around. Join with sl st in stacked st.
Rnd 7: Ch 1, stacked sc in first st (counts as first dc), dc in each st around. Join with sl st in top of stacked sc.
Rnd 8: Ch 1, stacked sc, dc in next 2 sts, *tr bp 3 times, dc 3 times,* repeat around. Join with sl st in top of stacked sc.
Rnd 9: Ch 1, stacked sc in first st, dc in next 2 sts, *ch 1, triple cluster, ch 1, dc in next 3 sts,*, repeat around. Join with sl st in top of stacked sc.
Rnd 10: Ch 1, stacked sc, dc in next 2 sts, *dc in ch-1 (not around ch-1), dc in top of triple cluster, popcorn in ch-1, dc in next 3 dc,* repeat around. Join with sl st in top of stacked sc.
Rnd 11: Ch 1, stacked sc, dc in each st (72 dc). Join with sl st.
Rnd 12: Ch 1, stacked sc, dc in next 6 sts, *dec over next 2 sts, dc in next 7 sts,* repeat around (64 dc).
Rnd 13: Ch 1, stacked sc, dc in next 5 sts, *dec over next 2 sts, dc in next 6 sts,* repeat around (56 dc).
Rnd 14: Ch 1, stacked sc, dc in next 4 sts, *dec over next 2 sts, dc in next 5 sts,* repeat around (48 dc).
Rnd 15: Ch 1, stacked sc, dc in next 3 sts, *dec over next 2 sts, dc in next 4 sts,* repeat around (40 dc).
Rnd 16: Ch 1, stacked sc, dc in next 2 sts, *dec over next 2 sts, dc in next 3 sts,* repeat around (32 dc).
Rnd 17: Ch 1, stacked sc, dc in next st, *dec over next 2 sts, dc in next 2 sts,* repeat around (24 dc).
Close with Ultimate Finish technique.
Weave in all ends. Attach pompom to top of hat.
Fold brim up for beanie. Leave brim unfolded for slouchie hat.
It’s the beginning of the President’s Day weekend. Will you have the day off on Monday? A day off means extra crochet time!
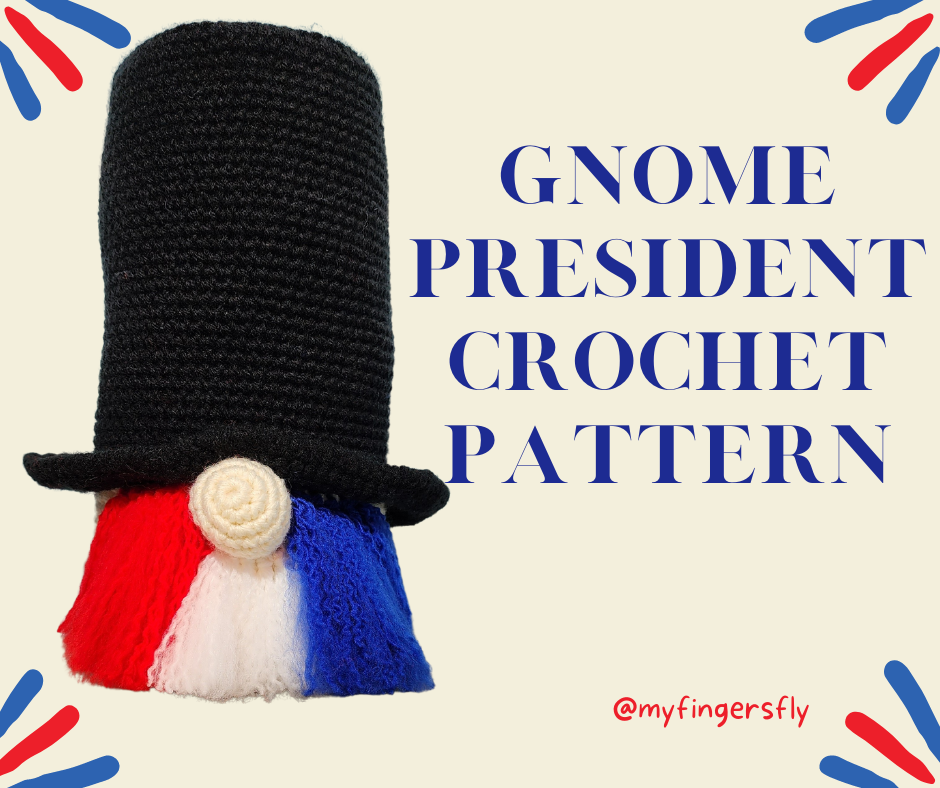
My husband wanted something for his office to signify President’s Day, and I love gnomes, so I came up with Lincoln, the Gnome President. He’s so cute and easy to make! The only sewing involved is attaching his nose to his face.
Gnome measures approximately 11” tall.
Materials:
Worsted weight yarn –
170 yards black
75 yards ivory
5 yards each red, white, blue
Size H (5.0 mm) crochet hook
Yarn needle
Fiberfil
Cardboard
Directions:
HEAD:
Rnd 1: With ivory yarn, ch 2 (or magic ring), 6 sc in 2nd ch from hook. Do not join. Work in continuous rnds throughout unless otherwise specified.
Rnd 2: 2 sc in each st (12 sc).
Rnd 3: *Sc in next st, 2 sc in next st, repeat around (18 sc).
Rnd 4: *Sc in each of next 2 sts, 2 sc in next st, * repeat around (24 sc).
Rnd 5: *Sc in each of next 3 sc, 2 sc in next st,* repeat around (30 sc).
Rnd 6: *Sc in each of next 4 sts, 2 sc in next st,* repeat around (36 sc).
Rnd 7: *Sc in each of next 5 sc, 2 sc in next st,* repeat around (42 sc).
Rnd 8: *Sc in each of next 6 sts, 2 sc in next st,* repeat around (48 sc).
Rnd 9: *Sc in each of next 7 sts, 2 sc in next st,* repeat around (54 sc).
Rnd 10: *Sc in each of next 8 sts, 2 sc in next st,* repeat around (60 sc). Join with sl st. Ch 1.
Rnd 11: Working in back loops only, sc in each sc.
Rnd 12: Working in both loops, sc in each sc.
Rnds 13-24: Sc in each sc around. Join at end of Rnd 24 and fasten off ivory.
Rnd 25: With wrong side facing you, attach black yarn and work in back loops only. *Sc in next 4 sts, 2 sc in next st,* repeat around (72 sc). Do not join. Work in continuous rnds for remainder of hat brim.
Rnd 26: *Sc in next 5 sts, 2 sc in next st,* repeat around (84 sc).
Rnd 27: *Sc in next 6 sts, 2 sc in next st,* repeat around (96 sc).
Rnd 28: Sc in each sc. Fasten off black.
HAT:
Rnd 1: With black yarn, ch 2 (or magic ring), 6 sc in 2nd ch from hook. Do not join. Work in continuous rnds throughout unless otherwise specified.
Rnd 2: 2 sc in each st (12 sc).
Rnd 3: *Sc in next st, 2 sc in next st, repeat around (18 sc).
Rnd 4: *Sc in each of next 2 sts, 2 sc in next st, * repeat around (24 sc).
Rnd 5: *Sc in each of next 3 sc, 2 sc in next st,* repeat around (30 sc).
Rnd 6: *Sc in each of next 4 sts, 2 sc in next st,* repeat around (36 sc).
Rnd 7: *Sc in each of next 5 sc, 2 sc in next st,* repeat around (42 sc).
Rnd 8: *Sc in each of next 6 sts, 2 sc in next st,* repeat around (48 sc).
Rnd 9: *Sc in each of next 7 sts, 2 sc in next st,* repeat around (54 sc).
Rnd 10: *Sc in each of next 8 sts, 2 sc in next st,* repeat around (60 sc). Join with sl st.
Place top of hat on cardboard (or fusible foam) and mark. Cut out circle and set aside.
Rnd 11: Working in BLO, ch 1, sc in same st and in each sc around. Join with sl st.
Rnds 12-40: Working in both loops, ch 1, sc in each st around. Do not join.
Rnd 41: For brim, work in front loops only. *Sc in next 4 sts, 2 sc in next st,* repeat around (72 sc). Do not join. Work in continuous rnds for remainder of hat brim.
Rnd 42: *Sc in next 5 sts, 2 sc in next st,* repeat around (84 sc).
Rnd 43: *Sc in next 6 sts, 2 sc in next st,* repeat around (96 sc).
Rnd 44: Sc in each sc. Do not fasten off black yarn.
Insert cardboard into top of hat. Stuff head firmly. Pin head and hat together and sew Rnd 25 of head to Rnd 41 of hat.
Rnd 45: Pick up black yarn and work 1 rnd of reverse sc (crab st) through both thicknesses. Join with sl st. Fasten off.
NOSE:
Rnd 1: With ivory yarn, ch 2 (or magic ring), 6 sc in 2nd ch from hook. Do not join. Work in continuous rnds throughout unless otherwise specified.
Rnd 2: 2 sc in each st (12 sc).
Rnd 3: *Sc in next st, 2 sc in next st, repeat around (18 sc).
Rnds 4-6: Sc in each st.
Rnd 7: *Sc in next st, dec over next 2 sts,* repeat around (12 sc). Join with sl st. Fasten off ivory yarn leaving 12” length for sewing. Stuff nose and sew to face just beneath brim of hat.
BEARD:
Cut 7” lengths of white yarn. Pull 2 strands through each st at bottom of nose (approximately 6-7 spaces). Measure across white beard so you can make the red and white portions the same width.
Cut 10” lengths of red and blue yarn. Pull 2 strands through each st at top of face from trunk to ears (approximately 6-7 spaces each side) with red on one side of nose and blue on the other side of nose.
Use a yarn needle to split yarn into separate strands. Trim bottom (if desired).
If a fluffier beard is desired, pull a dog brush through the beard several times, being careful to clean the brush after each color so you don’t transfer the colors.
Galentine’s Day is a day for women to celebrate their friendships with all the women in their lives. It’s Valentine’s Day with your gals.
The term Galentine’s Day is a blend of Valentine’s Day and gal and was first used by Leslie Knope (Amy Poelher), the fictional Deputy Director of the Parks and Recreation Department in the NBC comedy Parks and Recreation in 2010.
What’s Galentine’s Day? Oh, it’s only the best day of the year. Every February 13th, my lady friends and I leave our husbands and our boyfriends at home, and we just come and kick it, breakfast-style. Ladies celebrating ladies. It’s like Lilith Fair, minus the angst. Plus frittatas.
— “Galentine’s Day,” Parks and Recreation, 2010
The phrase was also mentioned in episodes during the 2012 and 2014 seasons, and by 2016 the idea began to show up in national and international publications, as people everywhere embraced the idea of a holiday for celebrating friendships.
Send a card to your Galentine today with this free download.
Used to determine whether a user is included in an A / B or Multivariate test.
18 months
_ga
ID used to identify users
2 years
_gali
Used by Google Analytics to determine which links on a page are being clicked
30 seconds
_ga_
ID used to identify users
2 years
_gid
ID used to identify users for 24 hours after last activity
24 hours
_gat
Used to monitor number of Google Analytics server requests when using Google Tag Manager
1 minute
_gac_
Contains information related to marketing campaigns of the user. These are shared with Google AdWords / Google Ads when the Google Ads and Google Analytics accounts are linked together.
90 days
__utma
ID used to identify users and sessions
2 years after last activity
__utmt
Used to monitor number of Google Analytics server requests
10 minutes
__utmb
Used to distinguish new sessions and visits. This cookie is set when the GA.js javascript library is loaded and there is no existing __utmb cookie. The cookie is updated every time data is sent to the Google Analytics server.
30 minutes after last activity
__utmc
Used only with old Urchin versions of Google Analytics and not with GA.js. Was used to distinguish between new sessions and visits at the end of a session.
End of session (browser)
__utmz
Contains information about the traffic source or campaign that directed user to the website. The cookie is set when the GA.js javascript is loaded and updated when data is sent to the Google Anaytics server
6 months after last activity
__utmv
Contains custom information set by the web developer via the _setCustomVar method in Google Analytics. This cookie is updated every time new data is sent to the Google Analytics server.
2 years after last activity
Marketing cookies are used to follow visitors to websites. The intention is to show ads that are relevant and engaging to the individual user.
Pinterest Tag is a web analytics service that tracks and reports website traffic.
Unique value with which users can be identified by X. Collected information is used to be personalize X services, including X trends, stories, ads and suggestions.
2 years
external_referer
Our Website uses X buttons to allow our visitors to follow our promotional X feeds, and sometimes embed feeds on our Website.
2 years
guest_id
This cookie is set by X to identify and track the website visitor. Registers if a users is signed in the X platform and collects information about ad preferences.