Posted on 5 Comments

Easter Advent – Ducks

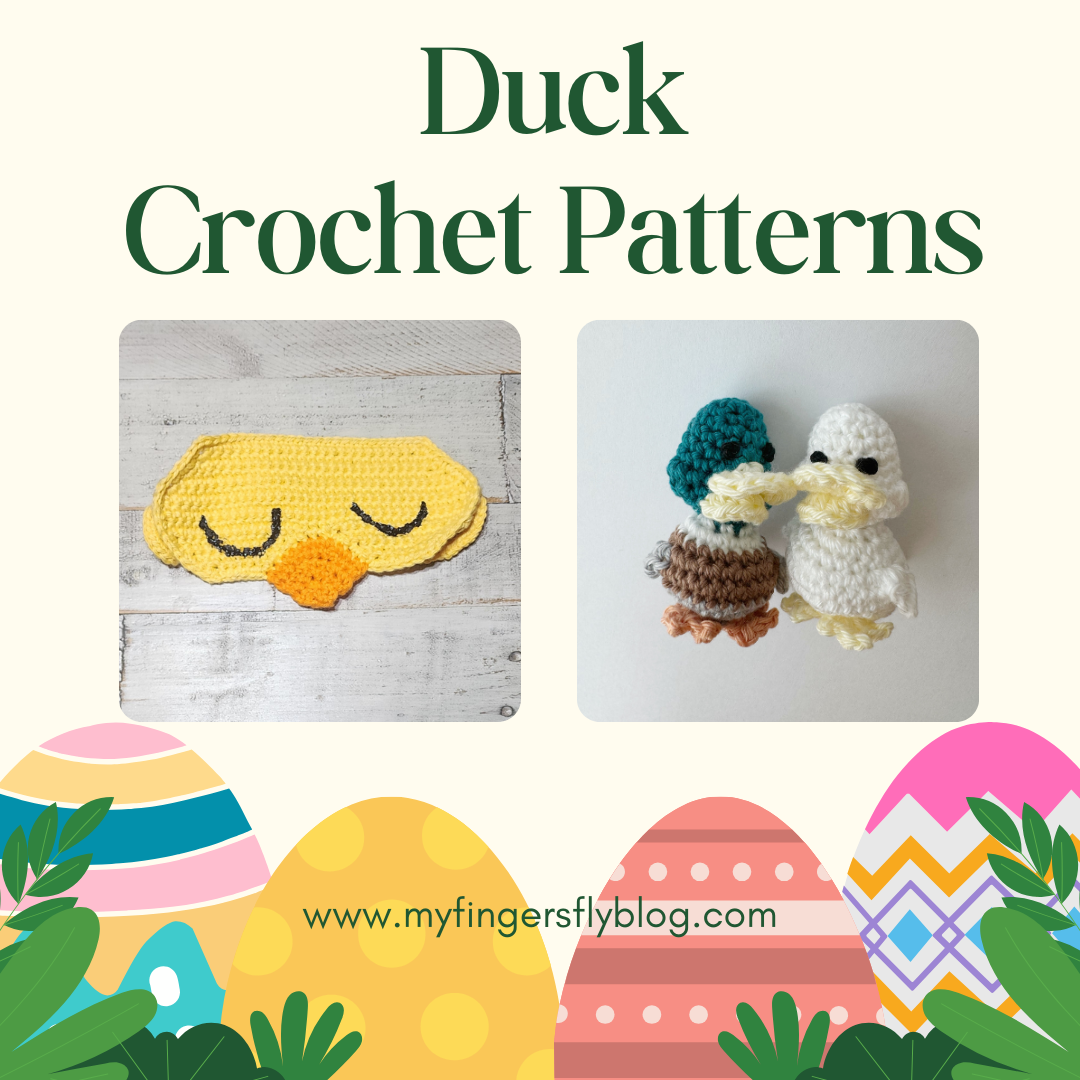
If you’re a crochet enthusiast looking for your next cute project, why not try making an adorable duck? Duck crochet patterns are perfect for Easter gifts, nursery decorations, or even just to add a touch of charm to your collection. Whether you’re a beginner or an advanced crocheter, there’s a pattern out there for you!

This cute little duck from Pocket Yarnlings is so quick and easy to crochet!

After crocheting basic shapes like spheres and cones, try your hand at making this duck amigurumi which has these same shapes incorporated. Add on the beak and the webbed feet without any sewing and voila, the piece is completed!

https://www.pocketyarnlings.com/blog/free-crochet-duck-pattern
Duck Potholder Crochet Pattern
Duck Potholder Crochet Pattern from My Fingers Fly

How about some smiling ducks for your kitchen?

Duck in Easter Egg Cuddler Crochet Pattern

duck sleep mask crochet pattern

Duck Sleep Mask

Materials:

Cotton worsted weight yarn:

35 yards yellow

5 yards orange

Size F (3.75 mm) crochet hook

Yarn needle

Black yarn for embroidery or black fabric paint

11 piece of 1/8” or smaller elastic

Finished mask measures approximately 7” wide by 3.75” tall with 11” strap.

Gauge:  10 sc = 2”, 12 rows = 2”

Directions:

Row 1: With yellow yarn, ch 25, sc in 2nd ch from hook and in each remaining ch (24 sc).

Row 2: Ch 1, turn, inc in first st, sc across to last st, inc in last st (26 sc).

Rows 3-6: Repeat Row 2 (34 sc at end of Row 6).

Rows 7-10: Ch 1, turn, sc in each st.

Row 11: Ch 1, turn, dec, sc in next 12 sts, dec (14 sc). Leave remaining sts unworked.

Row 12: Ch 1, turn, dec, sc in next 10 sts, dec (12 sc).

Row 13: Ch 1, turn, dec, sc in next 8 sts, dec (10 sc).

Row 14: Ch 1, turn, dec, sc in next 6 sts, dec (8 sc).

Row 15: Ch 1, turn, dec, sc in next 4 sts, dec (6 sc). Fasten off yarn.

Return to unworked sts of Row 10. Sk 2 sts and attach yarn in 3rd st. Repeat Rows 11-15. Do not fasten off.

Ch 1, turn, sc around entire mask with 2 sc in each corner. Join with sl st in first sc. Fasten off yarn.

Bill:

Mark center 12 sts of nose area.

Row 1: With right side facing, attach orange yarn at first marker. Ch 1, sc at marker, sc across to other marker (12 sc).

Row 2: Ch 1, turn, sc in 3 sts, dec, sc in next 2 sts, dec, sc in next 3 sts (10 sc).

Row 3: Ch 1, turn, sc in 2 sts, dec, sc in next 2 sts, dec, sc in next 2 sts (8 sc).

Row 4: Ch 1, turn, sc in 2 sts, dec twice, sc in last 2 sts (6 sc).

Row 5: Ch 1, turn, sc in first st, dec twice, sc in last st (4 sc).

Row 6: Ch 1, turn, dec twice (2 sc). Fasten off orange yarn.

Strap:

Cut 11” piece (or measure to fit) of elastic and sew to Row 8 on both sides. With yellow yarn, sc around elastic until entire piece is covered with sc. Fasten off yellow yarn. Weave in ends.

Use black thread to embroider sleeping eyes or use black paint to draw them on.

PDF available at Duck Sleep Mask Crochet Pattern – Digital PDF Download

Today’s free download is this adorable Duck Stationery


Duck Gift Basket pattern for circular knitting machines

ICYMI (In Case You Missed It)

Day 1 – Bunnies

Day 2 – Chicks


Day 4 – Lambs and Goats

Day 5 – Donkey

Day 6 – Baskets 

Day 7 – Easter Eggs

Day 8 – Clothing


Day 9 – Accessories


Day 10 – Crochet for Children

Day 11 – Crochet for Baby

Day 12 – Home Decor

Day 13 – Flowers


Day 14 – Miscellaneous


Affiliate Links

This post contains affiliate links. This means I may earn a commission should you chose to sign up for a program or make a purchase using my link. It’s okay – I love all of these companies anyways, and you will too!


Amazon affiliate: https://amzn.to/4hkS5Zd
Easter Eggs prefilled with Colorful Wind-Up Jumping Bunnies and Chicks


Happy Easter Mouse! book (from the author of If You Give a Mouse a Cookie)


Posted on 11 Comments

Easter Advent – Chicks

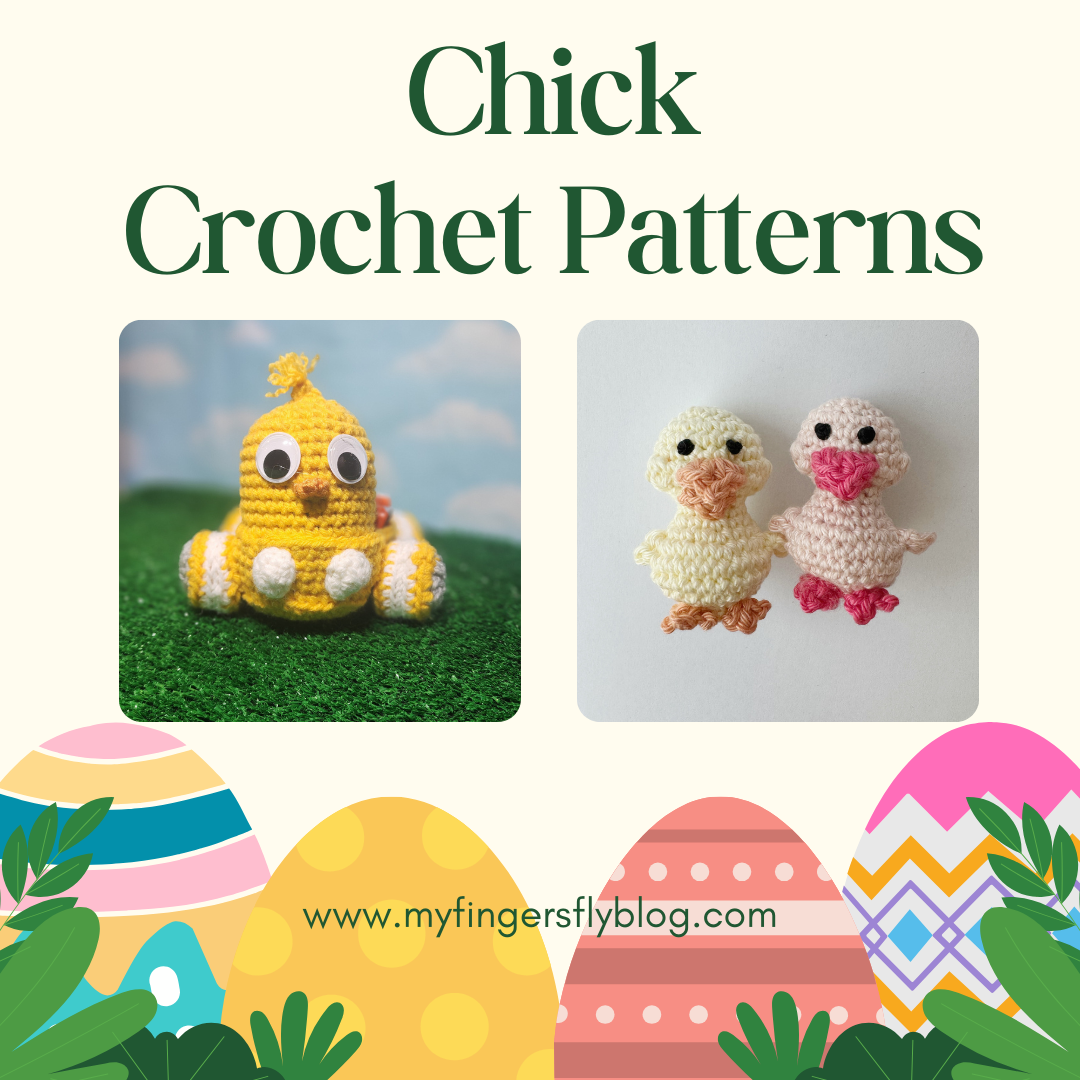
Spring is in the air, and what better way to celebrate than with some cute and cuddly crochet chicks? Whether you’re looking for Easter decorations, gifts, or just a fun project, these chick crochet patterns will bring a smile to your face.

Chick Crochet Pattern from Pocket Yarnlings


easter chick
Chick Gift Card Holder from My Fingers Fly includes YouTube tutorial


sir clucks a lot
Sir Clucksalot, The Loopy Lamb
Chick Jagger, The Loopy Lamb
marshmallow chicks
Rainbow Marshmallow Chicks, Nine Inspired


Chick Car Amigurumi Pattern

Materials:

Worsted weight yarn:

140 yards yellow

20 yards white

20 yards gray

1 yard orange

Size G (4.0 mm) crochet hook

Fiberfill

Yarn needle

25-mm wiggle eyes

Peel & stick felt

Finished car measures approximately 5” tall by 5” long by 5.5” wide.

Gauge:  8 sc = 2”, 9 rows = 2”

STITCHES:

Invisible decrease: https://youtube.com/shorts/0NC5nXyDvwI?feature=share

Ultimate finish:  https://youtu.be/jVpTr8mId3I

Directions:

Body:

Rnd 1: With yellow yarn, ch 2 (or magic ring), 6 sc in 2nd ch from hook. Do not join. Work in continuous rnds throughout unless otherwise specified.

Rnd 2: 2 sc in each st (12 sc).

Rnd 3: *Sc in next st, 2 sc in next st,* repeat around (18 sc).

Rnd 4: *Sc in next 2 sts, 2 sc in next st,* repeat around (24 sc).

Rnd 5: *Sc in next 3 sts, 2 sc in next st,* repeat around (30 sc).

Rnds 6-17: Sc in each st.

Rnd 18: *Inv dec, sc in next 3 sts,* repeat around (24 sc). Stuff body.

Rnd 19: *Inv dec, sc in next 2 sts,* repeat around (18 sc).

Rnd 20: *Inv dec, sc in st,* repeat around (12 sc).

Rnd 21: Inv dec around (6 sc). Fasten off yarn leaving 6” length. Close with ult fin.

Car:

Rnd 1: With yellow yarn, ch 12, sc in 2nd ch from hook, sc in next 9 ch, 3 sc in last ch. Working on opposite side of foundation ch, sc in next 9 ch, 2 sc in last ch (24 sc). Do not join. Work in continuous rnds throughout unless otherwise specified.

Rnd 2: 2 sc in first st, sc in next 9 sts, 2 sc in next 3 sts, sc in next 9 sts, 2 sc in next 2 sts (30 sc).

Rnd 3: *Sc in next st, 2 sc in next st*, sc in next 9 sts, * to * 3 times, sc in next 9 sts, * to * 2 times (36 sc).

Rnd 4: *Sc in next 2 sts, 2 sc in next st*, sc in next 9 sts, * to * 3 times, sc in next 9 sts, * to * 2 times (42 sc).

Rnd 5: *Sc in next 3 sts, 2 sc in next st*, sc in next 9 sts, * to * 3 times, sc in next 9 sts, * to * 2 times (48 sc).

Rnd 6: *Sc in next 4 sts, 2 sc in next st*, sc in next 9 sts, * to * 3 times, sc in next 9 sts, * to * 2 times (54 sc). Lay piece flat on felt and trace edges. Cut out felt oval and set aside.

Rnd 7: Working in BLO, sc in each st.

Rnds 8-11: Working in both lps, sc in each st. Join with sl st at end of Rnd 11. Fasten off yellow yarn.

Insert felt into bottom of car, covering Rnd 6.

Insert chick body into front portion of car and sew in place.

Headlights: (Make 2)

Rnd 1: With white yarn, ch 2 (or magic ring), 6 sc in 2nd ch from hook. Do not join.

Rnd 2: 2 sc in each st (12 sc). Join with sl st. Fasten off white yarn. Sew headlights to front portion of car one row from top edge.

Beak:

Rnd 1: With orange yarn, ch 2, 1 sc in 2nd ch from hook.

Rnd 2: Ch 1, turn, 3 sc in st (3 sc). Fasten off orange yarn leaving 4” length for sewing. Sew to body of chick at Rnd 9.

Glue eyes above beak.

Cut 3 pieces of yellow yarn approximately 3” long. Pull through top center. Trim to 1” and separate strands with yarn needle.

Wheels: (Make 4)

Rnd 1: With gray yarn, ch 4, 11 dc in 4th ch from hook (12 dc). Join with sl st. Fasten off gray yarn.

Rnd 2: With yellow yarn, *sc in next st, 2 sc in next st,* repeat around (18 sc). Fasten off yellow yarn.

Rnd 3: With white yarn, sc in BLO of each st. Join with sl st. Fasten off white yarn leaving 4” length for sewing.

Repeat Rnds 1-3. Sew 2 pieces tog with Rnd 3 of each piece facing using BLO of each side. Stuff wheel when seam is almost closed.

Sew wheels to car with tops of wheels 1 row down from top edge of car.

PDF available at Chick Car Amigurumi Crochet Pattern – Digital PDF Download


Easter Chick Gift Bag with YouTube tutorial – https://youtu.be/ZQ4kYoBGUDY?si=0ynfMI76qrqgXjgr


Easter Advent Crochet Patterns

For 2 weeks leading up to Easter, we will feature free Easter patterns on the blog for your holiday crafting. Over 40 designs with a different theme every day. Be sure to visit every day to experience all the beautiful patterns from some of the best indie designers. There will also be a new free download each day with a different theme – coloring pages, gift tags, activities for children, and so many more.

Download a copy of the calendar so you can print it as your daily reminder. Each date on the calendar will contain a link to that day’s blog post.

Easter Advent Calendar

Day 1 – Bunnies

Day 3 – Ducks

Day 4 – Lambs and Goats


Day 5 – Donkey

Day 6 – Baskets 

Day 7 – Easter Eggs

Day 8 – Clothing


Day 9 – Accessories


Day 10 – Crochet for Children

Day 11 – Crochet for Baby

Day 12 – Home Decor

Day 13 – Flowers


Day 14 – Miscellaneous

Affiliate Links

This post contains affiliate links. This means I may earn a commission should you chose to sign up for a program or make a purchase using my link. It’s okay – I love all of these companies anyways, and you will too!


Amazon affiliate: https://amzn.to/4hkS5Zd

Red Heart Crochet Kit 


Posted on 14 Comments

Easter Advent – Bunnies

Celebrate Easter with an adorable crocheted Bunny!

Easter is the perfect time to get busy crocheting, and what better way to celebrate than with a handmade Easter Bunny? Whether you’re looking for a charming gift, festive decor, or just a fun project to enjoy, crocheting your own Easter Bunny is a delightful choice.

Today’s feature is bunnies of all types – from tiny amigurumi to a bunny bobblehead. Each bunny is more adorable than the next, and all patterns are free to view on the designers’ blogs.

Share Your Bunny Creations. We’d love to see your Easter bunnies! Tag your photos on social media using #EasterBunnyCraft and inspire others to get creative.

Bunny Worry Worm from Start Crochet

Free Bunny Crochet Pattern from Pocket Yarnlings

Bunny Butt Coasters from Marsha YarnDoodles 

bunny dish scrubby
Bunny Dish Scrubby, My Fingers Fly
Bunny Bath Pouf, My Fingers Fly
rabbit crochet patterns
More Rabbit Crochet Patterns


Easter bunny bobblehead crochet pattern

Bunny Bobblehead Crochet Pattern

Materials:

Worsted weight yarn:

90 yards white

2 yards pink

Size G (4.0 mm) crochet hook

Fiberfill

Yarn needle

Marbles

Cardboard

1.5” white pompom

20-mm pink safety nose or ½” pink pompom

12 x 16-mm oval wiggle eyes

Wooden dowel 0.312”

18-gauge craft wire


Finished bunny measures approximately 9” tall (including ears).

Gauge:  8 sc = 2”, 9 rows = 2”

STITCHES:

Invisible decrease: https://youtube.com/shorts/0NC5nXyDvwI?feature=share

Ultimate finish:  https://youtu.be/jVpTr8mId3I

Directions:

Body:

Rnd 1: With white yarn, ch 2 (or magic ring), 7 sc in 2nd ch from hook. Do not join. Work in continuous rnds throughout unless otherwise specified.

Rnd 2: 2 sc in each st (14 sc).

Rnd 3: *Sc in next st, 2 sc in next st,* repeat around (21 sc).

Rnd 4: *Sc in next 2 sts, 2 sc in next st,* repeat around (28 sc).

Rnd 5: *Sc in next 3 sts, 2 sc in next st,* repeat around (35 sc).

Rnd 6: *Sc in next 4 sts, 2 sc in next st,* repeat around (42 sc).

Lay piece flat on cardboard and mark around edges.

Rnd 7: Working in BLO, sc in each st.

Rnd 8: Working in both lps, *sc in next 6 sts, 2 sc in next st,* repeat around (48 sc).

Rnds 9-16: Sc in each st.

Rnd 17: *Inv dec, sc in next 6 sts,* repeat around (42 sc).

Rnd 18: *Inv dec, sc in next 5 sts,* repeat around (36 sc).

Rnd 19: *Inv dec, sc in next 4 sts,* repeat around (30 sc). Insert cardboard into bottom of body.

Rnd 20: *Inv dec, sc in next 3 sts,* repeat around (24 sc).

Add a layer of marbles to sit on top of cardboard, then add Fiberfill stuffing.

Rnd 21: *Inv dec, sc in next 2 sts,* repeat around (18 sc).

Rnd 22: *Inv dec, sc in st,* repeat around (12 sc).

Rnd 23: Inv dec around (6 sc). Do not close yet. Fasten off yarn leaving 9” length.

Head:

Rnd 1: With white yarn, ch 2 (or magic circle), 6 sc in 2nd ch from hook. Do not join. Work in continuous rnds throughout.

Rnd 2: 2 sc in each st (12 sc).

Rnd 3: *Sc in next st, 2 sc in next st,* repeat around (18 sc).

Rnd 4: Sc in each st.

Rnd 5: *Sc in next 2 sts, 2 sc in next st,* repeat around (24 sc).

Rnd 6: Sc in each st.

Rnd 7: *Sc in next 3 sts, 2 sc in next st,* repeat around (30 sc).

Rnds 8-10: Sc in each st.

Rnd 11: *Inv dec, sc in next 3 sts,* repeat around (24 sc).

Rnd 12: *Inv dec, sc in next 2 sts,* repeat around (18 sc). Insert safety nose at Rnd 7. Stuff head.

Rnd 13: *Inv dec, sc in st,* repeat around (12 sc).

Rnd 14: Inv dec around (6 sc). Do not close yet.

Fasten off yarn leaving 9” length.

Ears (Make 2)

Row 1: With pink yarn, ch 10, sc in 2nd ch from hook, sc in remaining chs (9 sc). Fasten off pink.

Repeat Row 1 with white yarn. Do not fasten off.

Row 2: Ch 1, turn, place pink Row 1 on top of white Row 1 and work through both layers. Sc in 9 sts, 2 sc in tip of ear, 9 sc down the other side. Fasten off yarn leaving 6” length for sewing. Sew ears to head at Rnds 2-4.

Glue eyes to Rnds 5-6 of head, approximately 3 sts apart. If not using safety nose, glue pink pompom to Rnd 7.

Glue (or sew) 1.5” white pompom to back of body at Rnds 9-11.

Spring Mechanism:

Wrap 3” of wooden dowel to create a spring. Remove wire and set aside. Cut a 1.5” piece of wooden dowel and a 2.5” piece. On the 1.5” dowel, glue 1” of wire spring. Glue opposite side of spring to 1” of 2.5” dowel.

Insert 1.5” dowel into bottom of head. Make sure wood is completely inside the head, and only the spring shows. Use Ult Fin to close head at Rnd 14. Pull tightly around spring.

Insert 2.5” dowel into top of body. Make sure wood is completely inside the body, and only the spring shows. Use Ult Fin to close body at Rnd 23. Pull tightly around spring.

This will give you 1” (or slightly less) of spring between the head and the body.

YouTube tutorial: https://youtu.be/DOGcpoSFUCw

Bunny Bobblehead PDF is available at Bunny Bobblehead Crochet Pattern – Digital PDF Download

Easter Bunny Find the Differences Game – Free download

Easter Advent Crochet Patterns

For the first 2 weeks of April, we will feature free Easter patterns on the blog for your holiday crafting. Over 40 designs with a different theme every day. Be sure to visit every day to experience all the beautiful patterns from some of the best indie designers. There will also be a new free download each day with a different theme – coloring pages, gift tags, activities for children, and so many more.

Download a copy of the calendar so you can print it as your daily reminder.

Easter Advent Calendar


Day 2 – Chicks

Day 3 – Ducks

Day 4 – Lambs and Goats


Day 5 – Donkey

Day 6 – Baskets 

Day 7 – Easter Eggs

Day 8 – Clothing


Day 9 – Accessories


Day 10 – Crochet for Children

Day 11 – Crochet for Baby

Day 12 – Home Decor

Day 13 – Flowers


Day 14 – Miscellaneous

ICYMI (In Case You Missed It)

Football Trinket Tray 

Leprechaun Gift Bag Crochet Pattern

Shamrock Trinket Tray Crochet Pattern

cancer warrior doll
Kane, the Kick Cancer Doll Crochet Pattern


Affiliate Links

This post contains affiliate links. This means I may earn a commission should you chose to sign up for a program or make a purchase using my link. It’s okay – I love all of these companies anyways, and you will too!


Lion Brand Yarn


No joke! Enjoy free shipping on your order today, plus score double Lion Points. How awesome is that? Just use the code USFS40 at checkout!

https://www.lionbrand.com/?sscid=51k8_112wr4&utm_source=shareasale&utm_medium=affiliate&utm_campaign=2794578


Warehouse clear-out  

Amazon affiliate: https://amzn.to/4hkS5Zd

Red Heart Crochet KitSafety Eye Tool 


Posted on Leave a comment

March Recap and looking ahead to April

As March comes to a close, it’s the perfect time to pause and reflect on the memories, moments, and accomplishments of the past few weeks. Whether it was a month filled with creativity, new projects, or simply enjoying the early signs of spring, there’s something special about looking back and appreciating the journey.

For many crocheters and makers, March often brings fresh ideas and renewed motivation. Maybe you started a spring-themed crochet project, joined a new craft challenge, or even treated yourself to some beautiful yarn. If you participated in any crochet-alongs or blog hops, now’s a great time to admire your progress and celebrate your creativity.

With April on the horizon, it’s also a great opportunity to plan ahead. Spring projects like lightweight shawls, pastel-colored amigurumi, and floral accessories are perfect to add to your to-make list. And don’t forget those upcoming holidays like Easter and Mother’s Day – handmade gifts always make the best presents!

March may have brought new challenges, but it likely brought growth as well. Whether you learned a new stitch, completed a complicated pattern, or even found time to teach a friend how to crochet, each moment of growth deserves recognition.

Before we fully say goodbye to March, take a moment to share your favorite memories from the month. Did you finish a special project? Discover a new favorite yarn? Or maybe you simply enjoyed the first blooms of spring? I’d love to hear all about it in the comments!

Here’s to a beautiful April ahead, filled with creativity, inspiration, and plenty of happy stitching!

Easter Advent Crochet Patterns

For the first 2 weeks of April, we will feature free Easter patterns on the blog for your holiday crafting. Over 40 designs with a different theme every day. Be sure to visit every day to experience all the beautiful patterns from some of the best indie designers. There will also be a new free download each day with a different theme – coloring pages, gift tags, activities for children, and so many more.

Download a copy of the calendar so you can print it as your daily reminder.

Easter Advent Calendar

We’ll start the event tomorrow with everyone’s favorite Easter amigurumi – bunnies!! I have a brand new pattern to share with you plus lots of cute bunny designs.

Last Day of National Crochet Month

Don’t forget about the last day of the sale of crochet swag – 10% off any item in the Gifts for Fiber Artists section of myfingersfly.com

Gifts for Fiber Artists – My Fingers Fly

ICYMI (In Case You Missed It)

Football Trinket Tray 

Leprechaun Gift Bag Crochet Pattern

Shamrock Trinket Tray Crochet Pattern

cancer warrior doll
Kane, the Kick Cancer Doll Crochet Pattern


Affiliate Links

This post contains affiliate links. This means I may earn a commission should you chose to sign up for a program or make a purchase using my link. It’s okay – I love all of these companies anyways, and you will too!


Amazon affiliate: https://amzn.to/4hkS5Zd

Red Heart Crochet KitSafety Eye Tool 


Posted on 10 Comments

Smiling Duck Potholder Crochet Pattern – Happy Easter!

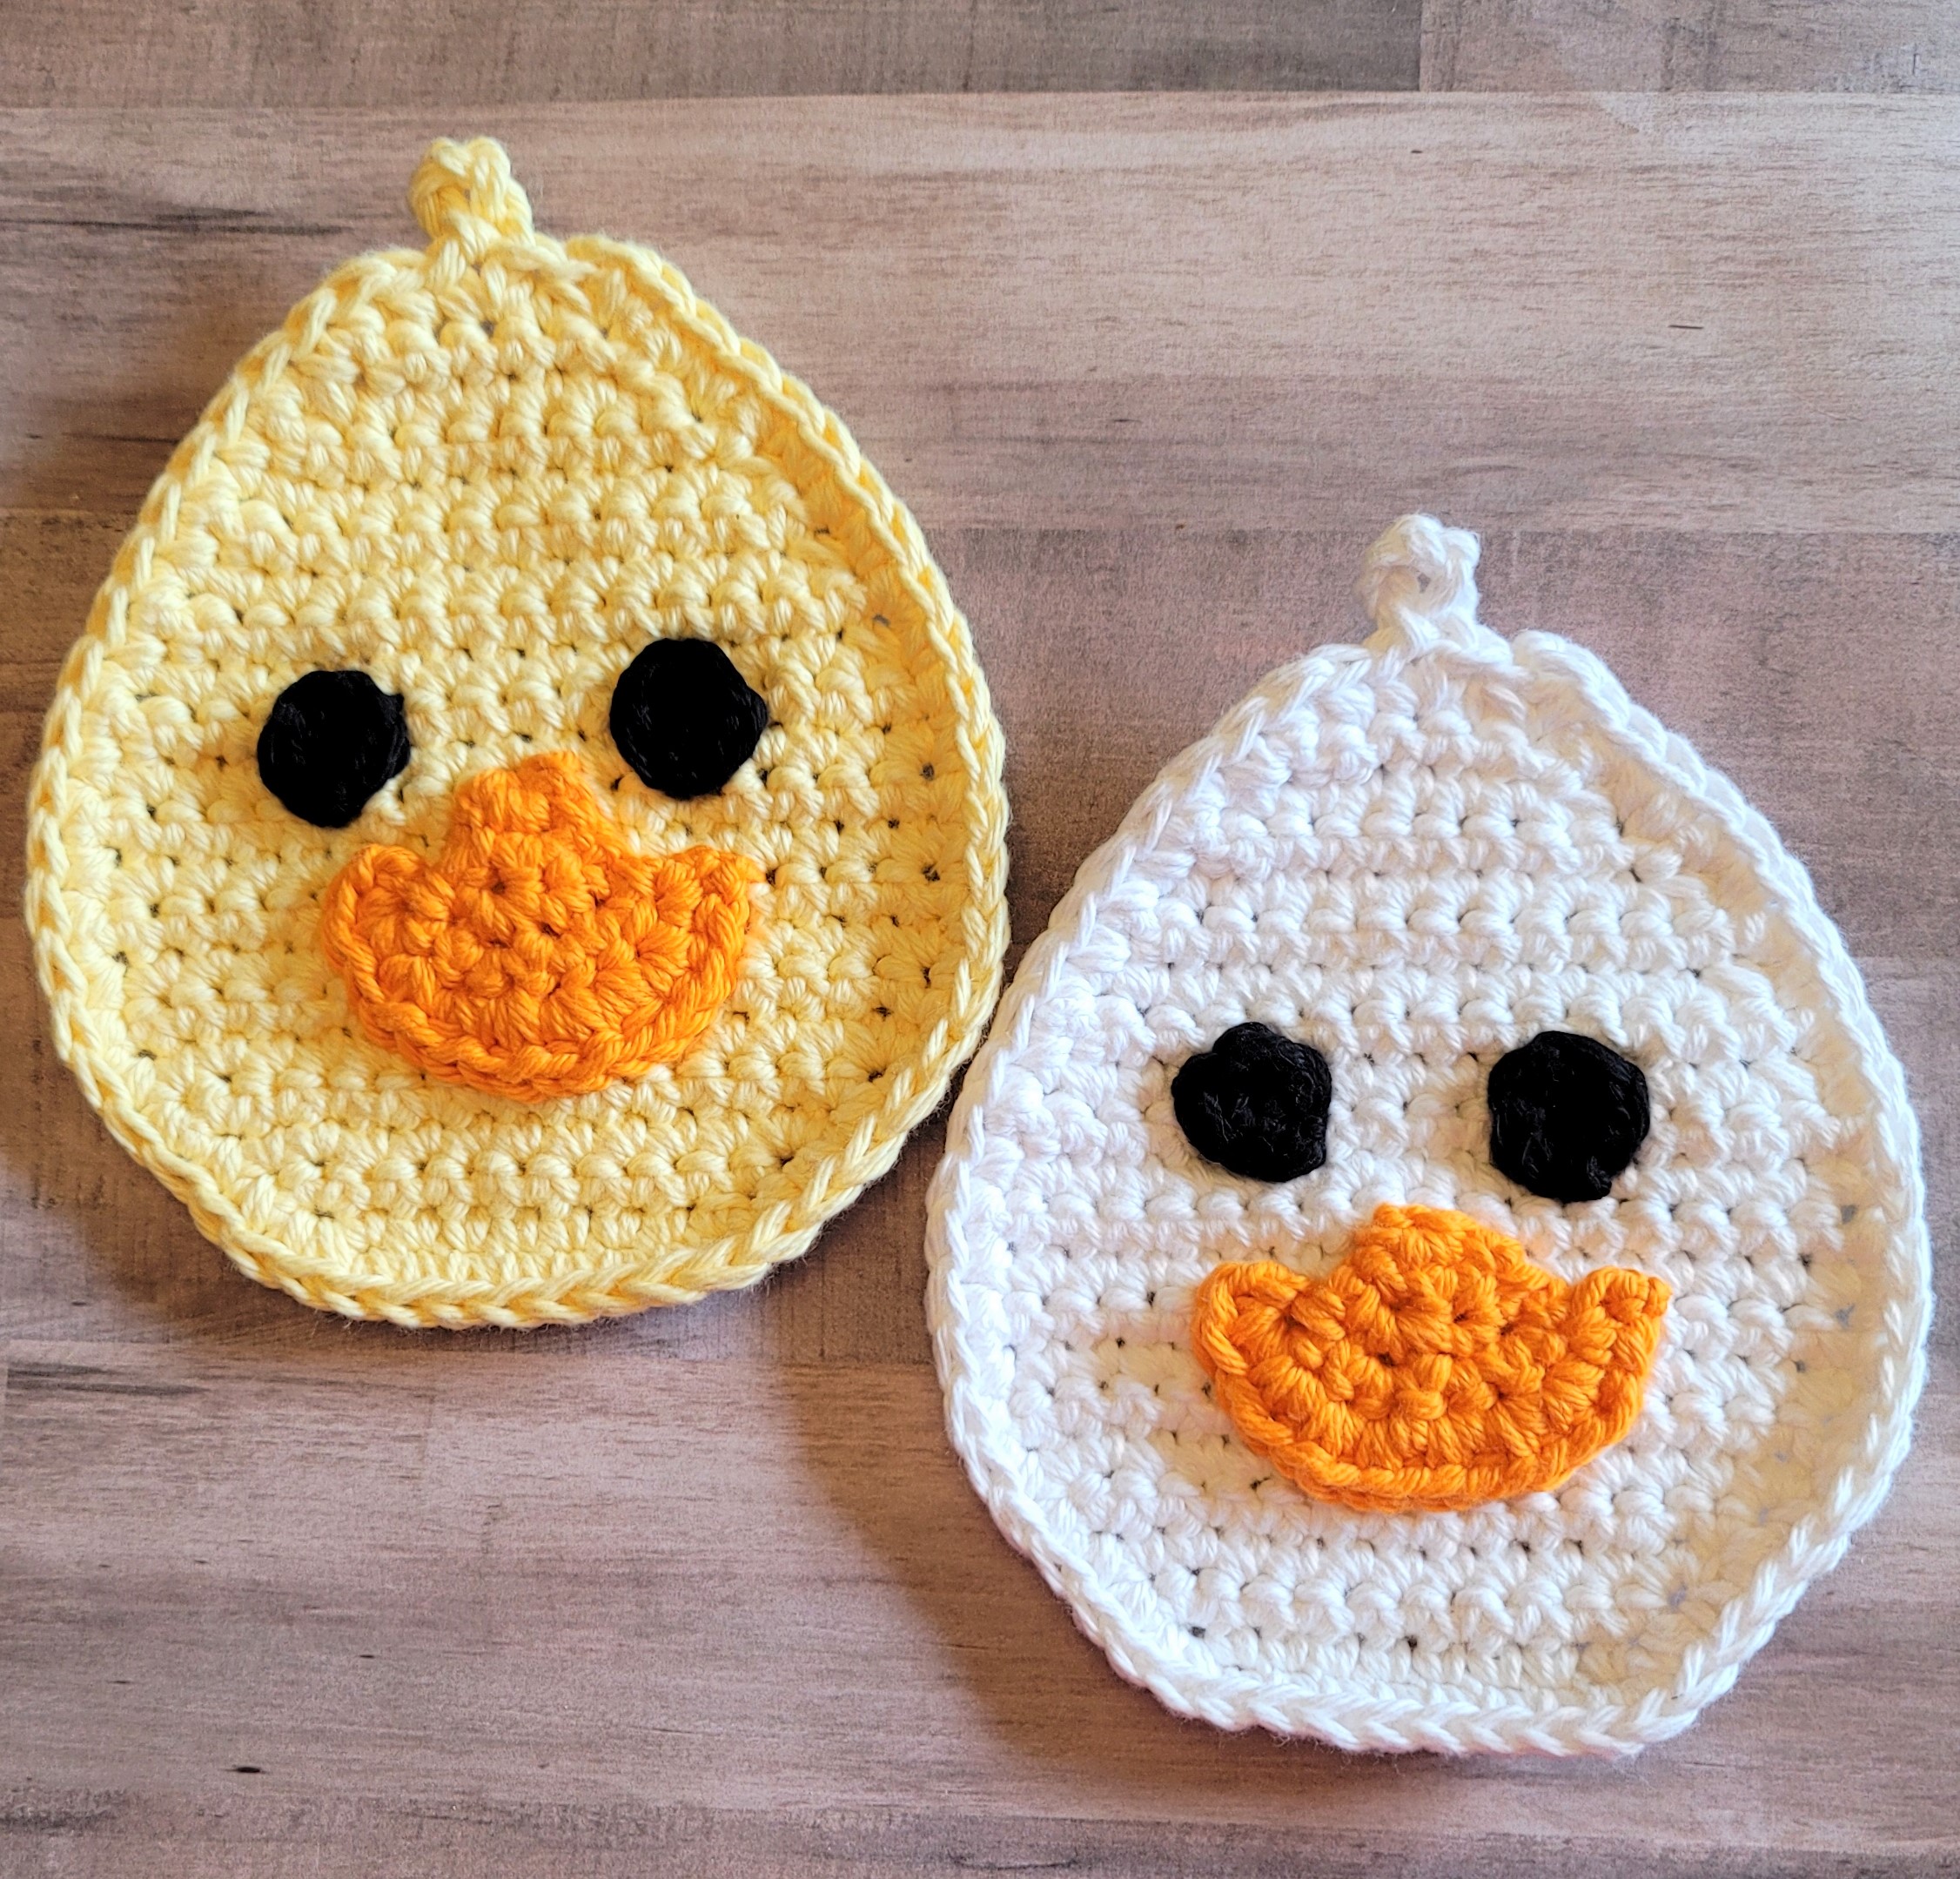
Duck Potholder Crochet Pattern

Hello everyone! This will be my last post before Easter, and it is chock-full of special offers. These adorable smiling ducks will brighten up your kitchen for the holiday, especially if you have a farm animal theme in your home.

Duck Potholder Crochet Pattern


Materials:
I Love This Cotton yarn –
1 oz. yellow or white
6 yards orange
4 yards black
Size I (5.5 mm) crochet hook
Yarn needle
Measurements:
Approximately 5.5” wide by 6” tall

Directions:
HEAD:
Row 1: With a double strand of yellow (or white), ch 10 (9 sc).
Row 2: Ch 1, turn, 2 sc in first st, sc in next 7 sts, 2 sc in last st (11 sc).
Row 3: Ch 1, turn, 2 sc in first st, sc in next 9 sts, 2 sc in last st (13 sc).
Row 4: Ch 1, turn, 2 sc in first st, sc in next 11 sts, 2 sc in last st (15 sc).
Row 3: Ch 1, turn, 2 sc in first st, sc in next 13 sts, 2 sc in last st (17 sc).
Rows 6-11: Ch 1, turn, sc in each st.
Rows 12-17: Ch 1, turn, dec over first 2 sts, sc in remaining sts (11 sc at end of Row 17).
Rows 18-20: Ch 1, turn, dec over first 2 sts, sc across, dec over last 2 sts (5 sc at end of Row 20).
Row 21: Ch 1, turn, sec over first 2 sts, sc in next st, ch 5, sl st in 5th ch, sc in same st as last sc, dec over last 2 sts of top. Working down the side of the potholder, sc in each row end. Working across bottom (unused loop of foundation ch), 2 sc in first loop, sc across foundation ch, 2 sc in last loop. Working up the other side of the potholder, sc in each row end.
Join with sl st in first sc.
BILL:
Row 1: With double strand of orange yarn, ch 2, 2 sc in 2nd ch.
Rows 2-3: Ch 1, turn, 2 sc in first st, sc across (4 sc at end of Row 3).
Row 4: Ch 1, turn, 2 sc in each st (8 sc).
Row 5: Ch 1, turn, 2 sc in each st (16 sc). Fasten off orange leaving 12” length for sewing. Sew bill to face with bottom at Row 6 of head.
EYES:
With double strand of black yarn, ch 2 (or magic circle), 5 sc in 2nd ch from hook. Join with sl st.
Fasten off black leaving 6” length for sewing.
Sew eyes to face at Rows 11-13.

Add-free PDF version is available at Smiling Duck Potholder Crochet Pattern

Easter Advent Day 3, Duck crochet patterns

More Easter Designs

Zoo Blog Hop Day 15 – Bunnies!

Flower Easter Basket Pattern

Bunny Goody Bag Crochet Pattern

Bunny Bath Pouf Pattern


Bunny Nap Buddy Crochet Pattern

Easter Bunny Hot Rod Crafts

Bunny Scrubby Pattern

Fashion Doll Easter Bonnet

Easter Enchantment Crochet Patterns Ebook – Over 20 Easter Patterns in PDF Format

Easter Lamb Free Pattern

Duck Gift Basket on Addi Knitting Machines

Easter Crochet Pattern Roundup – Over 30 Free Patterns

Butterfly Baby Dress Crochet Pattern

Butterfly Baby Dress Crochet Pattern


21 Fab Rainbow Crochet Patterns

https://greenfoxfarmsdesigns.com/?s=rainbow