Posted on Leave a comment

Easter Advent – Miscellaneous Patterns – Easter Pinata Gift Bag

A Fun & Festive Way to Gift This Easter 🧺✨

If you’re looking for a creative and adorable way to package your Easter goodies this year, this Easter Piñata Gift Bag Crochet Pattern is exactly what you need! 🐣💛

Forget plain baskets—this playful design adds a unique, handmade touch that makes every gift feel extra special.


🌸 Why You’ll Love This Pattern

This isn’t just a gift bag—it’s part of the gift itself! 🎁

With its fun piñata-inspired texture and festive Easter vibes, this crochet pattern is perfect for:

  • Filling with candy, toys, or small surprises 🍬
  • Creating memorable Easter morning gifts 🐰
  • Adding a handmade touch to your holiday traditions

Plus, it’s reusable—so it can be enjoyed year after year!


Pattern Features

✨ Beginner-friendly instructions
✨ Step-by-step guidance
✨ Customizable colors for any theme
✨ Perfect for stash-busting yarn

Gift bag measures approximately 4” tall.

Make it bright and colorful like a classic piñata or go soft pastels for a sweet spring look 🌷


🐣 Perfect for Easter Gifting

Whether you’re making gifts for kids, grandkids, or even friends, this crochet gift bag is a fun alternative to traditional baskets.

Imagine their faces when they receive a handmade piñata-style bag filled with surprises—it’s guaranteed to bring smiles! 😍


PDF download includes both files – Easter Pinata Gift Bag and Easter Pinata Amigurumi crochet patterns – for only $2.99

Pinata Gift Bag Crochet Pattern


Materials:

Worsted weight yarn:

20 yards green

15 yards pink

15 yards aqua

15 yards teal

15 yards purple

Size H (5.0 mm) crochet hook


Gift bag measures approximately 4” tall.

Gauge: 8 sc = 2”, 8 rows = 2”

 STITCHES:

Loop stitch: Insert hook into first stitch. Make sure working yarn is looped around 1 finger (2 fingers for a longer loop). Hook both strands of yarn. Pull both strands through stitch. Yarn over and pull through all three loops.

DIRECTIONS:

Rnd 1: With green yarn, ch 2 (or magic circle), 6 sc in 2nd ch from hook (6 sc).

Rnd 2: Ch 1, 2 sc in each st (12 sc).

Rnd 3: Ch 1, *sc in sc, 2 sc in next sc,* repeat around (18 sc).

Rnd 4: Ch 1, *sc in sc, 2 sc in next sc,* repeat around (24 sc).

Rnd 5: Ch 1, *sc in 3 sc, 2 sc in next sc,* repeat around (30 sc). Join with sl st.

Rnd 6: Ch 1, turn, *lp st in next 4 sc, 2 lp st in next sc,* repeat around (36 lp sts). Join with sl st. Fasten off green.

Rnd 7: Join pink yarn, ch 1, turn, *sc in next 5 sts, 2 sc in next st,* repeat around (42 sc). Join with sl st.

Rnd 8: Ch 1, turn, lp st in each sc. Join with sl st. Fasten off pink.

Rnd 9: Join teal yarn, ch 1, turn, sc in each st. Join with sl st.

Rnd 10: Ch 1, turn, lp st in each sc. Join with sl st. Fasten off teal.

Rnd 11: Join yellow yarn, ch 1, turn, sc in each st. Join with sl st.

Rnd 12: Ch 1, turn, lp st in each sc. Join with sl st. Fasten off yellow.

Rnd 13: Join purple yarn, ch 1, turn, sc in each st. Join with sl st.

Rnd 14: Ch 1, turn, lp st in each sc. Join with sl st. Fasten off purple.

Rnd 15: Join green yarn, ch 1, turn, sc in each st. Join with sl st.

Rnd 16: Ch 1, turn, lp st in each sc. Join with sl st. Fasten off green.

Rnd 17: Join pink yarn, ch 1, turn, *inv dec, sc in 4 sts,* repeat around (30 sc). Join with sl st.

Rnd 18: Ch 1, turn, lp st in each sc. Join with sl st. Fasten off pink.

Rnd 19: Join teal yarn, ch 1, turn, *inv dec, sc in 3 sts,* repeat around (24 sc). Join with sl st.

Rnd 20: Ch 1, turn, lp st in each sc. Join with sl st. Fasten off teal.

Rnd 21: Join yellow yarn, ch 1, turn, sc in each st, join with sl st.

Rnd 22: Ch 1, *sc in next st, ch 1, sk 8 st,* repeat around. Join with sl st. Fasten off yellow.

Drawstring:

With yellow yarn, ch 70. Fasten off. With yarn needle, thread drawstring through skipped sts of Rnd 22. Tie in a bow. Knot ends of drawstring and trim close to knot.


Purchase the PDF download for $2.99 and get the Easter Pinata Amigurumi crochet pattern free ($4.99 value)

Pinata Gift Bag Crochet Pattern


Or you can purchase the entire book of Easter amigurumi patterns for only $10.00 with code EASTERAMI through April 4, 2026.

Ravelry: Easter Around the World Amigurumi Crochet ebook

More Gift Bags


Easter Chick Gift Bag
Bunny Goody Bag Crochet Pattern
Donkey Pinata Gift Bag


Duck Bath Mitt


Flower Lace Plant Cover from Jo’s Crafty Hook

The plant pot cover creates a beautiful lacy design that will cover just about any size flower pot.

Flower Lace Planter Cover Crochet Pattern

fashion doll bonnet

Fashion Doll Easter Bonnet from My Fingers Fly

Crochet a few Easter bonnets for Barbie.

chicken hat
Add an elastic strap, and you have a Chicken Bonnet!


Today’s free download is the Joyful Easter Greeting Card.


free easter crochet pattern

More Easter Patterns 

Spring Splash Blog Hop

So many beautiful patterns for spring, and they’re all half off!

Check out the list of participating designers at Spring Splash 2026 Crochet Hop

or see each day’s featured design at Crochet Designer Community on Facebook

http://www.facebook.com/CrochetDesignerCommunity

ICYMI (In Case You Missed It)

Day 1 – Bunnies

Day 2 – Chicks

Day 3 – Ducks

Day 4 – Lambs and Goats


Day 5 – Donkey

Day 6 – Baskets 

Day 7 – Easter Eggs

Day 8 – Clothing


Day 9 – Accessories


Day 10 – Crochet for Children

Day 11 – Crochet for Baby

Day 12 – Home Decor

Day 13 – Flowers


Affiliate Links

This post contains affiliate links. This means I may earn a commission should you chose to sign up for a program or make a purchase using my link. It’s okay – I love all of these companies anyways, and you will too!


Amazon affiliate: https://amzn.to/4hkS5Zd
Easter Eggs prefilled with Colorful Wind-Up Jumping Bunnies and Chicks


Happy Easter Mouse! book (from the author of If You Give a Mouse a Cookie)


Posted on 1 Comment

Easter Advent Day 7 – Easter Eggs

Hey there, yarn-loving friend! 🧶
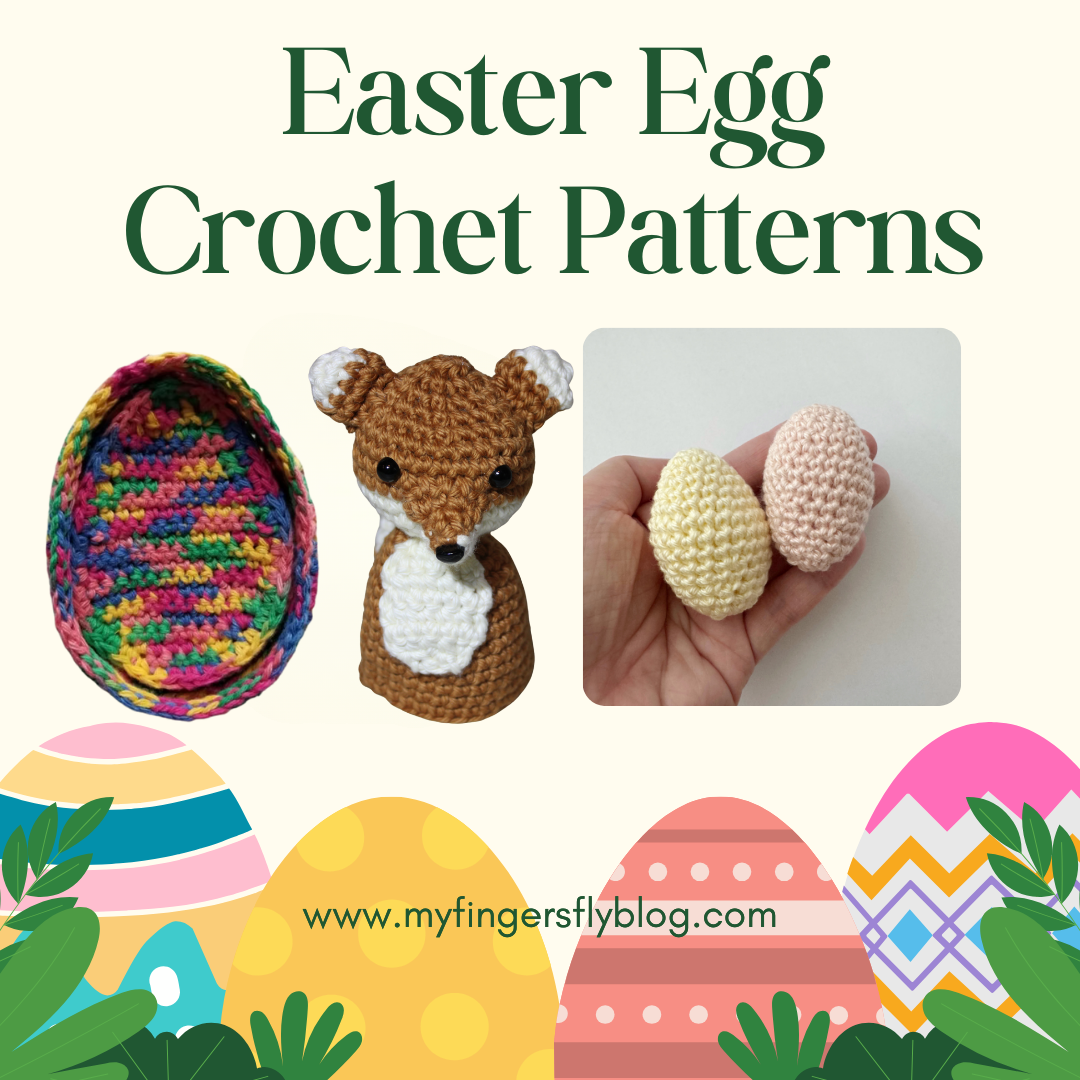
It’s that time of year when spring starts to bloom, the chocolate bunnies come out to play, and we start spotting those colorful little Easter eggs popping up everywhere. But today, I’m not just talking about the kind you dye and hide in the backyard. Today we have a mixture of Easter eggs to crochet and egg cozy patterns along with an Easter egg dishcloth pattern.
Mr. Eggerton Amigurumi


Egg Characters Plush Toy Crochet Pattern


Simple Easter Egg Pattern from Pocket Yarnlings 

Chunky Woven Easter Eggs from Concrete Gems Crochet 

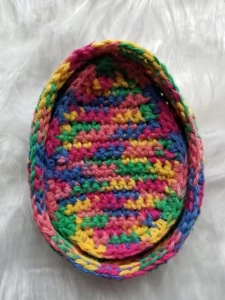
Easter Dish Cloth from Marsha YarnDoodles


Easter Egg Coaster from Marsha YarnDoodles


Rainbow Egg Cozy from My Fingers Fly


Today’s free download is Happy Easter Egg Mindful Coloring Page

In parts of Germany, especially in regions like Bavaria, there’s a lesser-known Easter tradition involving the Easter Fox 🦊🥚

Before the Easter Bunny became the dominant symbol, different regions in Germany had various animals delivering Easter eggs—and one of them was the fox!

  • In some areas, people believed the fox hid Easter eggs for children to find
  • The fox was likely chosen because it was common in rural areas and known for being clever and sneaky—perfect for hiding eggs


🦊 The Easter Fox (Osterfuchs) Egg Cozy Crochet Pattern

Materials:

I Love This Cotton worsted weight yarn:

50 yards Antique Gold

20 yards Ivory

Size E (3.5 mm) crochet hook

8-mm black safety eyes

8-mm black safety nose


Fox measures approximately 5” tall and fits standard plastic Easter egg.

Gauge: 10 sc = 2”, 11 rows = 2”

 STITCHES:

Invisible decrease: https://youtube.com/shorts/0NC5nXyDvwI?feature=share

Ultimate finish:  https://youtu.be/jVpTr8mId3I

 DIRECTIONS:

BODY:

Rnd 1: With Antique Gold yarn, ch 30, join to form a ring being careful not to twist chs. Ch 1, sc in each st (30 sc). Do not join. Work in continuous rnds unless otherwise specified.

Rnds 2-7: Sc in each st.

Rnd 8: *Inv dec, sc in next 3 sts,* repeat around (24 sc).

Rnds 9-10: Sc in each st.

Rnd 11: *Inv dec, sc in next 2 sts,* repeat around (18 sc).

Rnd 12: Sc in each st.

Rnd 13: *Inv dec, sc in next st,* repeat around (12 sc). Join with sl st. Close body with ult fin.

NECK:

Row 1: With Ivory yarn, ch 5, sc in 2nd ch from hook, sc in next 3 ch (4 sc).

Row 2: Ch 1, turn, inc in first st, sc in next 2 sts, inc in next st (6 sc).

Rows 3-6: Ch 1, turn, sc in each st.

Row 7: Ch 1, turn, dec, sc in next 2 sts, dec (4 sc).

Row 8: Ch 1, turn, dec twice (2 sc). Fasten off leaving 12” length for sewing. Sew to Rnds 6-13 of front of body.

HEAD:

Rnd 1: With Ivory yarn, ch 2, (or magic circle), 6 sc in 2nd ch from hook (6 sc). Do not join. Work in continuous rnds unless otherwise specified.

Rnd 2: 2 sc in each st (12 sc).

Rnd 3: *Sc in sc, 2 sc in next sc,* repeat around (18 sc).

Rnd 4: *Sc in next 2 sc, 2 sc in next sc,* repeat around (24 sc).

Rnd 5: *Sc in next 3 sc, 2 sc in next sc,* repeat around (30 sc).

Rnd 6: Sc in each st. Join with sl st. Fasten off Ivory.

Rnds 7-10: With Antique Gold, sc in each st.

Rnd 11: *Inv dec, sc in next 3 sts,* repeat around (24 sc).

Rnd 12: *Inv dec, sc in next 2 sts,* repeat around (18 sc). Insert eyes at Rnd 8, 4 sts apart. Stuff head.

Rnd 13: *Inv dec, sc in next st,* repeat around (12 sc).

Rnd 14: Inv dec 6 times. Join with sl st. Stuff. Close with ult fin.

Sew head to top of body.

SNOUT:

Rnd 1: With Ivory yarn, ch 2 (or magic circle), 2 sc in 2nd ch from hook, 2 Antique Gold sc in same ch. Do not join.

Rnd 2: With Ivory yarn, sc in next st, inc in next st. With Antique Gold yarn, sc in next st, inc in next st (6 sc).

Rnd 3: With Ivory yarn, sc in next 2 sts, inc in next st. With Antique Gold yarn, sc in next 2 sts, inc in next st (8 sc).

Rnd 4: *Sc in next st, inc in next st,* 2 times with Ivory then 2 times with Antique Gold (12 sc). Join with sl st. Fasten off leaving 6” length of each yarn for sewing.

Insert safety nose in Rnd 1. Sew snout to front of head with Ivory on top, Antique Gold on bottom. Match the color change on snout to color change on head.

TAIL:

Rnd 1: With Ivory, ch 2 (or magic circle), 4 sc in 2nd ch from hook. Do not join.

Rnd 2: *Sc in next st, inc in next st,* twice (6 sc).

Rnd 3: *Sc in next st, inc in next st,* 3 times (9 sc). Join with sl st. Fasten off Ivory.

Rnds 4-9: With Antique Gold, sc in each st. Join with sl st at end of Rnd 9. Fasten off with 9” length. Sew to back with Rnd 9 at Rnd 1 of body.

EARS: (Make 2)

Rnd 1: With Ivory, ch 2, (or magic circle), 6 sc in 2nd ch from hook (6 sc). Do not join.

Rnd 2: Sc in next st, 2 sc in next st (9 sc). Join with sl st. Fasten off Ivory.

Rnds 3-4: With Antique Gold, sc in each st. Join with sl st at end of Rnd 4. Fasten off leaving 9” length for sewing.

Sew ears to top of head at Rnds 3-6.

PDF available at Fox Egg Cozy Crochet Pattern

Free download only on March 27, 2026

NOTE: Downloading this pattern adds you to my email list where I share new patterns, exclusive discounts, and crochet inspiration. You can unsubscribe anytime—no hard feelings!


Fox Easter gift tag, free download

More Easter Patterns

free easter crochet pattern

Easter Patterns

ICYMI (In Case You Missed It)

Day 1 – Bunnies

Day 2 – Chicks

Day 3 – Ducks

Day 4 – Lambs and Goats


Day 5 – Donkey

Day 6 – Baskets 


Day 8 – Clothing


Day 9 – Accessories


Day 10 – Crochet for Children

Day 11 – Crochet for Baby

Day 12 – Home Decor

Day 13 – Flowers


Day 14 – Miscellaneous

Affiliate Links

This post contains affiliate links. This means I may earn a commission should you chose to sign up for a program or make a purchase using my link. It’s okay – I love all of these companies anyways, and you will too!


Amazon affiliate: https://amzn.to/4hkS5Zd
Easter Eggs prefilled with Colorful Wind-Up Jumping Bunnies and Chicks


Happy Easter Mouse! book (from the author of If You Give a Mouse a Cookie)


Posted on 1 Comment

Easter Advent Day 5 – Donkey

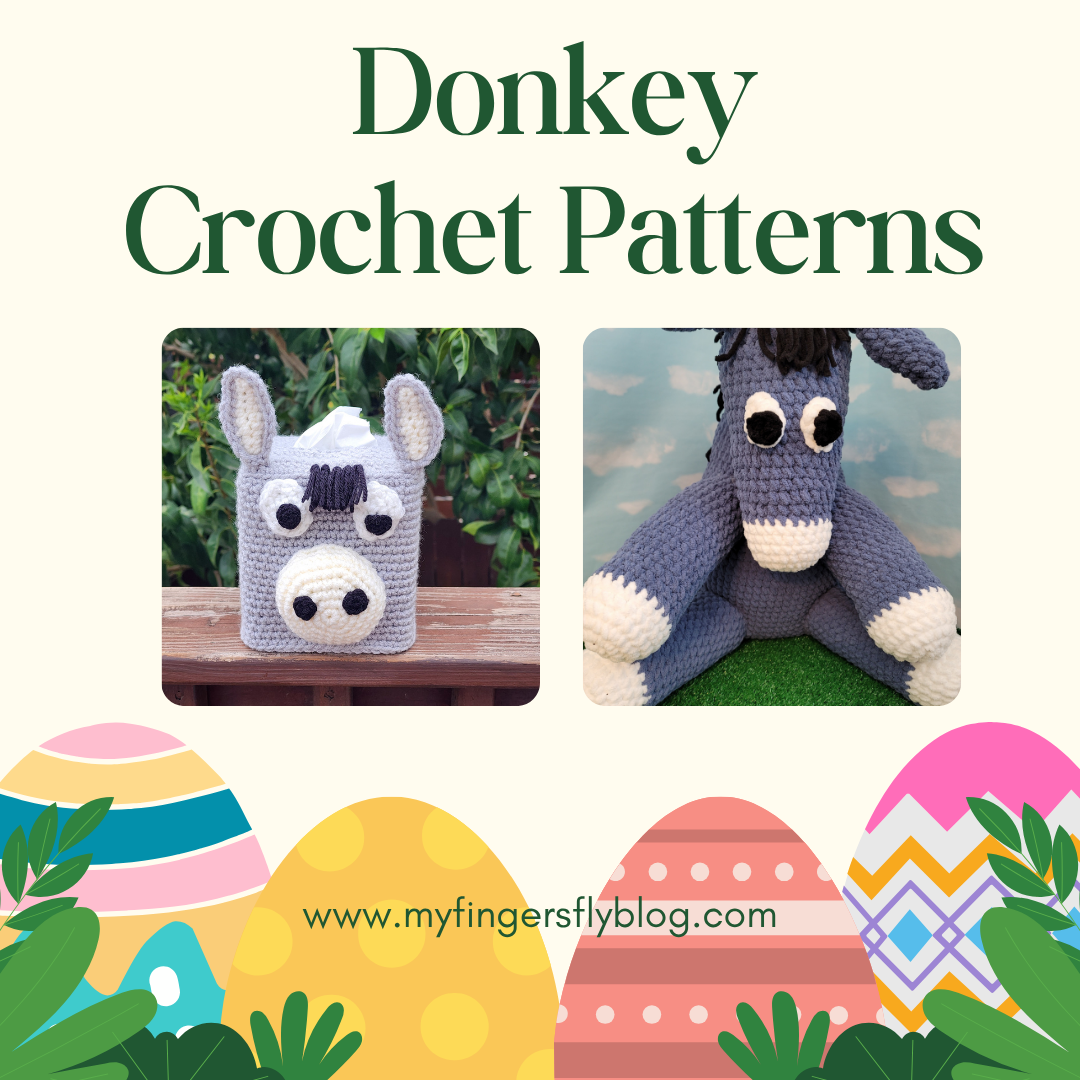
Easter Donkey Crochet Pattern: A Unique Farmyard Twist for Spring

When you think of Easter crochet, bunnies and chicks usually steal the spotlight—but this year, why not add something a little different (and extra adorable) to your handmade collection?

Meet the Easter Donkey—a sweet, whimsical project that brings charm, personality, and a touch of farmhouse flair to your spring décor 🧶💛


🌸 Why an Easter Donkey?

Donkeys have long been a gentle, humble symbol associated with the Easter season, making them a meaningful and unique addition to your crochet lineup. Plus, let’s be honest… they’re just too cute to pass up!

This pattern is perfect if you:

  • Love farm animal crochet 🐄
  • Want something different from the usual Easter makes
  • Enjoy creating conversation-starting décor
  • Need a fun, giftable project

Today’s free download is a bookmark depicting Palm Sunday, when Jesus rode a donkey into Jerusalem.

Palm Sunday Bookmark

There is also a Mandala Donkey Coloring Page

Mandala Donkey


Archie the Donkey Crochet Pattern using Bernat Blanket Yarn


Archie the Donkey including YouTube tutorial

Donkey Tissue Box Cover

Materials:

Worsted weight yarn –

130 yards MC

15 yards CC

5 yards white

10 yards black

Size G (4.0 mm) crochet hook

Small amount of Fiberfill


Gauge 8 sc = 2”, 8 rows sc = 2”


Finished donkey measures approximately 8” tall (including ears), fits standard 4”x4”x5” tissue box

Directions:

BOX:

Row 1: With MC yarn, ch 17, sc in 2nd ch from hook and in each remaining ch (16 sc).

Rows 2-7: Ch 1, turn, sc in each sc (16 sc).

Row 8: Ch 1, turn, sc in first 3 sts. Leave remaining sts unworked.

Row 9: Ch 1, turn, sc in each st. Fasten off yarn.

Go back to Row 7 to work other side of slit.

Row 8: Sk 10 sc, sc in last 3 sc.

Row 9: Ch 1, turn, sc in each st, ch 10, sl st on other side Row 8. Fasten off yarn.

Row 10: Turn, join MC yarn, ch 1, sc in 3 sc, sc in 10 ch, sc in 3 sc (16 sc).

Rows 11-16: Ch 1, turn, sc in each st. At the end of Row 16, the piece should be long enough to cover the top of the tissue box. Now begin working in rnds.

Rnd 1: Ch 1, turn, sc around all 4 sides with 2 sc in corners. Join with sl st.

Rnd 2: Working in BLO, sc in each st.

Rnd 3: Working in both lps, sc in each st.

Repeat Rnd 3 until box measures 5” tall or tall enough to cover tissue box (approximately 22 rnds).

MUZZLE:

Rnd 1: With CC, ch 2 (or magic ring), 6 sc in 2nd ch from hook. Do not join. Work in continuous rnds throughout.

Rnd 2: 2 sc in each st (12 sc).

Rnd 3: *Sc in next st, 2 sc in next st (18 sc).

Rnd 4: *Sc in next 2 sts, 2 sc in next st (24 sc).

Rnd 5: *Sc in next 3 sts, 2 sc in next st (30 sc).

Rnd 6: *Sc in next 4 sts, 2 sc in next st (36 sc).

Rnds 7-8: Sc in each st. Join with sl st at end of Rnd 8. Fasten off CC with 12” length for sewing.

Stuff muzzle and sew centered on face with bottom 2 rnds above bottom row of box and top of muzzle at approximately Rnd 10 of box.

NOSTRILS: (Make 2)

With black yarn, ch 2 (or magic ring), 6 sc in 2nd ch from hook. Join with sl st. Fasten off leaving 6” length for sewing.

Sew nostrils to upper half of muzzle at Rnds 3-4.

EARS: (Make 2)

Row 1: With CC yarn, ch 10, sc in 2nd ch from hook, sc in next 2 ch, hdc in next 3 ch, sc in next 2 ch, 3 sc in last ch. Working on opposite side of foundation ch, sc in next 2 ch, hdc in next 3 ch, sc in last 3 ch (19 sts). Fasten off CC.

Repeat Row 1 with MC yarn. Do not fasten off.

Row 2: Ch 1, turn, place CC ear on top of MC ear and work through both layers. Sc in 3 sts, hdc in 3 sts, sc in 2 sts, 2 sc in next 3 sts, sc in 2 sts, hdc in 3 sts, sc in 3 sts (21 sts).

Fasten off yarn leaving 9” length for sewing.

Fold bottom of ears and sew to top corners of box.

EYES: (Make 2)

Rnd 1: With white yarn, ch 4, 2 hdc in 2nd ch, hdc in next ch, 4 hdc in last ch. Working on opposite side of ch, hdc next ch, 2 hdc in last ch (8 sc). Do not join.

Rnd 2: 2 sc in next st, sc in next st, 2 sc in next 3 sts, sc in next st, 2 sc in next 2 sts (14 sc).

Fasten off leaving 9” length for sewing.

PUPILS:

With black yarn, ch 2 (or magic ring), 6 sc in 2nd ch. Join with sl st. Fasten off leaving 6” length.

Sew pupils to bottom half of eyes. Sew eyes to face above muzzle approximately 1” apart.

MANE:

Cut at least ten 5” pieces of black yarn. In center 5 sts at front of face between the ears, pull through 2 pieces at a time. Fold 2 pieces in half, insert hook in st, grab yarn and pull through st. Then pull through loop just made and pull tightly. Trim mane. More strands can be added if a thicker mane is desired.


PDF available at Donkey Tissue Box Cover Crochet Pattern

Pattern is 50% off for one day only

More Farm Animals

Farm Animals

ICYMI (In Case You Missed It)

Day 1 – Bunnies

Day 2 – Chicks

Day 3 – Ducks

Day 4 – Lambs and Goats


Day 6 – Baskets 

Day 7 – Easter Eggs

Day 8 – Clothing


Day 9 – Accessories


Day 10 – Crochet for Children

Day 11 – Crochet for Baby

Day 12 – Home Decor

Day 13 – Flowers


Day 14 – Miscellaneous


Affiliate Links

This post contains affiliate links. This means I may earn a commission should you chose to sign up for a program or make a purchase using my link. It’s okay – I love all of these companies anyways, and you will too!


Amazon affiliate: https://amzn.to/4hkS5Zd
Easter Eggs prefilled with Colorful Wind-Up Jumping Bunnies and Chicks


Happy Easter Mouse! book (from the author of If You Give a Mouse a Cookie)


Posted on 2 Comments

Easter Advent Day 1 – Bunnies

Celebrate Easter with an adorable crocheted Bunny!

Easter is the perfect time to get busy crocheting, and what better way to celebrate than with a handmade Easter Bunny? Whether you’re looking for a charming gift, festive decor, or just a fun project to enjoy, crocheting your own Easter Bunny is a delightful choice.

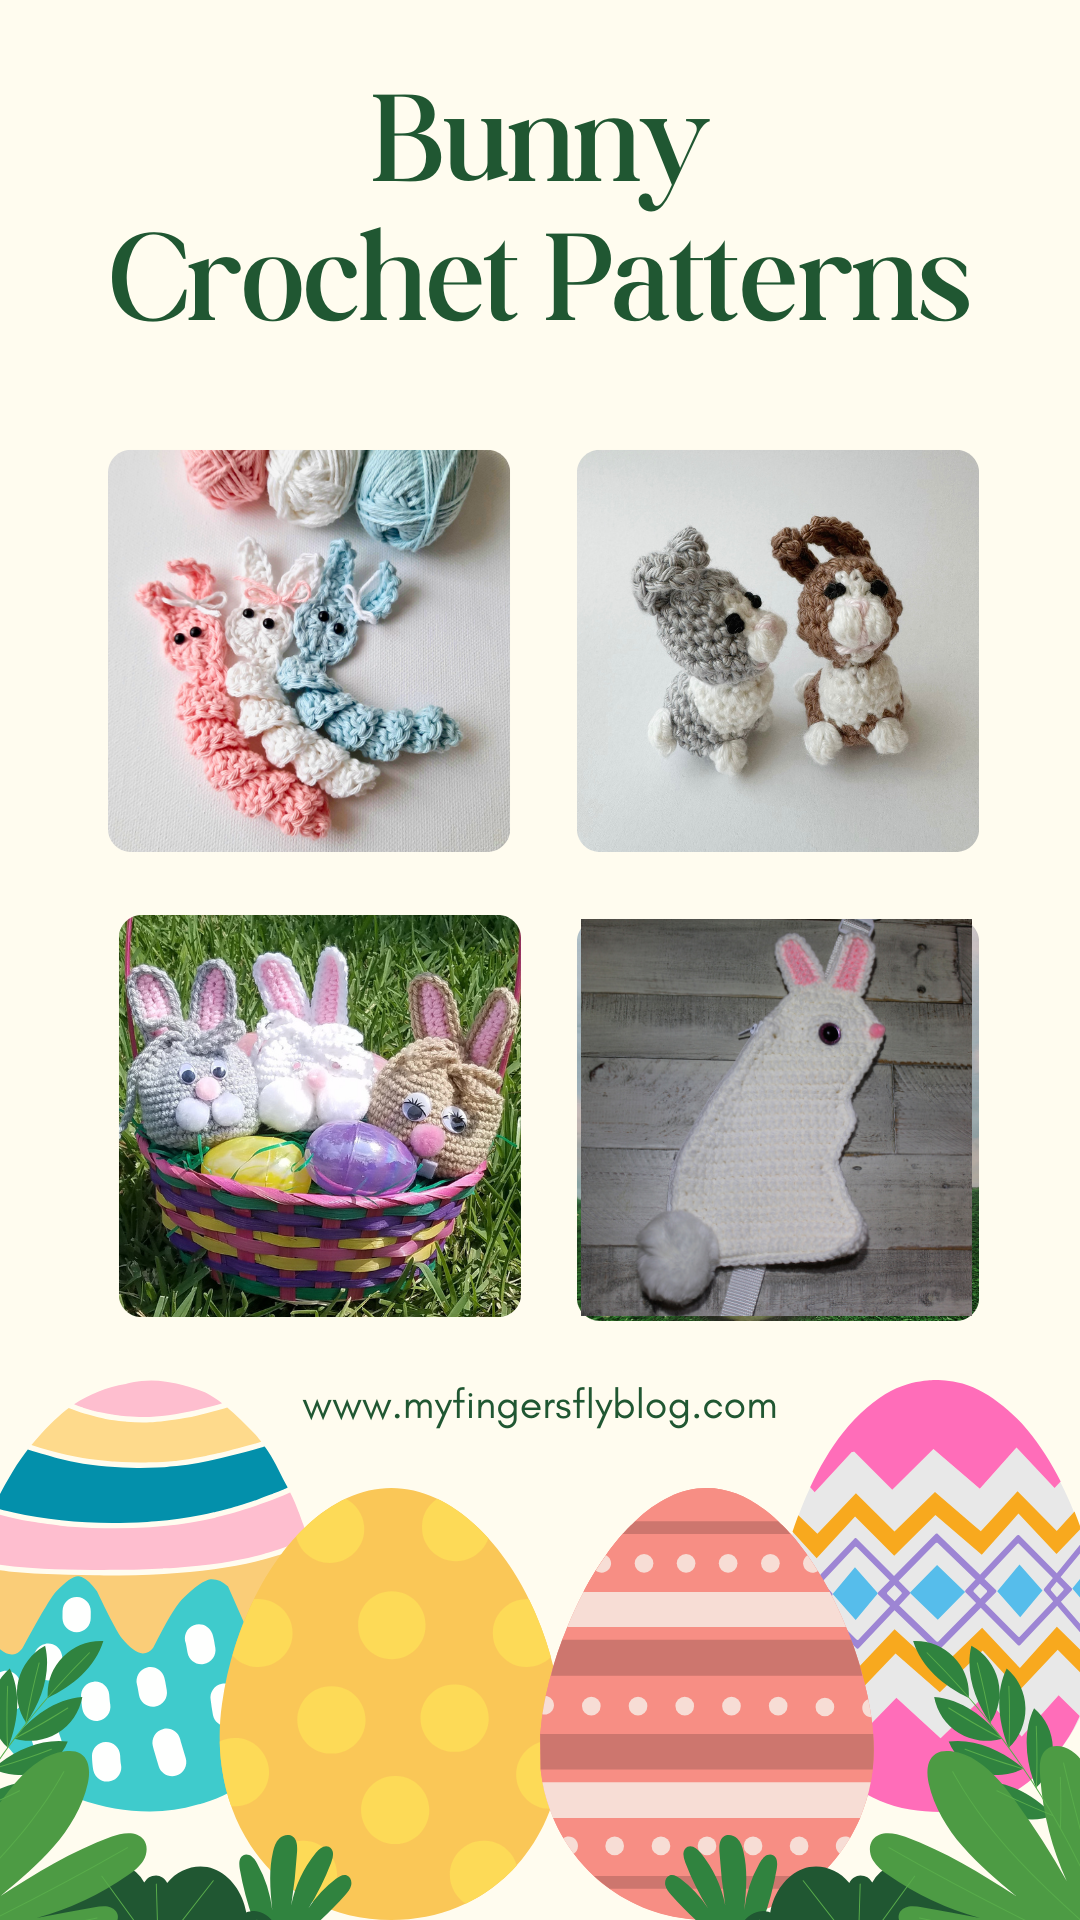
Today’s feature is bunnies of all types – from tiny amigurumi to a bunny bobblehead to an adorable sling bag. Each bunny is more adorable than the next, and all patterns are free to view on the designers’ blogs.

Share Your Bunny Creations. We’d love to see your Easter bunnies! Tag your photos on social media using #EasterBunnyCraft and inspire others to get creative.

Bunny Worry Worm from Start Crochet

Free Bunny Crochet Pattern from Pocket Yarnlings

Bunny Butt Coasters from Marsha YarnDoodles 

bunny dish scrubby
Bunny Dish Scrubby, My Fingers Fly
Bunny Bath Pouf, My Fingers Fly


Easter bunny bobblehead crochet pattern

Bunny Bobblehead Crochet Pattern


Easter Egg Cozy from Start Crochet

Easter Bunny Find the Differences Game – Free download

Bunny Sling Bag Crochet Pattern

Materials:

Worsted weight yarn:

100 yards MC

5 yards CC

Size H (5.0 mm) crochet hook

Yarn needle

7” zipper

20-mm safety eye

½” pink pompom for nose

2-3” white pompom for tail

Buckle and strap set with polyester webbing (https://amzn.to/4774ZYe)

Gauge: 7 sc = 2”, 8 rows = 2”

Bunny measures 11.5” tall by 6” wide. Bag with strap measures 20-30” (depending on length of strap).

DIRECTIONS:

BUNNY: (Make 2)

Row 1: With MC, ch 19, sc in 2nd ch from hook and in next 17 ch (18 sc).

Row 2: Ch 1, turn, inc in first st, sc in next 16 sts, inc in last st (20 sc).

Row 3: Ch 1, turn, sc in each st.

Row 4: Ch 1, turn, dec, sc across remaining sts (19 sc).

Row 5: Ch 1, turn, sc in 17 sts, dec (18 sc).

Row 6: Ch 1, turn, sc in each st.

Row 7: Ch 1, turn, sc in 16 sts, dec (17 sc).

Rows 8-10: Ch 1, turn, sc in each st.

Row 11: Ch 1, turn, sc in 15 sts, dec (16 sc).

Row 12: Ch 1, turn, sc in each st.

Row 13: Ch 1, turn, dec, sc in next 13 sts, inc (16 sc).

Row 14: Ch 1, turn, sc in each st.

Row 15: Ch 1, turn, dec, sc in next 13 sts, inc (16 sc).

Row 16: Ch 1, turn, sc in each st.

Row 17: Ch 1, turn, dec, sc in next 13 sts, inc (16 sc).

Row 18: Ch 1, turn, sc in each st.

Row 19: Ch 1, turn, dec, sc in next 12 sts, dec (14 sc).

Row 20: Ch 1, turn, sc in each st.

Row 21: Ch 1, turn, dec, sc in next 12 sts (13 sc).

Row 22: Ch 1, turn, inc in first st, sc in next 10 sts, dec (13 sc).

Row 23: Ch 1, turn, dec, sc in next 10 sts, inc (13 sc).

Row 24: Ch 1, turn, sc in each st.

Row 25: Ch 1, turn, dec, sc in next 10 sts, inc (13 sc).

Row 26: Ch 1, turn, sc in each st.

Row 27: Ch 1, turn, dec, sc in next 10 sts, inc (13 sc).

Row 28: Ch 1, turn, sc in 11 sts, dec (12 sc).

Row 29: Ch 1, turn, inc in first st, sc in next 10 sts, inc in next st (14 sc).

Row 30: Ch 1, turn, sc in 12 sts, dec (13 sc).

Row 31: Ch 1, turn, dec, sc in next 9 sts, dec (11 sc).

Row 32: Ch 1, turn, sc in each st.

Row 33: Ch 1, turn, dec, sc in next 7 sts, dec (9 sc).

Row 34: Ch 1, turn, dec, sc in next 5 sts, dec (7 sc).

Row 35: Ch 1, turn, dec, sc in next 3 sts, dec (5 sc). Fasten off yarn.

If using a sewing machine, it’s easier to sew webbing to back of bunny before assembling the bag. Cut polyester webbing 52-60” long.

Sew with 5” of webbing extending off the top of the bunny.

Turn over and place other bunny piece on top. Pin together and mark Rows 4 & 30. The distance between markers should be approximately 7” to fit zipper.

Attach MC at Row 30, sc along edges of rows of top bunny piece to Row 5. At Row 4, sc through both layers from Row 4 to Row 1 with 2 sc in Row 1. Continue around bottom using unused lps of foundation ch with 2 sc in last lp. Continue up the front and head of bunny with 2 sc in any corner to help maintain the shape. Continue through both layers around head until you reach marker at Row 30. Join with sl st in first sc of rnd. On back bunny piece, sc through edges of Rows 5-29. Join with sl st at Row 4. Fasten off yarn.

EARS: (Make 2)

Row 1: With CC yarn, ch 8, sc in 2nd ch from hook, sc in next 5 ch, 3 sc in last ch. Working on opposite side of foundation ch, sc in next 6 chs. Fasten off CC.

Repeat Row 1 with MC yarn. Do not fasten off.

Row 2: Ch 1, turn, place CC ear on top of MC ear and work through both layers. Sc in 6 sts, 2 sc in next 3 sts, sc in next 6 sts, sl st in same sp as last sc. Fasten off leaving 9” length for sewing. Sew ears to top of head.

Sew ½” pompom at end of Row 30. Insert safety eye at Row 30, 6 sts from nose. Sew zipper to 7” slot in back of bunny. Sew white pompom below zipper.

Thread female clip on 5” piece of webbing above bunny and sew the end in place.

Insert slide clip on other end of webbing. Insert male clip on end and thread end of webbing back through slide clip.


Add-free PDF available at Bunny Sling Bag Crochet Pattern

Easter Advent Crochet Patterns

For 2 weeks leading up to Easter, we will feature free Easter patterns on the blog for your holiday crafting. Over 40 designs with a different theme every day. Be sure to visit every day to experience all the beautiful patterns from some of the best indie designers. There will also be a new free download each day with a different theme – coloring pages, gift tags, activities for children, and so many more.

Download a copy of the calendar so you can print it as your daily reminder. Each date on the calendar will contain a link to that day’s blog post.

Easter Advent Calendar


Day 2 – Chicks

Day 3 – Ducks

Day 4 – Lambs and Goats


Day 5 – Donkey

Day 6 – Baskets 

Day 7 – Easter Eggs

Day 8 – Clothing


Day 9 – Accessories


Day 10 – Crochet for Children

Day 11 – Crochet for Baby

Day 12 – Home Decor

Day 13 – Flowers


Day 14 – Miscellaneous

Affiliate Links

This post contains affiliate links. This means I may earn a commission should you chose to sign up for a program or make a purchase using my link. It’s okay – I love all of these companies anyways, and you will too!


Amazon affiliate: https://amzn.to/4hkS5Zd

Red Heart Crochet Kit


Posted on Leave a comment

2025 Spring Fashion Event

Another great event is coming to an end. Did you get a chance to look at all the lovely designs?

Through April 17, each crochet pattern will be on sale for only $2.00 on Ravelry. Coupon code is SPRING25 and is valid for all designs.

In case you missed it, check out this page that lists all the patterns. https://myfingersflyblog.com/?page_id=29346&preview=true


Today’s feature is the Spring V Scarf from Canoe Mtn Designs. 

This is a quick project with a fun V shape. Created in long rows with and easy row repeat. A little be lacy, the perfect accessory for your spring wardrobe.

https://www.ravelry.com/patterns/library/spring-v-scarf


Weekly Featured Pattern

Here’s another cute design to crochet for Easter.

This charming 100% cotton Easter Egg dishcloth not only enhances your kitchen Easter décor with a festive flair for the holiday, but it can also double as a seasonal washcloth, bringing a delightful touch to your bath area. Its versatility makes it a practical and cheerful addition to your home during Easter celebrations!

https://www.facebook.com/share/p/19BJcW19zH/

ICYMI (In Case You Missed It)

Day 1 – Bunnies

Day 2 – Chicks

Day 3 – Ducks

Day 4 – Lambs and Goats


Day 5 – Donkey

Day 6 – Baskets 

Day 7 – Easter Eggs

Day 8 – Clothing


Day 9 – Accessories


Day 10 – Crochet for Children

Day 11 – Crochet for Baby

Day 12 – Home Decor

Day 13 – Flowers


Day 14 – Miscellaneous

Affiliate Links

This post contains affiliate links. This means I may earn a commission should you chose to sign up for a program or make a purchase using my link. It’s okay – I love all of these companies anyways, and you will too!


Amazon affiliate: https://amzn.to/4hkS5Zd
Easter Eggs prefilled with Colorful Wind-Up Jumping Bunnies and Chicks


Happy Easter Mouse! book (from the author of If You Give a Mouse a Cookie)