Posted on 10 Comments

Red Panda Lovey Crochet Pattern

red panda lovey

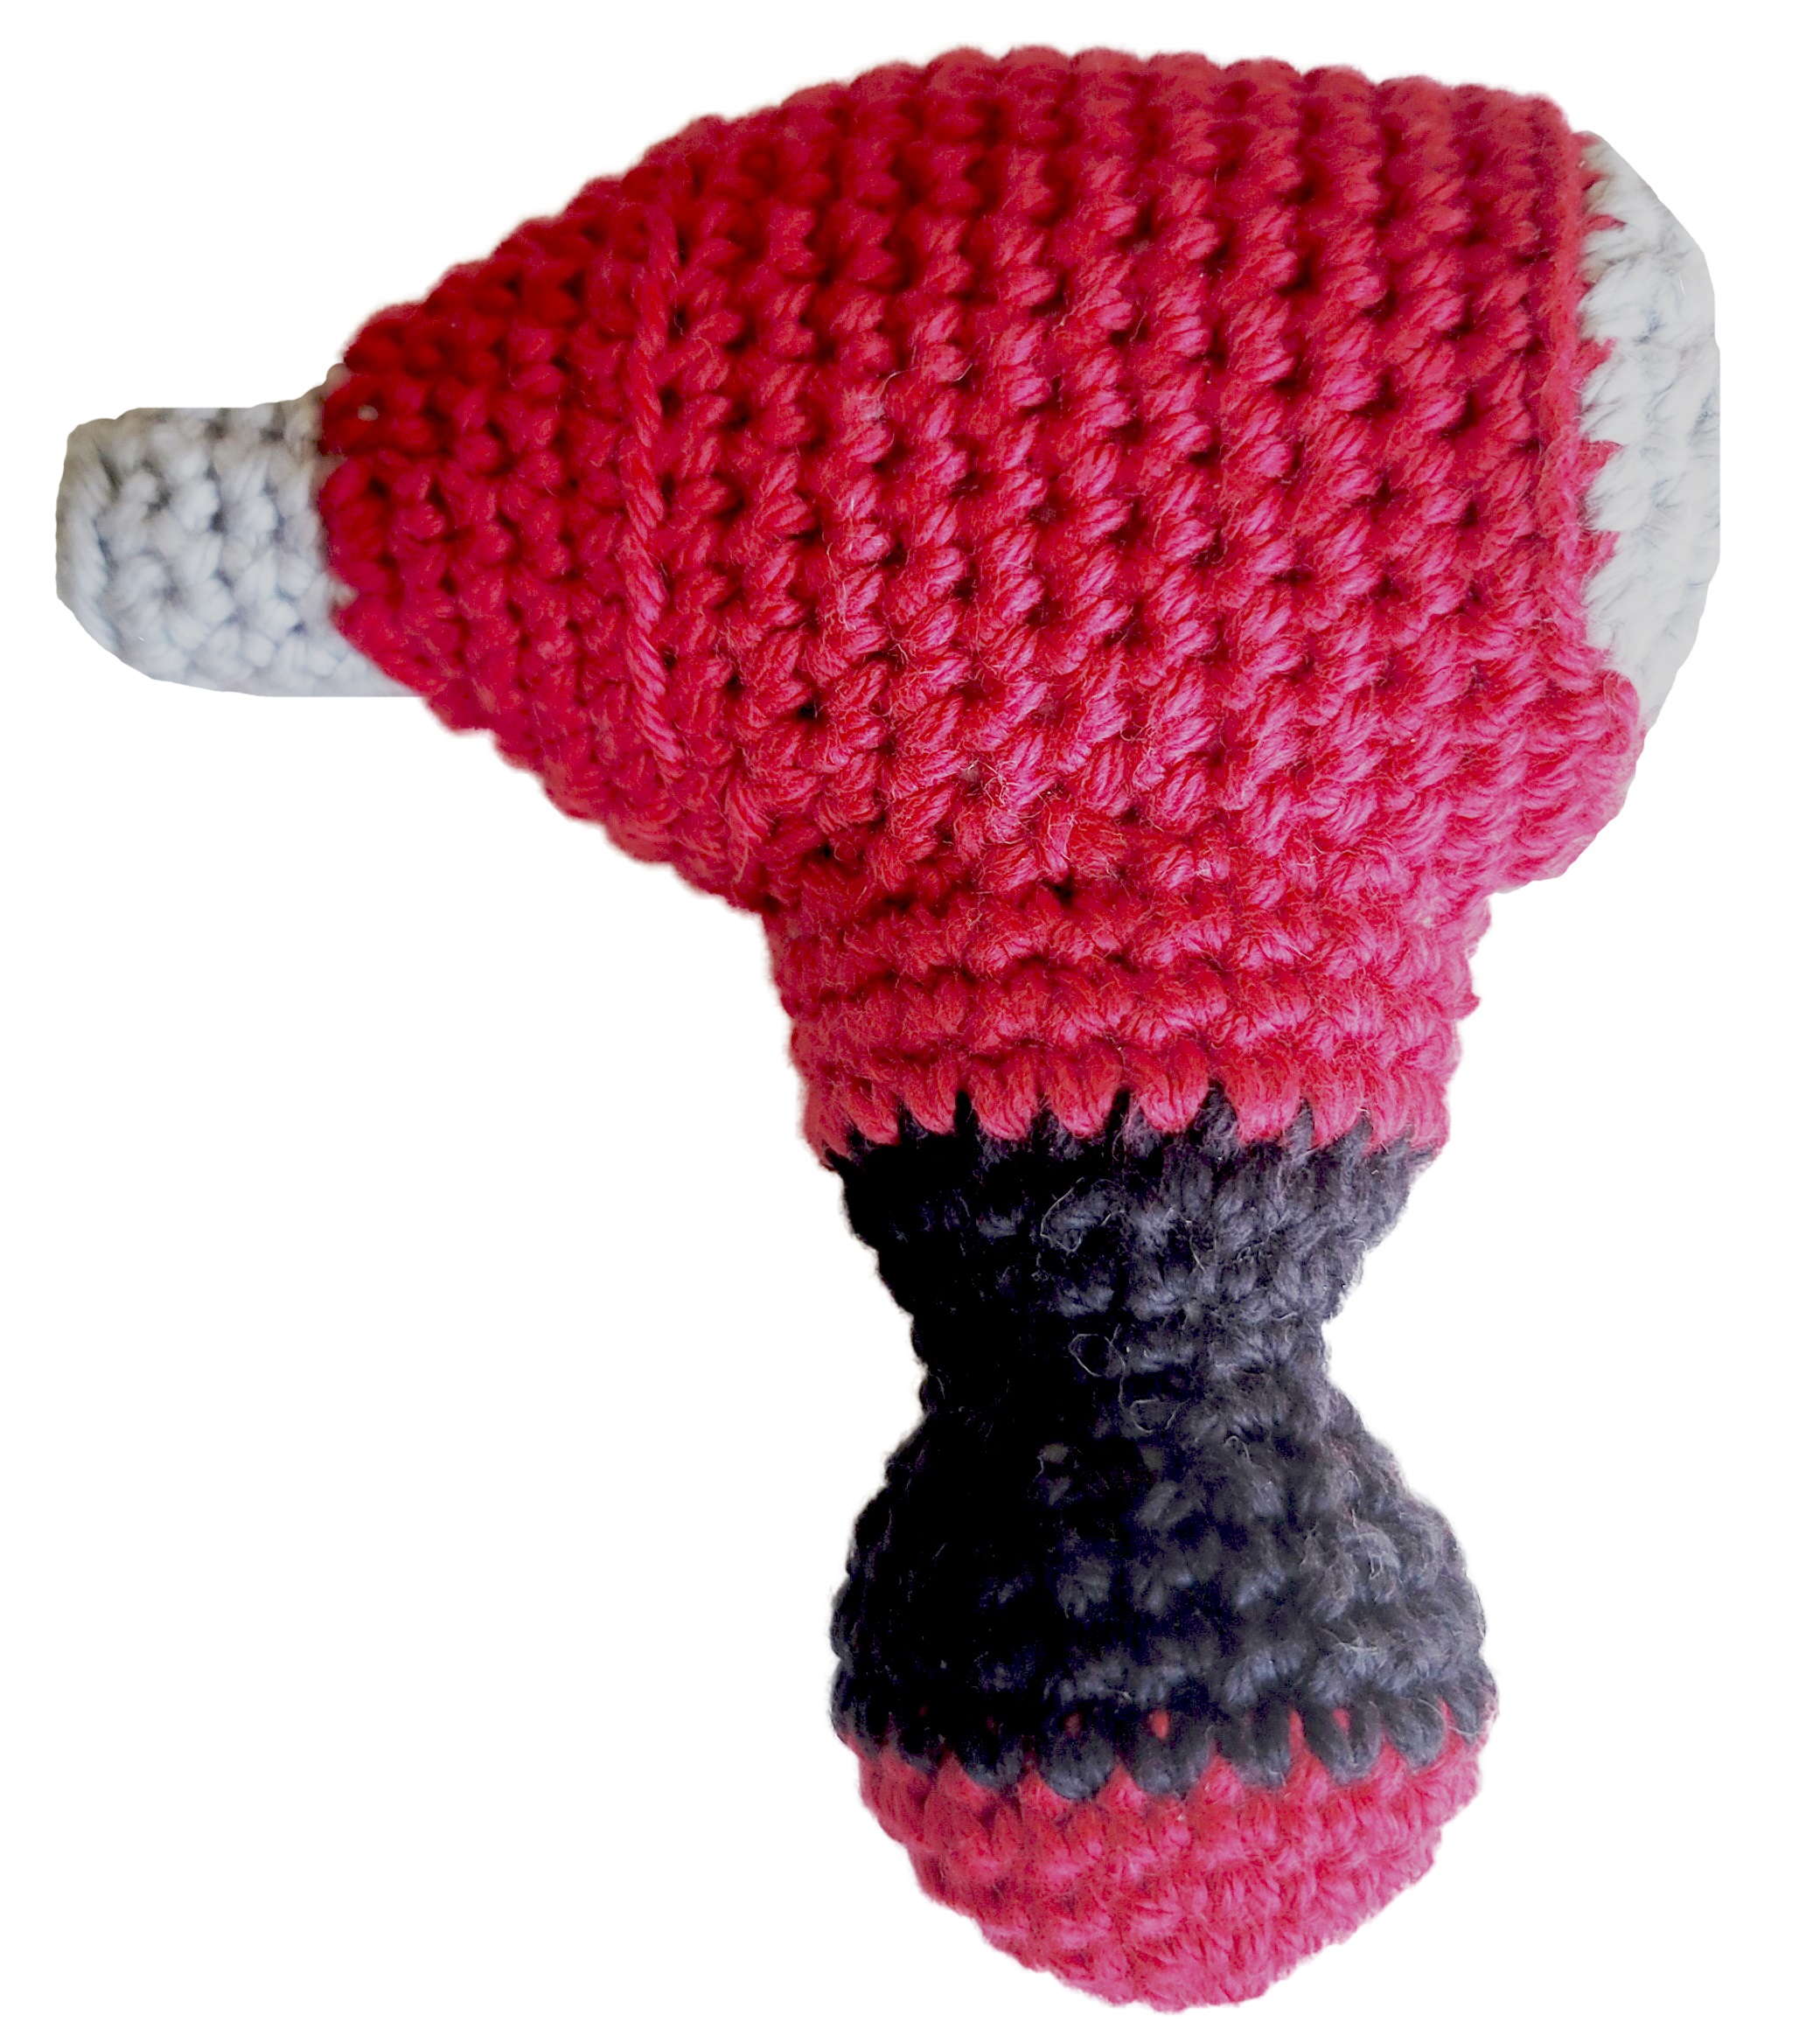
Everywhere you look these days, you see red pandas, so I decided to dust off an old pattern and share it with you.

Everyone loves pandas, and red pandas are especially cute! Crochet this red panda lovey using worsted weight yarn for your little one. Also makes a great baby shower gift.

Skill level: Intermediate

Finished item measures approximately 24″ square

red panda lovey
Photos courtesy of Hana Gonzalez Photography

Materials you will need:
Worsted weight yarn
4 oz. red
3 oz. white
Few yards brown and black
Size G and H crochet hooks
Yarn needle
Two 12 mm black safety eyes
Fiberfil

Directions:

HEAD:

Rnd 1: With red yarn and G hook, ch 2, 6 sc in 2nd ch from hook. Do not join.

Rnd 2: 2 sc in each st (12 sc).

Rnd 3: *Sc in next st, 2 sc in next st, repeat around (18 sc).

Rnd 4: *Sc in each of next 2 sts, 2 sc in next st, * repeat around (24 sc).

Rnd 5: *Sc in each of next 3 sc, 2 sc in next st,* repeat around (30 sc).

Rnd 6: *Sc in each of next 4 sts, 2 sc in next st,* repeat around (36 sc).

Rnd 7: *Sc in each of next 5 sc, 2 sc in next st,* repeat around (42 sc).

Rnd 8: *Sc in each of next 6 sts, 2 sc in next st,* repeat around (48 sc).

Rnds 9-16: Sc in each st. Insert safety eyes at Rnd 10.

Rnd 17: *Dec, sc in next 6 sts,* repeat around (42 sc).

Rnd 18: *Dec, sc in next 5 sts,* repeat around (36 sc).

Rnd 19: *Dec, sc in next 4 sts,* repeat around (30 sc).

Rnd 20: *Dec, sc in next 3 sts,* repeat around (24 sc). Stuff head with Fiberfil.

Rnd 21: *Dec, sc in next 2 sts,* repeat around (18 sc).

Rnd 22: *Dec, sc in next st,* repeat around (12 sc). Stuff head with Fiberfil.

Rnd 23: *Dec around (6 sc). Join with sl st. Fasten off leaving 6” length. Thread this length through needle and pull through remaining 6 sts. Pull tight to close.

EARS (Make 2):

Row 1: With brown yarn and G hook, leave 9” length for sewing, ch 5, sc in 2nd ch from hook and next 3 chs (4 sc).

Row 2: Ch 1, turn, sc in st.

Rnd 3: Ch 1, turn, dec twice (2 sc). Fasten off brown. Attach white yarn at side of Row 1. Sc in same sp, sc in end of Row 2, sc in each st of Row 3, sc in other end of Rows 2 and 1. Fasten off white leaving 9” length for sewing. Sew ears to top of head at Rnds 4-7.

MUZZLE:

Rnd 1: With white yarn and G hook, ch 2, 6 sc in 2nd ch from hook. Do not join.

Rnd 2: 2 sc in each st (12 sc).

Rnd 3: *Sc in next st, 2 sc in next st, repeat around (18 sc).

Rnd 4: *Sc in each of next 2 sts, 2 sc in next st, * repeat around (24 sc).

Rnds 5-6: Sc in each st. Fasten off leaving 12” length for sewing. With black yarn, embroider nose and mouth. Sew muzzle to face.

MUZZLE STRIPES: (Make 2)

Row 1: With brown yarn and G hook, ch 7, sc in 2nd ch from hook and each remaining ch (6 sc).

Row 2: Ch 1, turn, sc in next st, 2 sc in next st, sc in each of next 2 sts, 2 sc in next st, sc in next st (8 sc). Fasten off brown.

Row 3: Attach white yarn, ch 1, turn, sc in each of next 2 sts, 2 sc in next st, sc in each of next 2 sts, 2 sc in next st, sc in each of next 2 sts (10 sc).

Row 4: Ch 1, turn, sc in each of next 2 sts, 2 sc in next st, sc in each of next 4 sts, 2 sc in next st, sc in each of next 2 sts (12 sc). Fasten off leaving length for sewing. Sew a stripe to face on each side of muzzle.

Use white yarn to embroider eyebrows above eyes.

ARMS: (Make 2)

Rnd 1: With brown yarn and G hook, ch 2, 5 sc in 2nd ch from hook. Do not join.

Rnd 2: 2 sc in each st (10 sc).

Rnd 3: *Sc in next st, 2 sc in next st, repeat around (15 sc).

Rnds 4-5: Sc in each st.

Rnd 6: *Dec, sc in next 3 sts,* repeat around (12 sc). Fasten off brown.

Rnds 7-23: With red yarn, sc in each st. Fasten off leaving length for sewing.

Stuff arms leaving last 1” empty. Law arms flat and sew to bottom of head approximately 1.5” apart.

BLANKET:

Rnd 1: With red yarn and H hook, ch 4, join to form ring. Ch 3 (counts as 1st dc throughout pattern), 2 dc in ring, *ch 1, 3 dcv in ring,* repeat * to * 3 times, ch 1. Join with sl st into top of ch-3.

Rnd 2: Join white in ch-1 sp, ch 3, 2 dc, ch 1, 3 dc in same sp. *Ch 1, 3 dc, ch 1, 3 dc in next ch-1 sp,* repeat * to * 3 times, ch 1. Join with sl st.

Rnd 3: Join red in corner ch-1 sp. Ch 3, 2 dc, ch 1, 3 dc in same sp. *Ch 1, (3 dc, ch 1, 3 dc) in next ch-1 sp, ch 1 (3 dc, ch 1, 3 dc) in corner ch-1 sp,* repeat * to * 3 times. Join with sl st.

Rnd 4: Join white in corner ch-1 sp, ch 3, 2 dc, ch 1, 3 dc in same sp. *Ch 1, (3 dc, ch 1) in each side ch-1 sp, ch 1 (3 dc, ch 1, 3 dc) in corner ch-1 sp,* repeat * to * 3 times. Join with sl st.

Rnds 5-17: Repeat Rnd 4, alternating red and white rnds.

Sew red panda body to center of blanket securely. Weave in all ends.

PDF Download available at Red Panda Lovey Crochet Pattern

ICYMI (In Case You Missed It) 

Texas Flag Potholder Crochet Pattern

Crochet Pattern Book, Adorable Aquatic Animal Crochet Patterns

Sunflower Granny Square

Special Handmade Gift Tags – Free PDF Download

National Crochet Month

We still have a few days left in National Crochet Month and National Craft Month. How are you celebrating it? Learn a new stitch? Crochet for charity? Buy a new set of crochet hooks? I’m celebrating by offering 10% off my entire shop with any $5.00 (or more) purchase. No coupon code required. Get an ebook to try out something new. Buy yourself a graphic t-shirt or coffee mug with a crochet theme. Order a tote bag to carry all your WIPs.

https://www.myfingersfly.com


Affiliate Links

This post contains affiliate links. This means I may earn a commission should you chose to sign up for a program or make a purchase using my link. It’s okay – I love all of these companies anyways, and you will too!

Lion Brand Yarn

Free shipping on orders over $40. Use code FSUS40.

Up to 30% off Top Picks

Posted on 7 Comments

Starfish Baby Rattle Crochet Pattern

starfish baby rattle

Starfish Baby Rattle Crochet Pattern

starfish baby rattle


  • Materials:
    45 yards Crafter’s Secret Cotton worsted weight yarn, colorway Mango Stonewashed
  • Size G (4.0 mm) crochet hook
    Cotton stuffing
    Yarn needle
    2.5” Round rattle insert

Finished Starfish measures approximately 6.5” wide at widest point

ARMS: (Make 5)
Rnd 1: Ch 2 (or magic circle), 3 sc in 2nd ch from hook. Do not join. Work in continuous rnds until Rnd 10.
Rnd 2: 2 sc in first st, sc in next 2 sts (4 sc).
Rnd 3: *Sc in next st, 2 sc in next st,* repeat once (6 sc).
Rnd 4: Sc in each st.
Rnd 5: *Sc in next st, 2 sc in next st,* repeat twice (9 sc).
Rnd 6: Sc in each st.
Rnd 7: *Sc in next 2 sts, 2 sc in next st,* repeat twice (12 sc).
Rnd 8: Sc in each st.
Rnd 9: *Sc in next 2 sts, 2 sc in next st,* repeat 3 times (16 sc).
Rnd 10: Sc in each st. Join with sl st.
Row 11: Ch 1, turn, sk sl st, sc in next 6 sts (6 sc).
Row 12: Ch 1, turn, sc in each st.
Row 13: Ch 1, turn, dec, sc in next 2 sts, dec (4 sc).
Rows 14-16: Ch 1, turn, sc in each st.
Row 17: Ch 1, turn, inc in first st, sc in next 2 sts, inc in last st (6 sc).
Row 18: Ch 1, turn, sc in each st. Fasten off leaving 9” length for sewing.

ASSEMBLY:
Stuff arms lightly with cotton stuffing. Wrap Rows 11-18 of arm around plastic rattle and sew Row 18 to Row 11. Sew ends of Rnd 10 tog to avoid holes in the rattle.

Ad-free PDF download: Starfish Baby Rattle Crochet Pattern


More Baby Crochet

Big Book of Baby Rattles
Big Book of Baby Rattles Crochet Patterns Ebook
Baby Mechanic Sweater Crochet Pattern
First Responder Baby Sweaters Crochet Patterns Ebook - Baby Firefighter, Baby Policeman, Baby Paramedic
First Responder Baby Sweaters Crochet Patterns Ebook 
baby shower gift tag
Free Download – Baby Shower Gift Tag

Follow My Fingers Fly on social media:  https://linktr.ee/myfingersfly


In Case You Missed It 

crochet bookmark
Crochet, Coffee and Books Bookmark
sports coloring page
Sports Coloring Page
Fall birthday gift tag
Autumn Birthday Gift Tag
bat scrubby
Bat Scrubby Crochet Pattern
topsy turvy witch
Topsy-Turvy Witch Doll Crochet Pattern
taco scrubby crochet pattern
Taco Scrubby Crochet Pattern
Frankenstein scrubby
Frankenstein Scrubby Crochet Pattern


This post contains affiliate links. If you use these links to buy something, I may earn a commission. Thanks for helping support my crochet blog.

Up to 30% off Sock Yarns


Posted on 16 Comments

Impact Wrench Baby Rattle Crochet Pattern

Drill Baby Rattle Crochet Pattern - Impact Wrench Rattle Crochet Pattern
Drill Baby Rattle Crochet Pattern – Impact Wrench Rattle Crochet Pattern

Since today is Collector Car Appreciation Day, I thought it would be fun to post a cute pattern I designed a few years ago, a baby rattle shaped like an impact wrench. It can be crocheted using cotton or polyester worsted, but I prefer I Love This Cotton for baby toys. It makes a great baby shower gift for expectant parents who are car enthusiasts, NASCAR fans, and automotive technicians, and even serves as a drill rattle for a future dentist.

Impact wrench rattle measures approximately 3 1/4” x 5”

Materials:

Sport yarn or cotton worsted –

2 oz. gray

Few yards black

Size F (3.75 mm) crochet hook

Fiberfil

Yarn needle

Rattle insert column

BODY:

Rnd 1: With black yarn, ch 2, 6 sc in 2nd ch from hook. Do not join.

Rnd 2: 2 sc in each st (12 sc).

Rnd 3: Working in back loops only, sc in each st around. Do not join.

Rnds 4-7: Working in both loops, sc in each st around. At the end of Rnd 7, join with sl st. Fasten off black.

Rnd 8: Attach gray yarn, *sc in next st, 2 sc in each of next 2 sts* repeat around (18 sc). Do not join.

Rnd 9: *Sc in each of next 5 sts, 2 sc in next st,* repeat around (18 sc).

Rnd 10: *Sc in each of next 6 sts, 2 sc in next st,* repeat around (24 sc).

Rnd 11: *Sc in each of next 7 sts, 2 sc in next st,* repeat around (27 sc).

Rnd 12: *Sc in each of next 8 sts, 2 sc in next st,* repeat around (30 sc). Join with sl st.

Rnd 13: Working in back loops only, sc in each st around.

Rnds 14-23: Working in both loops, sc in each st around. At end of Rnd 23, join with sl st.

Rnd 24: Working in back loops only, *sc in each of next 3 st, dec,* repeat around (24 sc). Do not join.

Rnd 25: Working in both loops, *sc in each of next 2 st, dec,* repeat around (18 sc). Fill with Fiberfil and rattle insert.

Rnd 26: *Sc in next st, dec,* repeat around (12 sc).

Rnd 27: Dec around (6 sc). Fasten off leaving length for sewing. Thread through yarn needle and weave through last 6 sts. Pull tight to close opening and sew closed.

HANDLE:

Rnd 1: With gray yarn, ch 2, 6 sc in 2nd ch from hook. Do not join.

Rnd 2: 2 sc in each st around (12 sc).

Rnd 3: Sc in each st. Continue to work even in sc until piece measures 2 ½”.

Next rnd: *Sc in each of next 2 sts, 2 sc in next st,* repeat around (18 sc).

Last rnd: *Sc in each of next 3 sts, 2 sc in next st,* repeat around (24 sc). Fasten off leaving length for sewing.

HAND GRIP:

With black yarn, ch 13. Join with sl st to form ring. Sc in each ch. Continue to work even on 13 sc until piece measures 1 1/2’”. Slide over handle and sew in place. Stuff handle firmly and sew to bottom of wrench body.

The matching baby auto mechanic sweater is also available at My Fingers Fly which includes the sweater and rattle patterns.

Baby Mechanic Sweater Crochet Pattern

More Baby Designs

Preemie Crochet Challenge 2021

Baby’s Bundle of Joy Crochet Pattern Bundle – Flashlight Baby Rattle Crochet Pattern

Viking Axe Rattle Crochet Pattern

Angel Baby Rattle

Firefighter’s Jacket Baby Sweater crochet pattern, NB-3M, 6-9M or 12-18M sizes with axe rattle pattern

New Products in my Etsy Shop

king snake coiledSnake Plush Toy Pattern

xolo both
Xolo, the Mexican Hairless Dog Plush Toy Pattern
flamingo flipflop
Flamingo Fiber Artist Flip Flops – Also available in Yarnicorn design


Head Start on Halloween 

I know it’s the middle of summer, and the heat that goes along with it sometimes limits our crojo. Try making a few small projects that won’t cover you in yarn. My mind has been set on Halloween lately, and I came up with this spooky plague masks for Halloween using I Love This Cotton yarn.

My Fingers Fly
Electric Waves Plague Mask
My Fingers Fly
Colorful Plague Mask

Halloween projects are so much fun – I’m looking forward to doing a few more in the next couple of months.