Posted on — Leave a comment

Easter Advent – Crochet for Baby

🐣 Sweet Easter Crochet Ideas for Babies: Handmade Joy for the Little Ones 🧶

Easter is such a special time—full of pastel colors, fresh blooms, and little giggles from tiny ones discovering the world. If you love to crochet and have a baby (or know someone who does), why not add some handmade charm to their Easter basket this year?
Here are a few adorable Easter crochet ideas perfect for babies.

Tips for Crocheting for Babies:

  • Always use baby-safe yarn (hypoallergenic, non-toxic, and soft).

  • Avoid any loose parts (like buttons) that could be a choking hazard.

  • Pre-wash the finished item before gifting.

Easter is the perfect time to spread a little handmade love. Whether you’re making something for your own baby, a grandchild, or a friend’s little one, a crochet gift is always treasured.

Happy hooking, and Happy Easter! 🧶🌸


Sunshine Baby Hat

Measurements:

Size XXS (2-3 lbs)        11” circumference, 4” height

Size XS (4-5 lbs)           12.5” circumference, 5” height

Size NB (6-7 lbs)          13.5” circumference, 6” height

Size 3M                         15” circumference, 7” height

Gauge: E hook – 9 dc = 2”

G hook – 8 dc = 2”

Materials:

I Love This Cotton worsted weight yarn – 41 [56, 67] yards yellow

10 yards CC if using a separate color for shell sts

Size E [G, G] crochet hook

Yarn needle

YouTube Tutorial

XXS Directions:

Rnd 1: With E hook, ch 2, 12 dc in ring. Join with sl st.

Rnd 2: Ch 1, 2 dc in each st (24 dc). Join with sl st.

Rnd 3: Ch 1, *dc next st, 2 dc next st,* repeat around (36 dc). Join with sl st.

Rnd 4: Ch 1, *dc next 2 sts, 2 dc next st,* repeat around (48 dc). Join with sl st.

Rnds 5-9: Ch 1, dc in each dc. Join with sl st. Do not fasten off.

Lay flat, mark center of each side from Rnd 9 to center of Rnd 1. Ch 1, turn to work up side of hat, sc in side of dc of Rnd 9, 5 dc cluster in side of Rnd 8, *sc in side of dc of next rnd, 5 dc cluster in side of dc in next rnd,* repeat twice. Sc in dc of Rnd 1, 7 dc cluster in center of Rnd 1, repeat * to * down the other side ending with sc in dc of Rnd 9. Sl st in same st. Fasten off. Weave in all ends.

XS Directions:

Rnd 1: With G hook, ch 2, 12 dc in ring. Join with sl st.

Rnd 2: Ch 1, 2 dc in each st (24 dc). Join with sl st.

Rnd 3: Ch 1, *dc next st, 2 dc next st,* repeat around (36 dc). Join with sl st.

Rnd 4: Ch 1, *dc next 2 sts, 2 dc next st,* repeat around (48 dc). Join with sl st.

Rnds 5-11: Ch 1, dc in each dc. Join with sl st. Do not fasten off.

Lay flat, mark center of each side from Rnd 9 to center of Rnd 1. Ch 1, turn to work up side of hat, sc in side of dc of Rnd 11, 5 dc cluster in side of Rnd 10, *sc in side of dc of next rnd, 5 dc cluster in side of dc in next rnd,* repeat 3 times. Sc in dc of Rnd 1, 7 dc cluster in center of Rnd 1, repeat * to * down the other side ending with sc in dc of Rnd 11. Sl st in same st. Fasten off. Weave in all ends.

NB [3M] Directions:

Rnd 1: With G hook, ch 2, 12 dc in ring. Join with sl st.

Rnd 2: Ch 1, 2 dc in each st (24 dc). Join with sl st.

Rnd 3: Ch 1, *dc next st, 2 dc next st,* repeat around (36 dc). Join with sl st.

Rnd 4: Ch 1, *dc next 2 sts, 2 dc next st,* repeat around (48 dc). Join with sl st.

Rnd 5 for NB: Ch 1, *dc in next 7 sts, 2 dc next st,* repeat around (54 dc). Join with sl st.

[Rnd 5 for 3M: Ch 1, *dc in next 3 sts, 2 dc next st,* repeat around (60 dc). Join with sl st.]

Rnds 6-13 [15]: Ch 1, dc in each dc. Join with sl st. Do not fasten off.

Lay flat, mark center of each side from Rnd 13[15] to center of Rnd 1. Ch 1, turn to work up side of hat, sc in side of dc of Rnd 13[15], 5 dc cluster in side of Rnd 12[14], *sc in side of dc of next rnd, 5 dc cluster in side of dc in next rnd,* repeat 4[5] times. Sc in dc of Rnd 1, 7 dc cluster in center of Rnd 1, repeat * to * down the other side ending with sc in dc of Rnd 13[15]. Sl st in same st. Fasten off. Weave in all ends.

PDF including all sizes is available at Crochet Pattern Sunshine Baby Hat with Preemie Sizes

Unicorn Baby Lovey from Start Crochet

Create an adorable unicorn baby lovey with this easy crochet pattern—perfect for beginners and a thoughtful handmade gift for little ones! This blog post also includes a free Unicorn Gift Tag to download. 

https://startcrochet.com/easy-unicorn-baby-lovey-crochet-pattern-free/

Angel Baby Rattle
Angel Baby Rattle Crochet Pattern


Royal Baby Sweater Crochet Pattern, Newborn-3M, 6M or 9M sizes with Scepter Rattle
Royal Baby Sweater with Scepter Rattle


Today’s free download is Easter Bunny Letter

free easter crochet pattern

More Easter Patterns 


ICYMI (In Case You Missed It)

Day 1 – Bunnies

Day 2 – Chicks

Day 3 – Ducks

Day 4 – Lambs and Goats


Day 5 – Donkey

Day 6 – Baskets 

Day 7 – Easter Eggs

Day 8 – Clothing


Day 9 – Accessories


Day 10 – Crochet for Children


Day 11 – Crochet for Baby

Day 12 – Home Decor

Day 13 – Flowers


Day 14 – Miscellaneous


Affiliate Links

This post contains affiliate links. This means I may earn a commission should you chose to sign up for a program or make a purchase using my link. It’s okay – I love all of these companies anyways, and you will too!


Amazon affiliate: https://amzn.to/4hkS5Zd
Easter Eggs prefilled with Colorful Wind-Up Jumping Bunnies and Chicks


Happy Easter Mouse! book (from the author of If You Give a Mouse a Cookie)


Posted on — 4 Comments

Easter Advent – Crochet for Children

🐣 Easter Crochet Ideas for Children: Cute, Colorful, and Creative!

Easter is the perfect time to bring out your hooks and get crafty! Whether you’re looking to fill Easter baskets with handmade goodies or create adorable keepsakes, crochet offers endless opportunities for fun and festive projects that children will love.

Here are some sweet and simple Easter crochet ideas that are perfect for little ones.

Ready to get stitching? Grab your favorite spring-colored yarns, pick a project or two, and fill this Easter with handmade joy. 💖

Do you have a favorite Easter crochet pattern? Share it in the comments below—we’d love to see what you’re making!

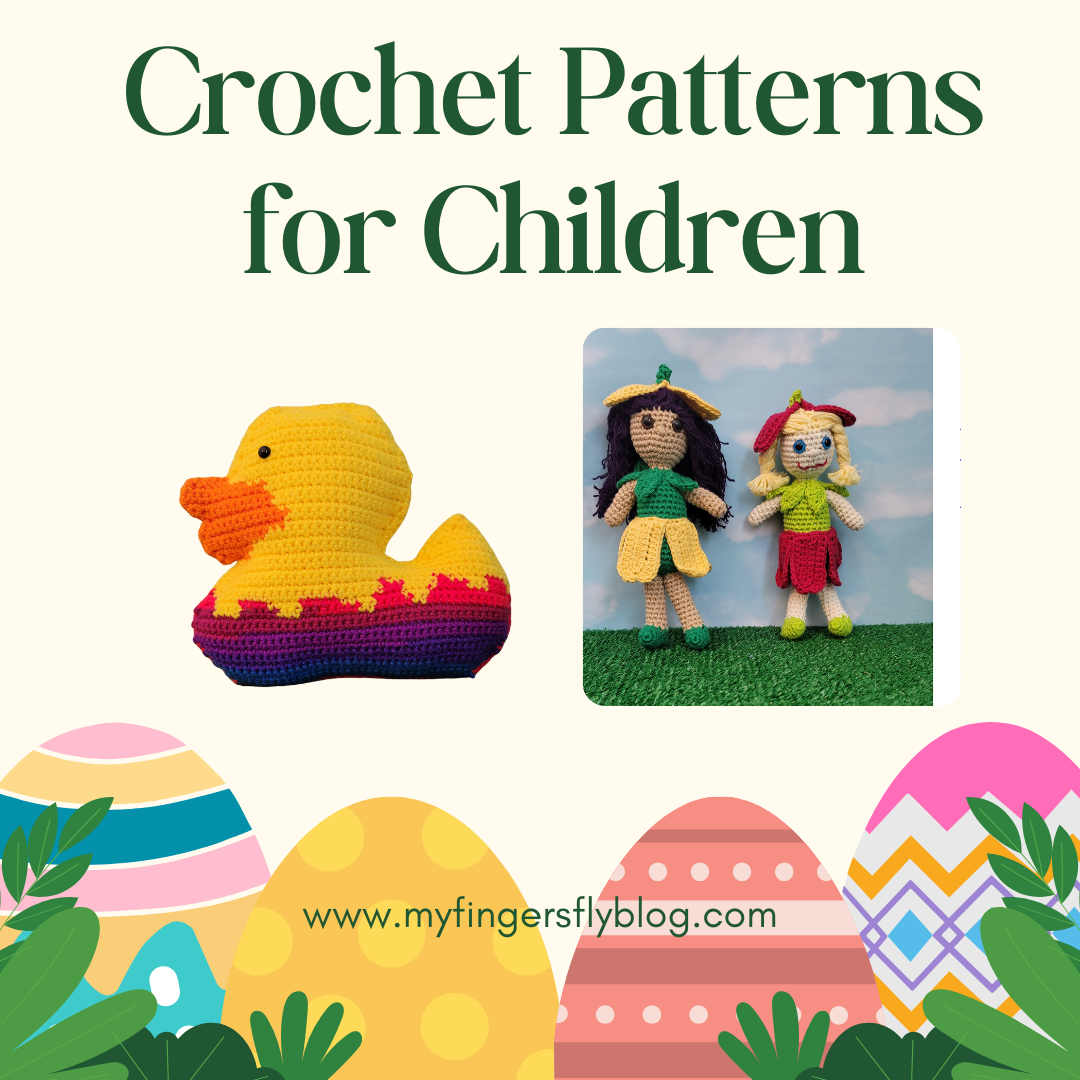
Duck in Easter Egg Cuddler Crochet Pattern

Duck in Easter Egg Cuddler Crochet Pattern

Finished toy measures approximately 9” tall x 11” wide

 Materials:

Worsted weight yarn:

1.5 oz. self-striping yarn (MC)

1.3 oz. yellow (Y)

0.3 oz. orange (O)

Size G (4.00 mm) crochet hook

Fiberfil

Yarn needle

Black plastic safety eyes 10 mm

 Directions:

Make 2:

Working according to chart, odd rows from the left and even rows from the right. Sides will be mirror images, so one side will have even rows as right side, and the other will have odd rows as the right side.

EGG:

Row 1: With MC yarn, ch 37, sc in 2nd ch from hook and each ch across (36 sc).

Row 2: Ch 1, turn, inc 1 st at each end (38 sc).

Rows 3-5: Repeat Row 2 (44 sc at end of Row 5).

Row 6: Ch 1, turn, 2 sc in first st, sc in remaining sts across (45 sc).

Row 7: Repeat Row 6 (46 sc).

Row 8: Ch 1, turn, inc 1 st at each end (48 sc).

Rows 9-12: Ch 1, turn, sc in each st.

Row 13: Ch 1, turn, MC dec, MC sc in next 3 sts, Y sc in next 4 sts, MC sc in next 5 sts, Y sc in next 3 sts, MC sc in next 7 sts, Y sc in next 2 sts, MC sc in next 5 sts, Y sc in next 2 sts, MC sc in next 15 sts (47 sc).

Row 14: Ch 1, turn, MC sc in next 14 sts, Y sc in next 4 sts, MC sc in next 4 sts, Y sc in next 4 sts, MC sc in next 5 sts, Y sc in next 4 sts, MC sc in next 4 sts, Y sc in next 4 sts, MC sc in next 2 sts, MC dec (46 sc).

Row 15: Ch 1, turn, MC dec, MC sc in next st, Y sc in next 22 sts, MC sc in next 3 sts, Y sc in next 5 sts, MC sc in next 4 sts, Y sc in next 3 sts, MC sc in next 4 sts, Y sc in next 2 sts (45 sc).

Row 16: Ch 1, turn, Y dec, MC sc in next 4 sts, Y sc in next 5 sts, MC sc in next 2 sts, Y sc in next 7 sts, MC sc in next st, Y sc in next 22 sts, Y dec (43 sc). Fasten off MC yarn.

Row 17: Ch 1, turn, Y dec, Y sc in next 41 sts (42 sc).

Row 18: Ch 1, turn, Y dec 1 st at each end (40 sc).

Row 19: Repeat Row 18 (38 sc).

TAIL:

Row 20: Ch 1, turn, Y sc in next 11 sts.

Row 21: Ch 1, turn, Y dec 1 st at each end (9 sc).

Rows 22-24: Repeat Row 21 (3 sc at end of Row 24).

Row 25: Ch 1, turn, sc last 3 sts tog.

HEAD:

Row 20: Return to Row 20, sk 3 sts. Attach yellow, sc in next 22 sts, dec (23 sc).

Row 21: Turn. Use orange yarn, fsc 3x, O sc in first 2 sc, Y sc in next 18 sts, Y dec. Leave last st unworked (24 sc).

Row 22: Ch 1, turn, Y inc in first st, Y sc in next 17 sts, O sc in next 5 sts, O inc (26 sc).

Row 23: Ch 1, turn, O inc, O sc in next 8 sts, Y sc in next 16 sts, Y inc (28 sc).

Row 24: Ch 1, turn, Y sc in next 15 sts, O sc in next 13 sts.

Row 25: Ch 1, turn, O dec, O sc in next 11 sts, Y sc in next 14 sts, Y inc (28 sc).

Row 26: Ch 1, turn, Y sc in next 17 sts, O sc in next 9 sts, O dec, O ch 3 (27 sc).

Row 27: O sc in 2nd and 3rd chs, ( sc in next 9 sts, Y sc in next 17 sts, Y inc (30 sc).

Row 28: Ch 1, turn, Y sc in next 19 sts, O sc in next 10 sts, O inc (31 sc).

Row 29: Ch 1, turn, O sc in next 11 sts, Y sc in next 20 sts (31 sc).

Row 30: Ch 1, turn, Y sc in next 22 sts, O sc in next 7 sts, O dec (30 sc). Fasten off orange yarn.

Row 31: Sk 1st 5 sts, Y sc in next 25 sts (25 sc).

Row 32: Ch 1, turn, Y sc in next 25 sts.

Row 33: Ch 1, turn, Y dec 1 st at each end (23 sc).

Row 34: Ch 1, turn, Y sc in each st.

Row 35: Ch 1, turn, Y dec 1 st at each end (21 sc).

Row 36: Repeat Row 35 (19 sc).

Row 37: Ch 1, turn, sc in each st.

Rows 38-40: Repeat Row 35 (13 sc at end of Row 40). Fasten off yellow yarn.

ASSEMBLY:

Insert black safety eyes into both sides of duck at Row 33, 4 sts from edge.

With wrong sides together, sc through both thicknesses, changing colors as needed to maintain color scheme. Make 3 sc in tip of tail and 2 sc in bottom corners of egg. Sl st in center of duck’s bill at Row 26. Continue around entire duck (stuffing as you go) and join with sl st in first st of edging. Weave in all ends.

FUN IDEA: I added a squeaker inside the bill portion to make a baby toy that quacks.


PDF is 50% off today only: Duck in Easter Egg Cuddler Crochet Pattern

Miss Tulip Amigurumi Crochet Pattern
Miss Tulip Amigurumi
snorkeling pig
Snorkeling Pig Amigurumi


Today’s free download – Happy Easter Children’s Coloring Book


free easter crochet pattern

More Easter Patterns 


ICYMI (In Case You Missed It)

Day 1 – Bunnies

Day 2 – Chicks

Day 3 – Ducks

Day 4 – Lambs and Goats


Day 5 – Donkey

Day 6 – Baskets 

Day 7 – Easter Eggs

Day 8 – Clothing


Day 9 – Accessories


Day 9 – Accessories


Day 10 – Crochet for Children

Day 11 – Crochet for Baby

Day 12 – Home Decor

Day 13 – Flowers


Day 14 – Miscellaneous

Affiliate Links

This post contains affiliate links. This means I may earn a commission should you chose to sign up for a program or make a purchase using my link. It’s okay – I love all of these companies anyways, and you will too!


Amazon affiliate: https://amzn.to/4hkS5Zd
Easter Eggs prefilled with Colorful Wind-Up Jumping Bunnies and Chicks


Happy Easter Mouse! book (from the author of If You Give a Mouse a Cookie)


Posted on — 1 Comment

Easter Advent – Accessories

Handmade with Love: Crochet Easter Accessories to Brighten Your Spring

Spring is in the air, and you know what that means — it’s time for pastel colors, bunny ears, and all things Easter! Whether you’re crafting for your little ones, decorating the house, or creating cute gifts for friends, crochet Easter accessories add that sweet handmade touch to the season.

Here are some adorable and easy crochet ideas to hop into this Easter.

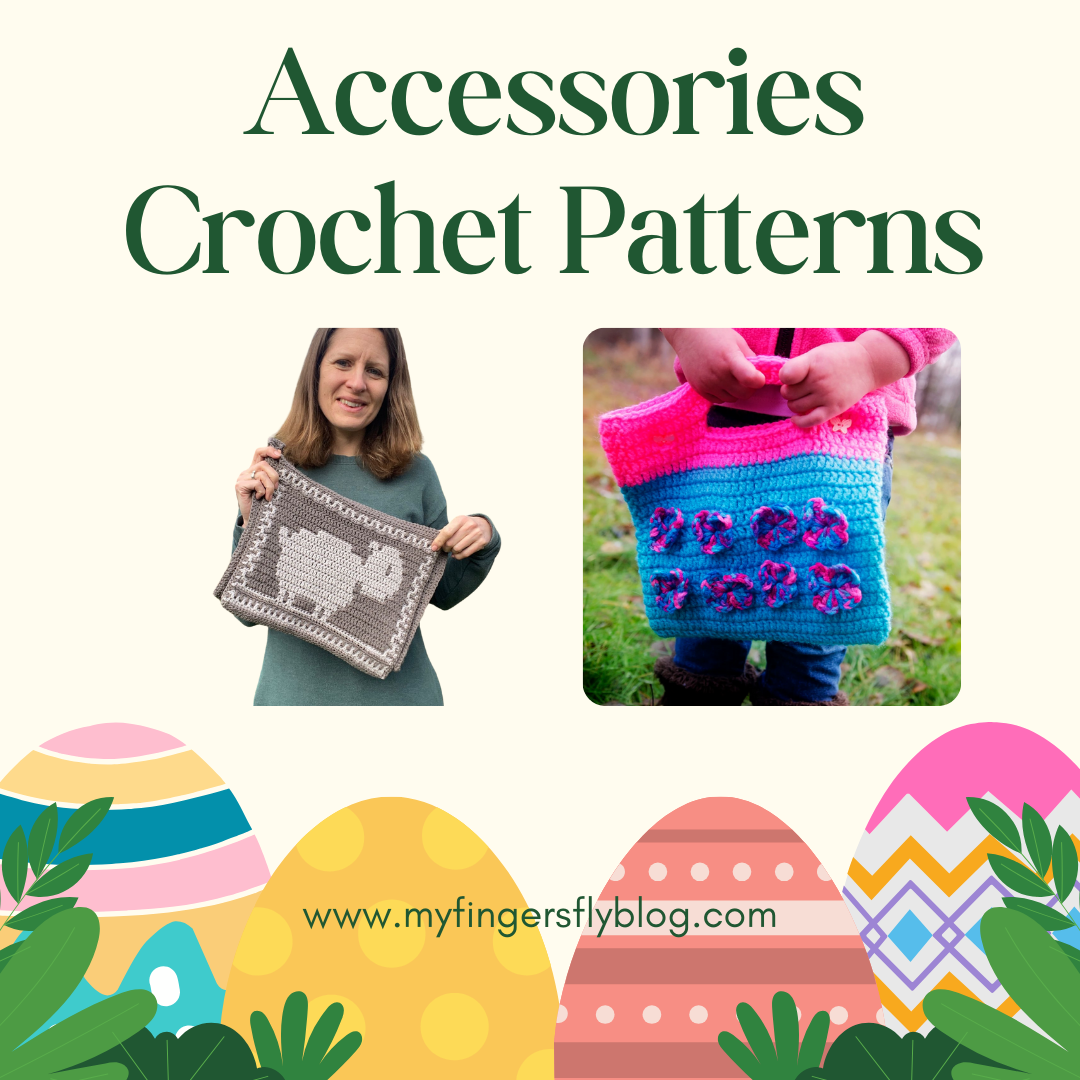
Butterfly Handbag Crochet Pattern

Butterfly Handbag

Measurements: approximately 5 ½ tall x 6” wide

Materials:

Worsted weight yarn      2 oz (MC)

1 oz. (CC)

1 oz. ombre

Size G (4.0 mm) crochet hook

Yarn needle

2 buttons

V-STITCH: Dc, ch 1, dc in same st.

BUTTERFLY STITCH: Work V-stitch. Turn to work around post of 2nd dc of V-stitch, sl st, ch 3, 3 tr, ch 3, sl st, ch 3, 2 dc, ch 3, sl st. Now turn to work around post of 1st dc of V-stitch, work sl st, ch 3, 2 dc, ch 3, sl st, ch 3, 3 tr, ch 3, sl st.

DIRECTIONS:

Rnd 1: With MC, ch 38. Dc in 4th ch from hook, dc in next 33 ch, 3 dc in last ch. Working on opposite side of starting ch, dc in 33 loops, 2 dc in last loop. Join to top of ch-3. (73 dc)

Rnd 2: Ch 1, sc in 1st st, ch 2 (counts as 1st dc), dc in same st, dc in each st around. Join. (74 dc).

Rnd 3: Ch 1, sc in 1st st, ch 2 (counts as 1st dc), dc in each st. Join with sl st.

Rnd 4: Sc, ch 2 in 1st st (counts as 1st dc), dc in 41 sts, *sk next st, V-stitch in next st, sk next st, dc in next 5 sts,* repeat 3 times, dc in last 5 sts, join.

Rnd 5: Sc, ch 2 in 1st st (counts as 1st dc), dc in 41 sts, ch 1, sk next dc, change to ombre yarn, butterfly st in 1st V-stitch, *change to MC, dc in next 5 sts, change to ombre, butterfly st in V-stitch,* repeat 3 times, dc in last 5 sts, join.

Rnd 6: Sc, ch 2 in 1st st (counts as 1st dc), dc in each dc around and V-stitch in each butterfly st.

Rnd 7: Sc, ch 2 in 1st st (counts as 1st dc), dc in each dc and ch-1 sp (74 dc).

Rnd 8: Sc, ch 2 in 1st st (counts as 1st dc), dc in 42 sts, *sk next st, V-stitch in next st, sk next st, dc in next 5 sts,* repeat 3 times, dc in last 4 sts, join.

Rnd 9: Sc, ch 2 in 1st st (counts as 1st dc), dc in 42 sts, change to CC, butterfly st in 1st V-stitch, *change to MC, dc in next 5 sts, change to CC, butterfly st in V-stitch,* repeat 3 times, dc in last 4 sts, join.

Rnd 10: Repeat Rnd 6.

Rnd 11: Repeat Rnd 7.

Rnds 12-13: Ch 1, sc in 1st st, ch 2 (counts as 1st dc), dc in each st. Join with sl st. Fasten off MC.

Rnds 14-15: With CC, ch 1, sc in 1st st, ch 2 (counts as 1st dc), dc in each st. Join with sl st.

Rnd 16: Sc, ch 2 in 1st st (counts as 1st dc), dc in 14 sts, ch 15, sk 13 sts (handle), dc in next 17 sts, ch 1, sk 1 st (buttonhole), dc in next 5 sts, ch 15, sk 13 sts (opposite side of handle), dc in next 5 sts, ch 1, sk 1 st (buttonhole), dc in next 4 sts. Lay purse flat to check placement of handles and adjust if necessary

Rnd 17: Sc, ch 2 in 1st st (counts a 1st dc), dc in each dc and ch around.

Rnd 18: Sc, ch 2 in 1st st (counts as 1st dc), dc in each dc around. Fasten off.

Block purse with damp cloth so that butterflies are straight. Sew on buttons. Watch your little girl prance around with her new purse!

PDF available at Butterfly Handbag Crochet Pattern

Catherine Shawl from Jo’s Crafty Hook. 

This is a great textured, lightweight accessory that you can add to your Easter or Spring outfit.

https://joscraftyhook.com/catherine-shawl-free-crochet-pattern/


Sheep Bag from Concrete Gems Crochet

Made using overlay mosaic crochet for the bag flap and simple stitches for the main body of the bag, this design is fun to make and a delight to use!

Crochet Shoulder Bag Pattern with Cute Sheep Motif!

Knotty Bunny Bag from Viva Crochet

https://yarnynotes.com/2025/04/09/knotty-bunny-bag/

Lacy Infinity Scarf from My Fingers Fly can be made with any yarn you have in your stash. It’s so quick and easy, you can make several in different colors to match all your outfits!

butterfly flip-flops

Zoo Blog Hop Day 6 – Butterflies

These easy flip-flops include a YouTube tutorial.

Today’s free download is Life Cycle of a Butterfly Crossword Puzzle. 


ICYMI (In Case You Missed It)

Day 1 – Bunnies

Day 2 – Chicks

Day 3 – Ducks

Day 4 – Lambs and Goats


Day 5 – Donkey

Day 6 – Baskets 

Day 7 – Easter Eggs

Day 8 – Clothing


Day 10 – Crochet for Children

Day 11 – Crochet for Baby

Day 12 – Home Decor

Day 13 – Flowers


Day 14 – Miscellaneous

More Easter Patterns

free easter crochet pattern

Easter Patterns

National Unicorn Day

unicorn crochet patterns

Unicorn Crochet Patterns


Affiliate Links

This post contains affiliate links. This means I may earn a commission should you chose to sign up for a program or make a purchase using my link. It’s okay – I love all of these companies anyways, and you will too!


Amazon affiliate: https://amzn.to/4hkS5Zd
Easter Eggs prefilled with Colorful Wind-Up Jumping Bunnies and Chicks


Happy Easter Mouse! book (from the author of If You Give a Mouse a Cookie)


Posted on — 4 Comments

Easter Advent – Clothing

As the flowers bloom and the weather warms, Easter becomes the perfect time to show off your handmade style. Whether you’re dressing up for a family brunch, attending church, or just enjoying the sunshine, crochet clothing offers a charming, whimsical touch to your spring wardrobe.

Here are some adorable and festive crochet clothing ideas to try this Easter.

The beautiful pastel colors in this Tutti Frutti Poncho would make a perfect wrap for Easter!!

Materials:

Lion Big Scoop Yarn or any DK weight yarn – 5 oz.

(fringe is optional and would require additional yarn)

Size G (4.0 mm) crochet hook

Yarn needle

Size Small (4/6)

Neckline to hem not including fringe):  15″

Neck opening (circumference):  24″

Laying flat at widest point:   24”


Gauge:  5 dc = 1”

Cluster st: yo, insert hook into st, yo and pull through, yo and pull through 2 lps, yo and pull through 1 loop, yo, insert hook into st, yo and pull through, yo and pull through 2 lps, yo and pull through 1 lp, yo, insert hook into st, yo and pull through, yo and pull through 2 lps, yo and pull through all lps.

YouTube Tutorial

NOTE: When making dc in ch sp, work into sp rather than into ch to help cover the color of the chs.

INSTRUCTIONS:

Make 2 (1 front & 1 back)

Row 1:  Ch 108, dc in 4th ch from hook and each ch across (106 dc including beginning ch-3).

Row 2: Ch 3 (counts as 1st dc), turn, sk first st, dc next st, sk next st, ch 1, dc, *ch 2, sk 2 sts, dc next st,* repeat across. End with ch 1, sk 1 st, dc next st, dc in top of ch-3.

Row 3: Ch 3 (counts as 1st dc), turn, dc in next st, 3 dc in each st across, skipping ch spaces. End with dc in last dc, dc in top of ch-3.

Row 4: Ch 3, turn, dc in next st, ch 1, *cluster, ch 2,* repeat across. End with dc in last dc, dc in top of ch-3.

Row 5: Ch 3, turn, dc in 2nd st, ch 1, dc in top of cluster, *ch 2, dc in top of cluster,* repeat across. End with ch 1, dc in last dc, dc in top of ch-3.

Row 6: Ch 3, turn, dc in next st, dc in ch-1 sp, dc in next dc, *2 dc in ch-2 sp, dc in next dc,* repeat across. End with dc in ch-1 sp, dc in last dc, dc in top of ch-3.

Row 7: Ch 3, turn, dc across.

Repeat Rows 2-7, 3 times. Fasten off.

Each panel measures approximately 23” wide x 11” tall.

Even rows are RIGHT side of work; odd rows are BACK side of work. With right sides facing, sew short side of front to top of back on the left. Then sew short side of back to top of front.

Bottom edging: With right side facing, attach yarn to bottom edge and work 1 row of dc evenly spaced around the bottom with 3 dc in front and back corners. Fasten off.

Top edging: Attach yarn to top edge and work 1 row of dc around, decreasing at front and back corners. Fasten off. Weave in all ends.

Fringe: Cut 12” lengths of both colors of yarn. Using 3 pieces of the same color, fold in half and insert hook from back to front of bottom edging. Pull loop through stitch, then pull ends through loop you just made. Work 1 fringe every 2 stitches across bottom, alternating black and ombre.

Tutti Frutti PonchoPDF including Sizes Medium (8/10) and Large (12/14) is 50% off today only.

Crochet Pattern Tutti Frutti Girl’s Poncho

Nellie Summer Tee from Jo’s Crafty Hook 

Add a lightweight tee to your Spring or Summer wardrobe.

Nellie Summer Tee Free Crochet Pattern

Crochet a Pinstripe Sweater in pastel colors for a great cardigan to wear to church on Easter morning.

Toddler Pinstripe Sweater Crochet Pattern

Today’s free download:

Easter Wordsearch Puzzle

More Easter Patterns

free easter crochet pattern

Easter Patterns


ICYMI (In Case You Missed It)

Day 1 – Bunnies

Day 2 – Chicks

Day 3 – Ducks

Day 4 – Lambs and Goats


Day 5 – Donkey

Day 6 – Baskets 

Day 7 – Easter Eggs


Day 9 – Accessories


Day 10 – Crochet for Children

Day 11 – Crochet for Baby

Day 12 – Home Decor

Day 13 – Flowers


Day 14 – Miscellaneous

Affiliate Links

This post contains affiliate links. This means I may earn a commission should you chose to sign up for a program or make a purchase using my link. It’s okay – I love all of these companies anyways, and you will too!


Amazon affiliate: https://amzn.to/4hkS5Zd
Easter Eggs prefilled with Colorful Wind-Up Jumping Bunnies and Chicks


Happy Easter Mouse! book (from the author of If You Give a Mouse a Cookie)


Posted on — Leave a comment

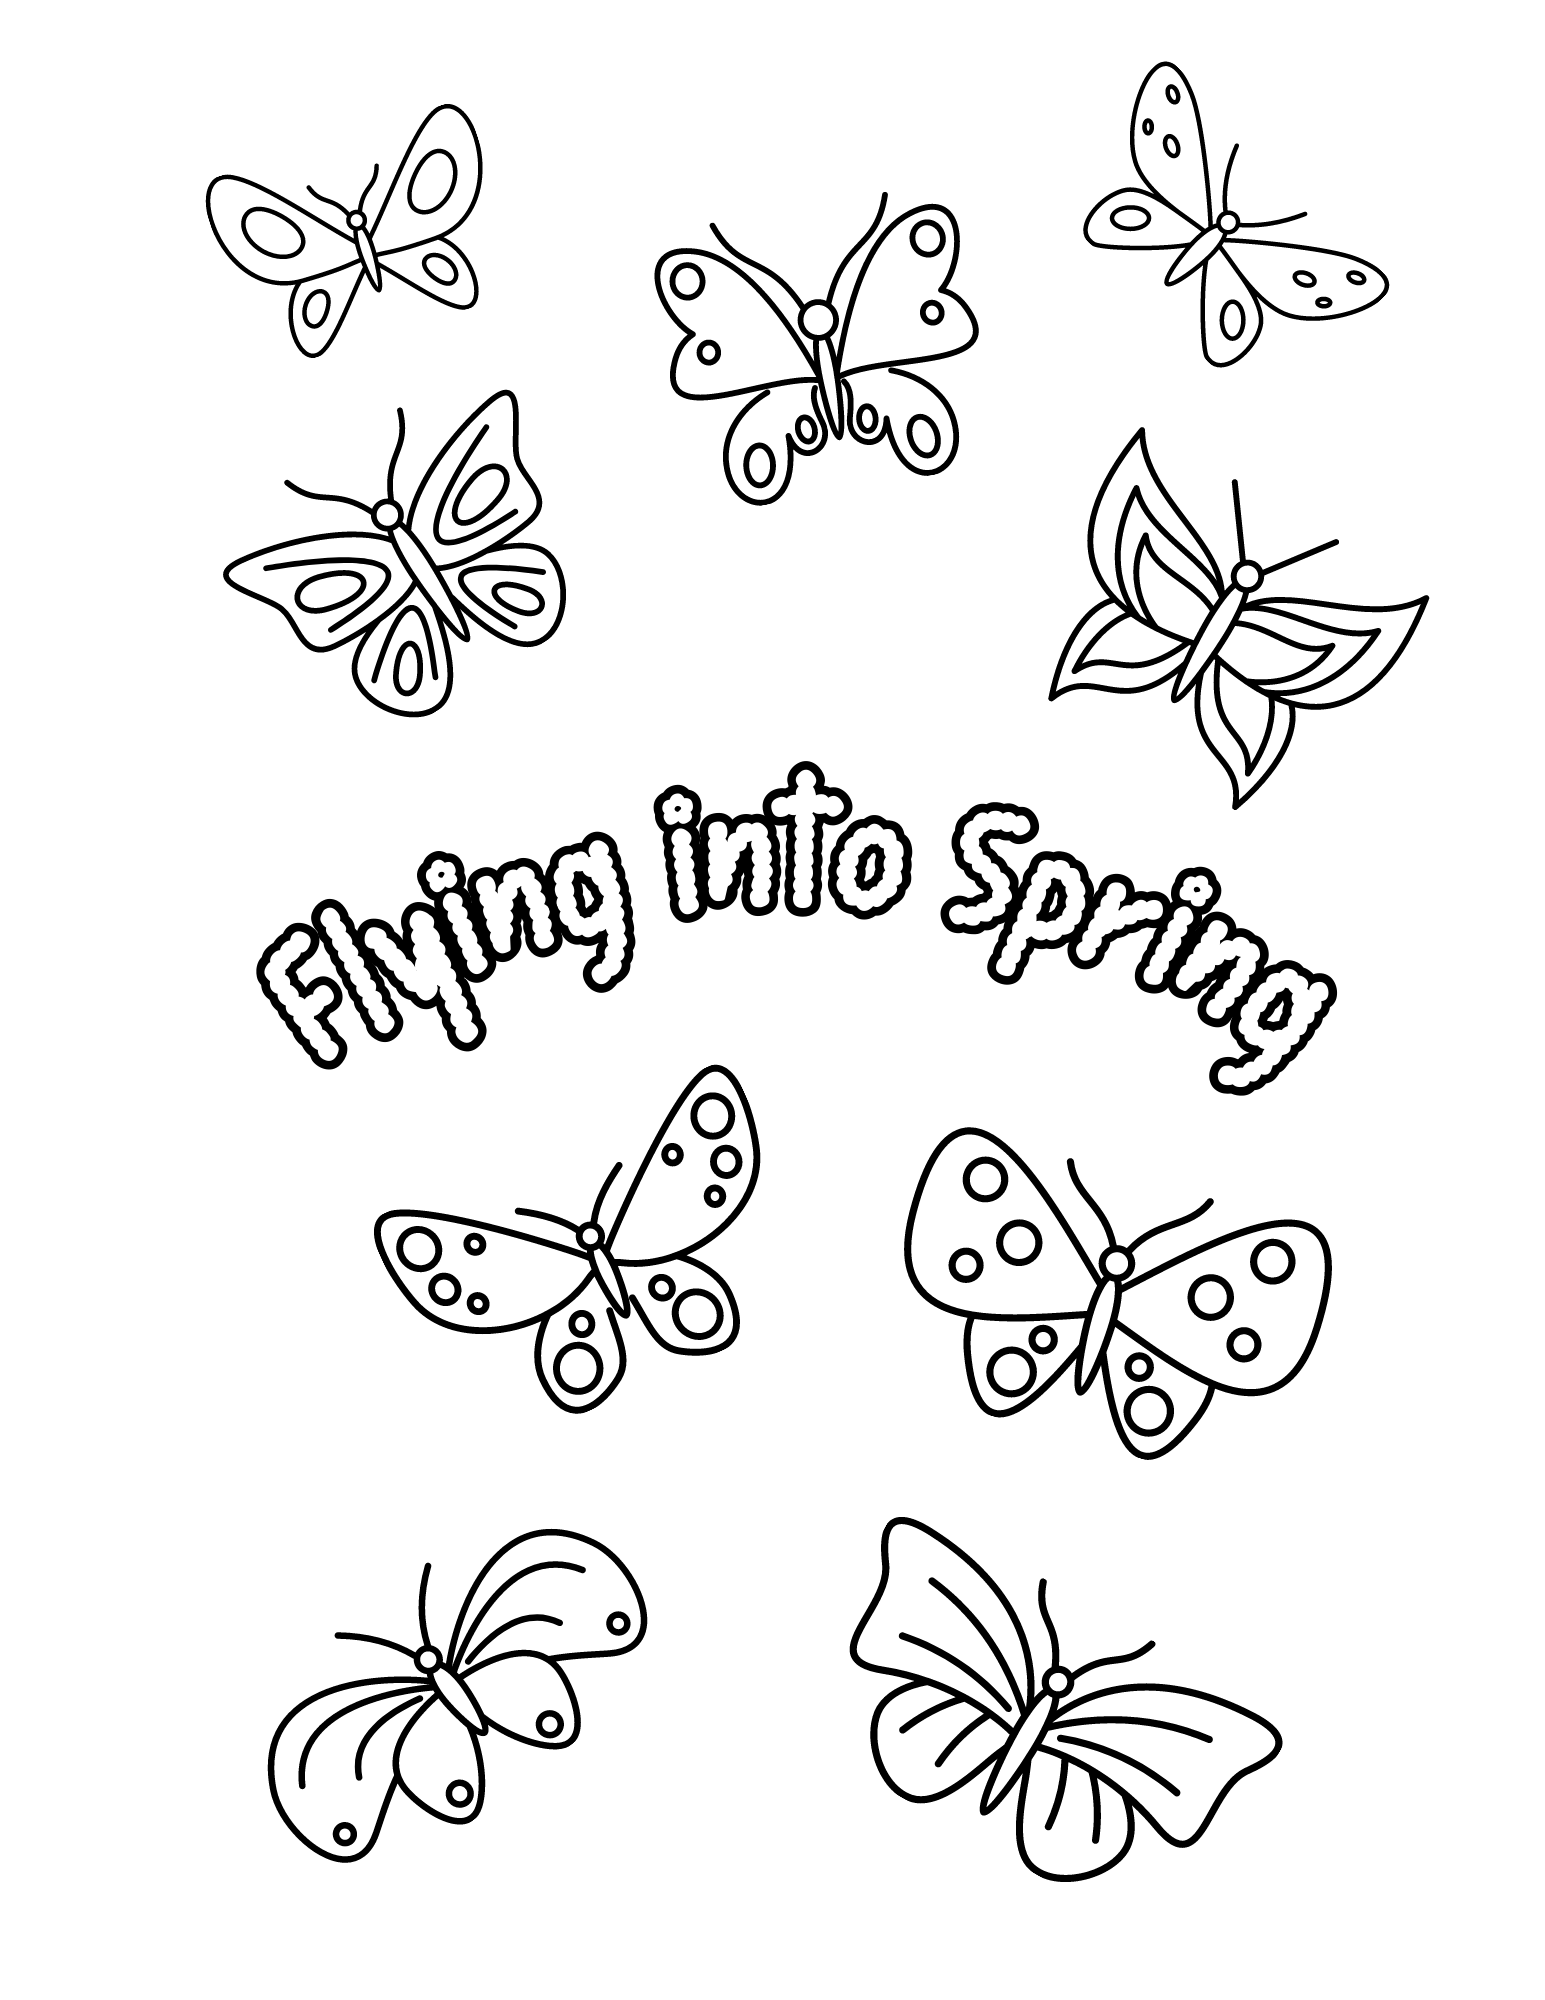
Flying into Spring Coloring Page

spring coloring page

It’s officially the first day of spring, even though we’ve had spring-like weather for about a month now in South Texas. The trees are covered in new leaves, the oleanders are blooming, and everything is covered in a thin yellow haze of pollen. Bees and butterflies are returning to take advantage of the pollen.

spring coloring page

Today’s freebie is Flying into Spring Coloring Page. 

Butterflies are such a great symbol of spring with their quiet beauty and their beautiful colors.


Spring is a time of renewal. Along with the bees and butterflies returning, many animals have their babies in the spring. Here are some adorable baby animals for you to crochet this spring.

baby goat coin purse crochet pattern
Baby Goat Coin Purse
Triceratops Baby
baby gator amigurumi
Baby Alligator


More Spring Printables

happy spring coloring page
Happy Spring Coloring Page
Spring Floral Gift Tag

ICYMI (In Case You Missed It)


Easter Chick Gift Bag


leggy leprechaun


Leggy Leprechaun Crochet Pattern


Easter Patterns


animal gift tags


Animal Birthday Gift Tags


easter chick


Easter Chick Gift Card Holder Crochet Pattern


Affiliate Links

This page contains affiliate links. If you choose to purchase after clicking a link, I may receive a commission at no extra cost to you.