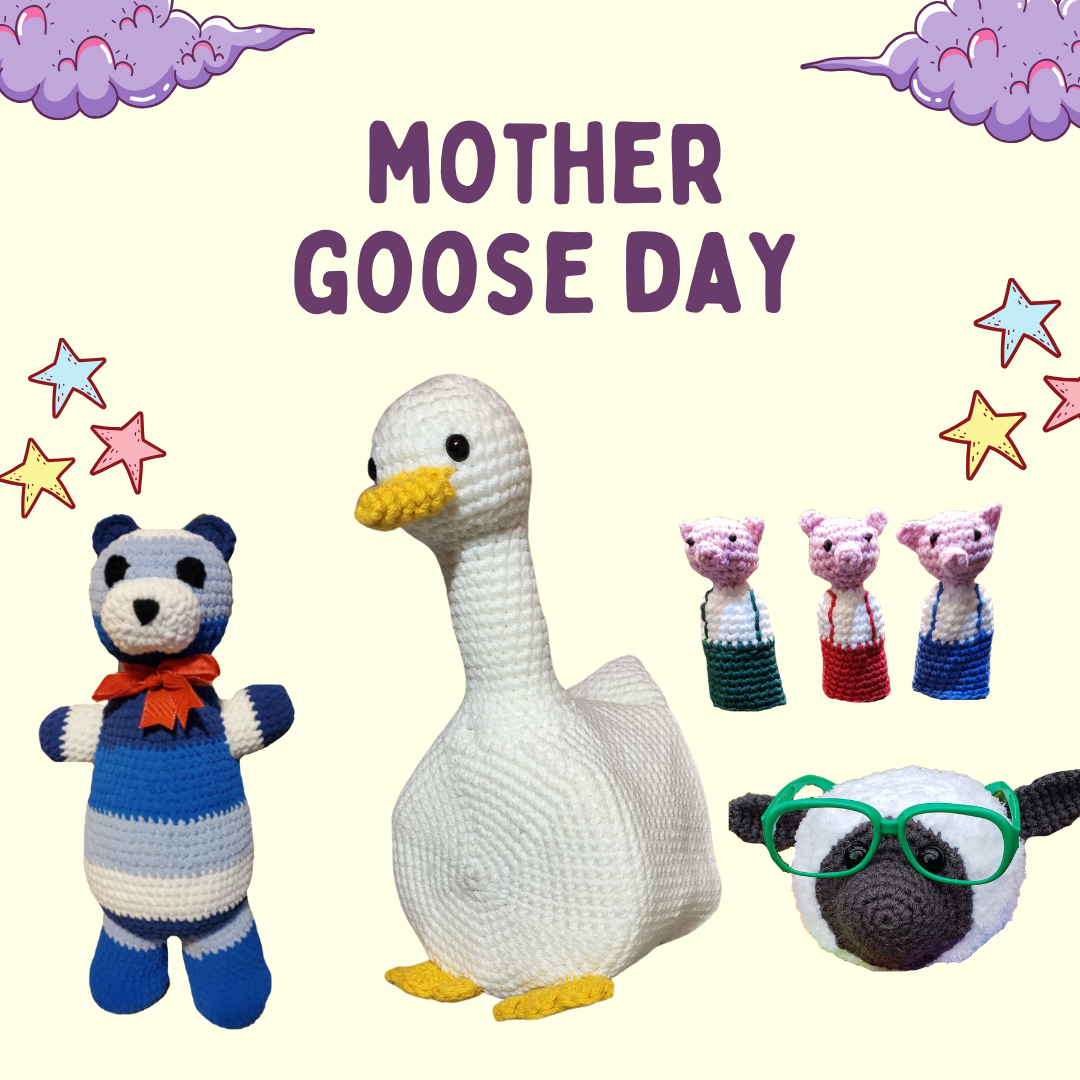
Every May 1st, we celebrate National Mother Goose Day—a charming occasion that invites us to revisit the whimsical world of nursery rhymes, fairy tales, and sing-song stories that have enchanted children for centuries. Whether it’s “Jack and Jill” or “Humpty Dumpty,” these rhymes aren’t just playful verses—they’re part of our cultural fabric and childhood memories.
The Origin of Mother Goose The term “Mother Goose” dates back to the 1600s in Europe, often referring to a fictitious author of nursery rhymes and fairy tales. The first English-language collection, Mother Goose’s Melodies, was published in the 18th century and included many rhymes still known today. Over time, “Mother Goose” became synonymous with storytelling for young children.
Why Celebrate? Mother Goose rhymes do more than entertain. They teach rhythm, language, memory, and even simple morals. Their repetition and rhyme structure make them ideal for early literacy and language development. Plus, they offer a comforting connection between generations—most of us were rocked to sleep or cheered up with these verses as kids.
On this National Mother Goose Day, I have compiled a few crochet patterns (most are free) to celebrate the simple joy of storytelling. Whether you’re sharing rhymes with your children or recalling them from your own childhood, it’s a day to honor the magic of words, rhythm, and imagination.
This post contains affiliate links. This means I may earn a commission should you chose to sign up for a program or make a purchase using my link. It’s okay – I love all of these companies anyways, and you will too!
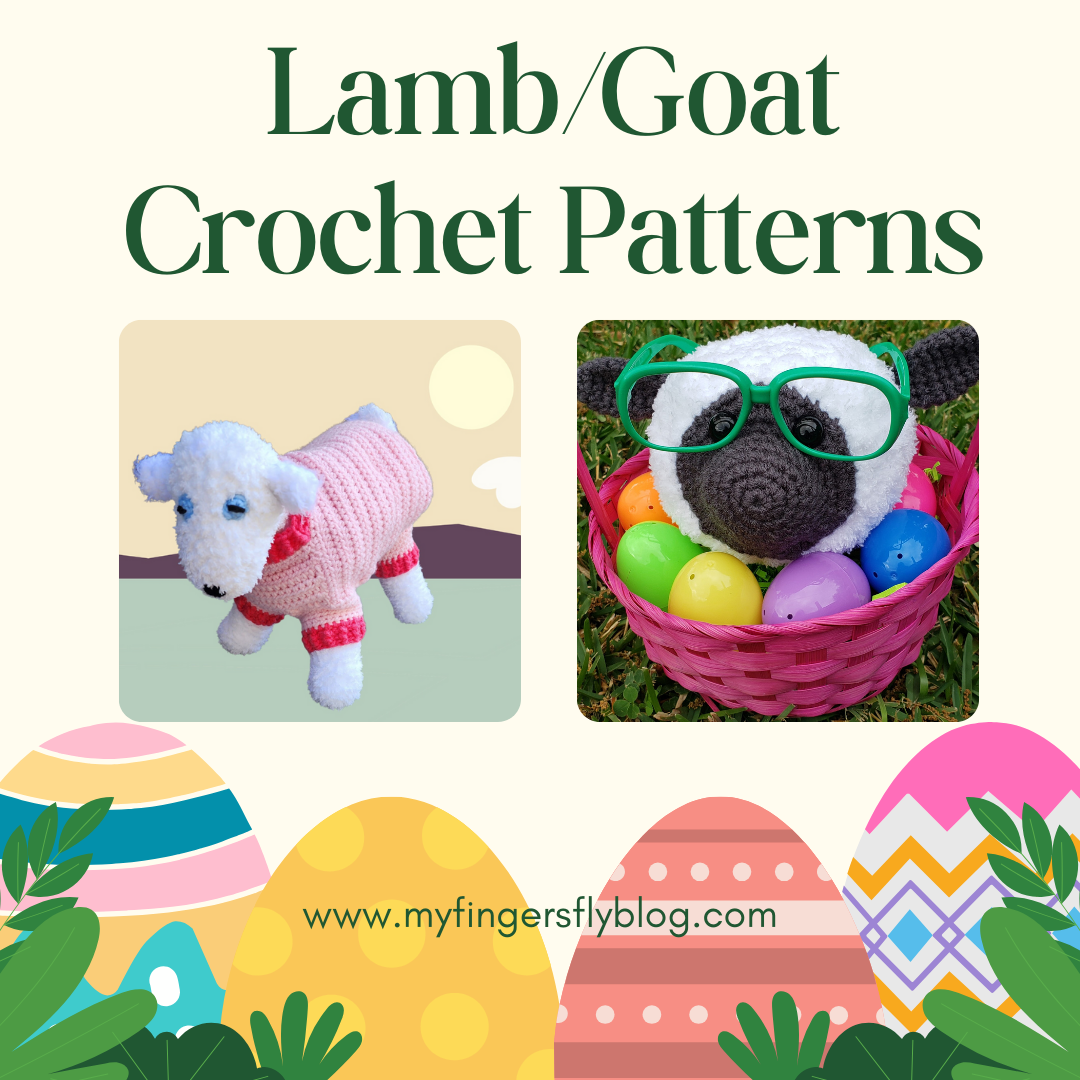
Spring is in the air, flowers are blooming, and Easter is just around the corner! Along with colorful eggs and chocolate bunnies, lambs and goats often make an appearance during this season. Whether you see them in farm petting zoos, Easter decorations, or even on traditional dinner tables, these animals have a deep-rooted connection to Easter celebrations.
Lambs have long been associated with Easter, particularly in Christian traditions. In the Bible, Jesus is often referred to as the “Lamb of God,” symbolizing sacrifice, purity, and renewal. Many cultures serve lamb as part of their Easter feast, continuing a tradition that dates back to Passover in Jewish history.
Beyond religious symbolism, lambs also represent new beginnings. Spring is lambing season, making these adorable baby animals a perfect symbol of rebirth and fresh starts—just like Easter itself!
While goats aren’t as commonly linked to Easter as lambs, they are still a big part of springtime celebrations. Baby goats, or “kids,” are born around the same time as lambs and bring energy and fun to the season. Their playful, mischievous nature embodies the joy of Easter and the excitement of warmer days ahead.
On farms and in petting zoos, both lambs and goats are popular attractions for families celebrating Easter. Many people visit farms to see the newborn animals, feed them, and take part in Easter egg hunts set against a picturesque rural backdrop.
Rnd 1: With Pipsqueak yarn and G hook, ch 2 (or magic circle), 6 sc in 2nd ch from hook. Do not join. Work in continuous rnds throughout.
Rnd 2: 2 sc in each sc around (12 sc).
Rnd 3: *Sc in next sc, 2 sc in next sc,* repeat around (18 sc).
Rnd 4: *Sc in next 2 sc, 2 sc in next sc,* repeat around (24 sc).
Rnd 5: *Sc in next 3 sc, 2 sc in next sc,* repeat around (30 sc).
Rnd 6: *Sc in next 4 sc, 2 sc in next sc,* repeat around (36 sc).
Rnd 7: *Sc in next 5 sc, 2 sc in next sc,* repeat around (42 sc).
Rnd 8: *Sc in next 6 sc, 2 sc in next sc,* repeat around (48 sc).
Rnd 9: *Sc in next 7 sc, 2 sc in next sc,* repeat around (54 sc).
Rnd 10: *Sc in next 8 sc, 2 sc in next sc,* repeat around (60 sc).
Rnd 11: Sc in each st. Repeat Rnd 11 until piece measures 9” long.
Dec Rnd 1: *Dec, sc in next 8 sts,* repeat around (54 sc).
Dec Rnd 2: *Dec, sc in next 7 sts,* repeat around (48 sc).
Dec Rnd 3: *Dec, sc in next 6 sts,* repeat around (42 sc).
Dec Rnd 4: *Dec next 2 sc, sc next 5 sc,* repeat around (36 sc).
Dec Rnd 5: *Dec next 2 sc, sc next 4 sc,* repeat around (30 sc).
Dec Rnd 6: *Dec next 2 sc, sc next 3 sc,* repeat around (24 sc).
Dec Rnd 7: *Dec next 2 sc, sc next 2 sc,* repeat around (18 sc). Turn body inside out so that more fluffy back side of sts becomes the outside of goat. Stuff body.
Dec Rnd 8: *Dec next 2 sc, sc next sc,* repeat around (12 sc).
Dec Rnd 9: *Dec next 2 sc around (6 sc).
Fasten off. Finish stuffing and use ultimate finish to close.
FRONT LEGS: (Make 2)
Rnd 1: With Pipsqueak yarn and G hook, ch 2 (or magic circle), 5 sc in 2nd ch from hook. Do not join. Work in continuous rnds throughout.
Rnd 2: 2 sc in each sc around (10 sc).
Rnd 3: *Sc in next sc, 2 sc in next sc,* repeat around (15 sc).
Rnd 4: *Sc in next 2 sc, 2 sc in next sc,* repeat around (20 sc).
Rnd 5: Sc in each st.
Repeat Rnd 5 until front leg measures 5.5” tall.
Stuff legs firmly with foam curler and Fiberfill to give support to body. Sew front legs to bottom of body at Rnds 7-14 approximately 1-2 sts apart.
BACK LEGS: (Make 2)
Rnd 1: With Pipsqueak yarn and G hook, ch 2 (or magic circle), 5 sc in 2nd ch from hook. Do not join. Work in continuous rnds throughout.
Rnd 2: 2 sc in each sc around (10 sc).
Rnd 3: *Sc in next sc, 2 sc in next sc,* repeat around (15 sc).
Rnd 4: *Sc in next 2 sc, 2 sc in next sc,* repeat around (20 sc).
Rnd 5: Sc in each st.
Repeat Rnd 5 until front leg measures 6.5” tall.
Stuff legs firmly with foam curler and Fiberfill to give support to body. Sew back legs to bottom of body at point where dec rnds begin, approximately 1-2 sts apart.
NECK:
Rnd 1: With Pipsqueak yarn, ch 30. Join with sl st being careful not to twist ch. Sc in each st around (30 sc).
Rnd 2: Ch 1, dec, sc in next 28 sts (29 sc). Join with sl st.
Rnd 3: Ch 1, dec, sc in next 27 sts (28 sc). Join with sl st.
Rnd 4: Ch 1, dec, sc in next 26 sts (27 sc). Join with sl st.
Rnd 5: Ch 1, dec, sc in next 25 sts (26 sc). Join with sl st.
Rnd 6: Ch 1, dec, sc in next 24 sts (25 sc). Join with sl st.
Rnds 7-9: Ch 1, sc in each st. Join with sl st. Fasten off at end of Rnd 9 with 12” length for sewing.
Position neck at front end of body and sew in place.
HEAD:
Rnd 1: With Pipsqueak yarn and G hook, ch 2 (or magic circle), 6 sc in 2nd ch from hook. Do not join. Work in continuous rnds throughout.
Rnd 2: 2 sc in each sc around (12 sc).
Rnd 3: *Sc in next sc, 2 sc in next sc,* repeat around (18 sc).
Rnd 4: *Sc in next 2 sc, 2 sc in next sc,* repeat around (24 sc).
Rnd 5: *Sc in next 3 sc, 2 sc in next sc,* repeat around (30 sc).
Rnds 6-7: Sc in each st.
Rnd 8: *Sc in next 8 sc, 2 sc in next sc,* repeat around (30 sc).
Rnd 9: *Sc in next 4 sc, 2 sc in next sc,* repeat around (36 sc).
Rnd 10: *Sc in next 5 sc, 2 sc in next sc,* repeat around (42 sc).
Rnd 11: *Sc in next 6 sc, 2 sc in next sc,* repeat around (48 sc).
Rnds 12-15: Sc in each st. Stuff head.
Rnd 16: *Dec next 2 sc, sc next 6 sc,* repeat around (42 sc).
Rnd 17: *Dec next 2 sc, sc next 5 sc,* repeat around (36 sc).
Rnd 18: *Dec next 2 sc, sc next 4 sc,* repeat around (30 sc).
Rnd 19: *Dec next 2 sc, sc next 3 sc,* repeat around (24 sc).
Rnd 20: *Dec next 2 sc, sc next 2 sc,* repeat around (18 sc). Stuff head.
Rnd 21: *Dec next 2 sc, sc next sc,* repeat around (12 sc).
Rnd 22: *Dec next 2 sc around (6 sc). Fasten off. Finish stuffing and close with ultimate finish.
Sit head on top of neck opening. Stuff neck and sew head to neck.
EYES: (Make 2)
With blue worsted yarn, ch 2 (or magic ring), 6 sc in 2nd ch from hook. Join with sl st. Fasten off yarn with 6” length for sewing.
With black yarn, embroider straight sts across the eyes for horizontal pupils. Sew eyes to head.
NOSE:
Using black worsted yarn, embroider straight sts to make triangle-shaped nose at end of head.
EARS: (Make 2)
Rnd 1: With Pipsqueak yarn, ch 2 (or magic ring), 6 sc in 2nd ch from hook. Do not join.
Rnd 2: *Sc in next st, 2 sc in next st,* repeat around (9 sc).
Rnds 3-4: Sc in each st. Join with sl st at end of Rnd 4. Fasten off leaving 12” length for sewing. Sew ears to sides of head.
TAIL:
Rnd 1: With Pipsqueak yarn, ch 2 (or magic ring), 6 sc in 2nd ch from hook. Do not join.
Rnd 2: *Sc in next st, 2 sc in next st,* repeat around (9 sc).
Rnd 3: *Sc in next 2 sts, 2 sc in next st,* repeat around (12 sc).
Rnds 4-7: Sc in each st. Fasten off at end of Rnd 7 with 12” length for sewing.
Sew tail to back of body where it begins to curve downward.
Pajamas:
Materials Needed:
Worsted weight yarn:
150 yards MC
35 yards CC
Size G (4.0 mm) crochet hook (or size needed to obtain gauge)
Yarn needle
Gauge: 8 hdc = 2”, 6 rows hdc = 2”
Measurements:
Chest circumference: 17.5”
Back waist length: 8”
BACK:
Row 1: (Neck edge) With MC yarn, ch 48. Hdc in 2nd ch from hook and each ch across (47 hdc).
Rows 2-21: Ch 1, turn. Ch 1, hdc in each st across.
Row 22: Ch 1, turn, hdc next 18 sts, sl st in next st. Leave remaining sts unworked.
Row 23: Ch 1, turn, sk sl st, sl st in next 6 sts, hdc in next 12 sts.
Row 24: Ch 1, turn, hdc in next 6 sts, sl st in next st. Fasten off.
Return to Row 21, sk 9 sts from sl st. Attach yarn in next st.
Row 22: Ch 1, hdc in next 18 sts.
Row 23: Ch 1, turn, hdc in next 12 sts, sl st in next st.
Row 24: Ch 1, turn, sk sl st, sl st in next 6 sts, ch 1, hdc in next 6 sts.
Row 25: (working across both sides)
Ch 1, turn, hdc in next 6 sts, hdc in 6 sl sts of Row 23, hdc in next 6 sts of Row 22, hdc in next 9 sts of Row 21, hdc in 6 sl sts of Row 22, hdc in next 6 sts of Row 23, hdc in next 6 sts of Row 24. Fasten off.
BELLY:
Row 1: (Neck edge) Ch 20, hdc in 2nd ch and each ch across (19 hdc).
Rows 2-8: Ch 1, turn, hdc in each st.
Row 9: Ch 1, turn, sl st in net 4 hdc, hdc in next 11 sts. Leave remaining sts unworked.
Row 10: Ch 1, turn, sl st in next 3 sts, hdc in next 5 sts, leave remaining sts unworked.
Rows 11-15: Ch 1, turn, hdc in each st (5 hdc).
Row 16: Ch 1, turn, hdc in 6 sts, ch 7.
Row 17: Turn, hdc in 2nd ch and next 5 ch, hdc in 5 hdc, work 6 fhdc (17 hdc).
Rows 18-20: Ch 1, turn, hdc in each st. Fasten off at end of Row 20.
ASSEMBLY:
With right sides tog, sew left side of belly to one end of Row 1 of back.
Sew right side of belly to other end of Row 1 of back.
Sk 7 rows of back and sew Rows 17-20 of belly to next 4 rows of back (on both sides).
FRONT LEGS:
Rnd 1: Attach MC yarn at one leg hole. Work 30 hdc evenly spaced around leg hole. Join with sl st.
Rnd 2: Ch 1, *dec, hdc next 4 sts,* repeat around (25 hdc).
Rnds 3-4: Ch 1, hdc in each st. Join with sl st. Fasten off MC at end of Rnd 4.
Rnd 5: Attach cc. Ch 1, hdc in each st. Join with sl st.
Rnds 6-7: Ch 1, *fp hdc, bp hdc,* repeat around. Join with sl st. Fasten off at end of Rnd 7.
Repeat on other side.
BACK LEGS:
Rnd 1: Mark beg of Row 18. With MC yarn, ch 21, hdc in 2nd ch and each remaining ch (20 hdc). Starting at marker, work 10 hdc evenly spaced across ends of Rows 18-25. Join with sl st in first hdc.
Rnd 2: Ch 1, hdc in each st. Join with sl st (30 hdc).
Rnd 3: Ch 1, *dec, hdc next 4 sts,* repeat around (25 hdc).
Rnds 4-5: Ch 1, hdc in each st. Join with sl st. Fasten off MC at end of Rnd 5.
Rnd 6: Attach cc. Ch 1, hdc in each st. Join with sl st.
Rnds 7-8: Ch 1, *fp hdc, bp hdc,* repeat around. Join with sl st. Fasten off at end of Rnd 8.
Repeat on other side.
COLLAR:
Working in leftover lps of foundation ch of back and belly, attach CC yarn in last st of back piece.
Rnd 1: Ch 1, work hdc dec over this st and first st of belly piece. Continue in hdc across Row 1 of belly. Work hdc dec over last lp of belly and first lp of back. Continue in hdc across lps of back (42 hdc).
Rnds 2-3: Ch 1, *fp hdc, bp hdc,* repeat around. Join with sl st. Fasten off at end of Rnd 3.
This post contains affiliate links. This means I may earn a commission should you chose to sign up for a program or make a purchase using my link. It’s okay – I love all of these companies anyways, and you will too!
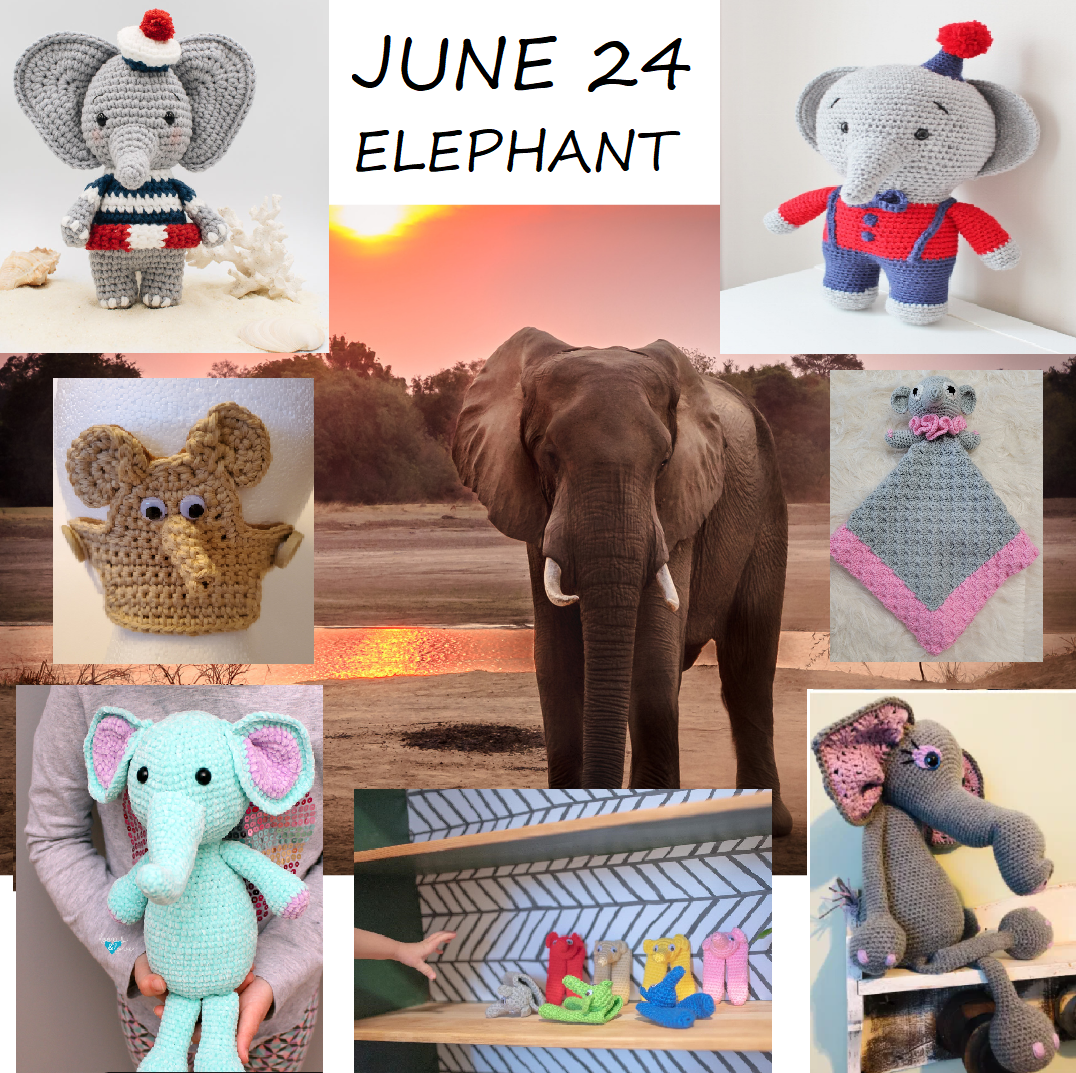
There are many reasons why people love elephants so much. They are intelligent, social, gentle, and have a number of unique features that make them fascinating creatures. It is no wonder that they have captured our hearts for centuries.
Elephants have been used as symbols of peace, wisdom, and strength for centuries. They are often seen as a reminder of the importance of these qualities in the world.
🐑 Soft, Sweet & Stitchable: Sheep Crochet Patterns You’ll Love
There’s something irresistibly comforting about a fluffy sheep—especially when it’s handmade with love and yarn! Whether you’re crafting for spring, decorating a nursery, or looking for your next adorable amigurumi project, sheep crochet patterns are full of charm and creativity.
From realistic farm friends to cute cartoon-style lambs, there’s a sheep out there for every style and skill level. Let’s take a stroll through the pasture of inspiration!
🌼 Why Crochet a Sheep?
Sheep are not only cute—they’re symbolic of coziness, comfort, and creativity (hello, yarn!). They’re great for:
Springtime crafts & Easter baskets
Baby shower gifts or mobiles
Farm animal sets
Year-round cuteness
Plus, they’re the perfect project for playing with texture, especially if you love fluffy yarn or bobble stitches!
🧵 Yarn Tips for the Fluffiest Flock
Use loop yarn, bouclé, or chenille for woolly textures
Try bobble stitches or loop stitches to mimic fleece
Classic colors: white, cream, gray, and black—but pastel sheep are adorable too!
🌸 Wrap Up: Stitch a Little Woolly Joy
Sheep crochet patterns bring softness, smiles, and a whole lot of heart to your hooks. Perfect for spring, holidays, or anytime you need a little fluff in your life, these cuddly creatures are always a good idea.
Have you crocheted a sheep before? Share your favorites in the comments or tag your woolly wonders with #SheepCrochetFun so we can admire your flock!
Contains information related to marketing campaigns of the user. These are shared with Google AdWords / Google Ads when the Google Ads and Google Analytics accounts are linked together.
90 days
__utma
ID used to identify users and sessions
2 years after last activity
__utmt
Used to monitor number of Google Analytics server requests
10 minutes
__utmb
Used to distinguish new sessions and visits. This cookie is set when the GA.js javascript library is loaded and there is no existing __utmb cookie. The cookie is updated every time data is sent to the Google Analytics server.
30 minutes after last activity
__utmc
Used only with old Urchin versions of Google Analytics and not with GA.js. Was used to distinguish between new sessions and visits at the end of a session.
End of session (browser)
__utmz
Contains information about the traffic source or campaign that directed user to the website. The cookie is set when the GA.js javascript is loaded and updated when data is sent to the Google Anaytics server
6 months after last activity
__utmv
Contains custom information set by the web developer via the _setCustomVar method in Google Analytics. This cookie is updated every time new data is sent to the Google Analytics server.
2 years after last activity
__utmx
Used to determine whether a user is included in an A / B or Multivariate test.
18 months
_ga
ID used to identify users
2 years
_gali
Used by Google Analytics to determine which links on a page are being clicked
30 seconds
_ga_
ID used to identify users
2 years
_gid
ID used to identify users for 24 hours after last activity
24 hours
_gat
Used to monitor number of Google Analytics server requests when using Google Tag Manager
1 minute
Marketing cookies are used to follow visitors to websites. The intention is to show ads that are relevant and engaging to the individual user.
Pinterest Tag is a web analytics service that tracks and reports website traffic.
Unique value with which users can be identified by X. Collected information is used to be personalize X services, including X trends, stories, ads and suggestions.
2 years
external_referer
Our Website uses X buttons to allow our visitors to follow our promotional X feeds, and sometimes embed feeds on our Website.
2 years
guest_id
This cookie is set by X to identify and track the website visitor. Registers if a users is signed in the X platform and collects information about ad preferences.



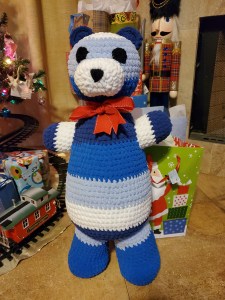 Teddy Bear

 Easter Advent Crochet Patterns




 Today only – 50% off the PDF including photos at each step: